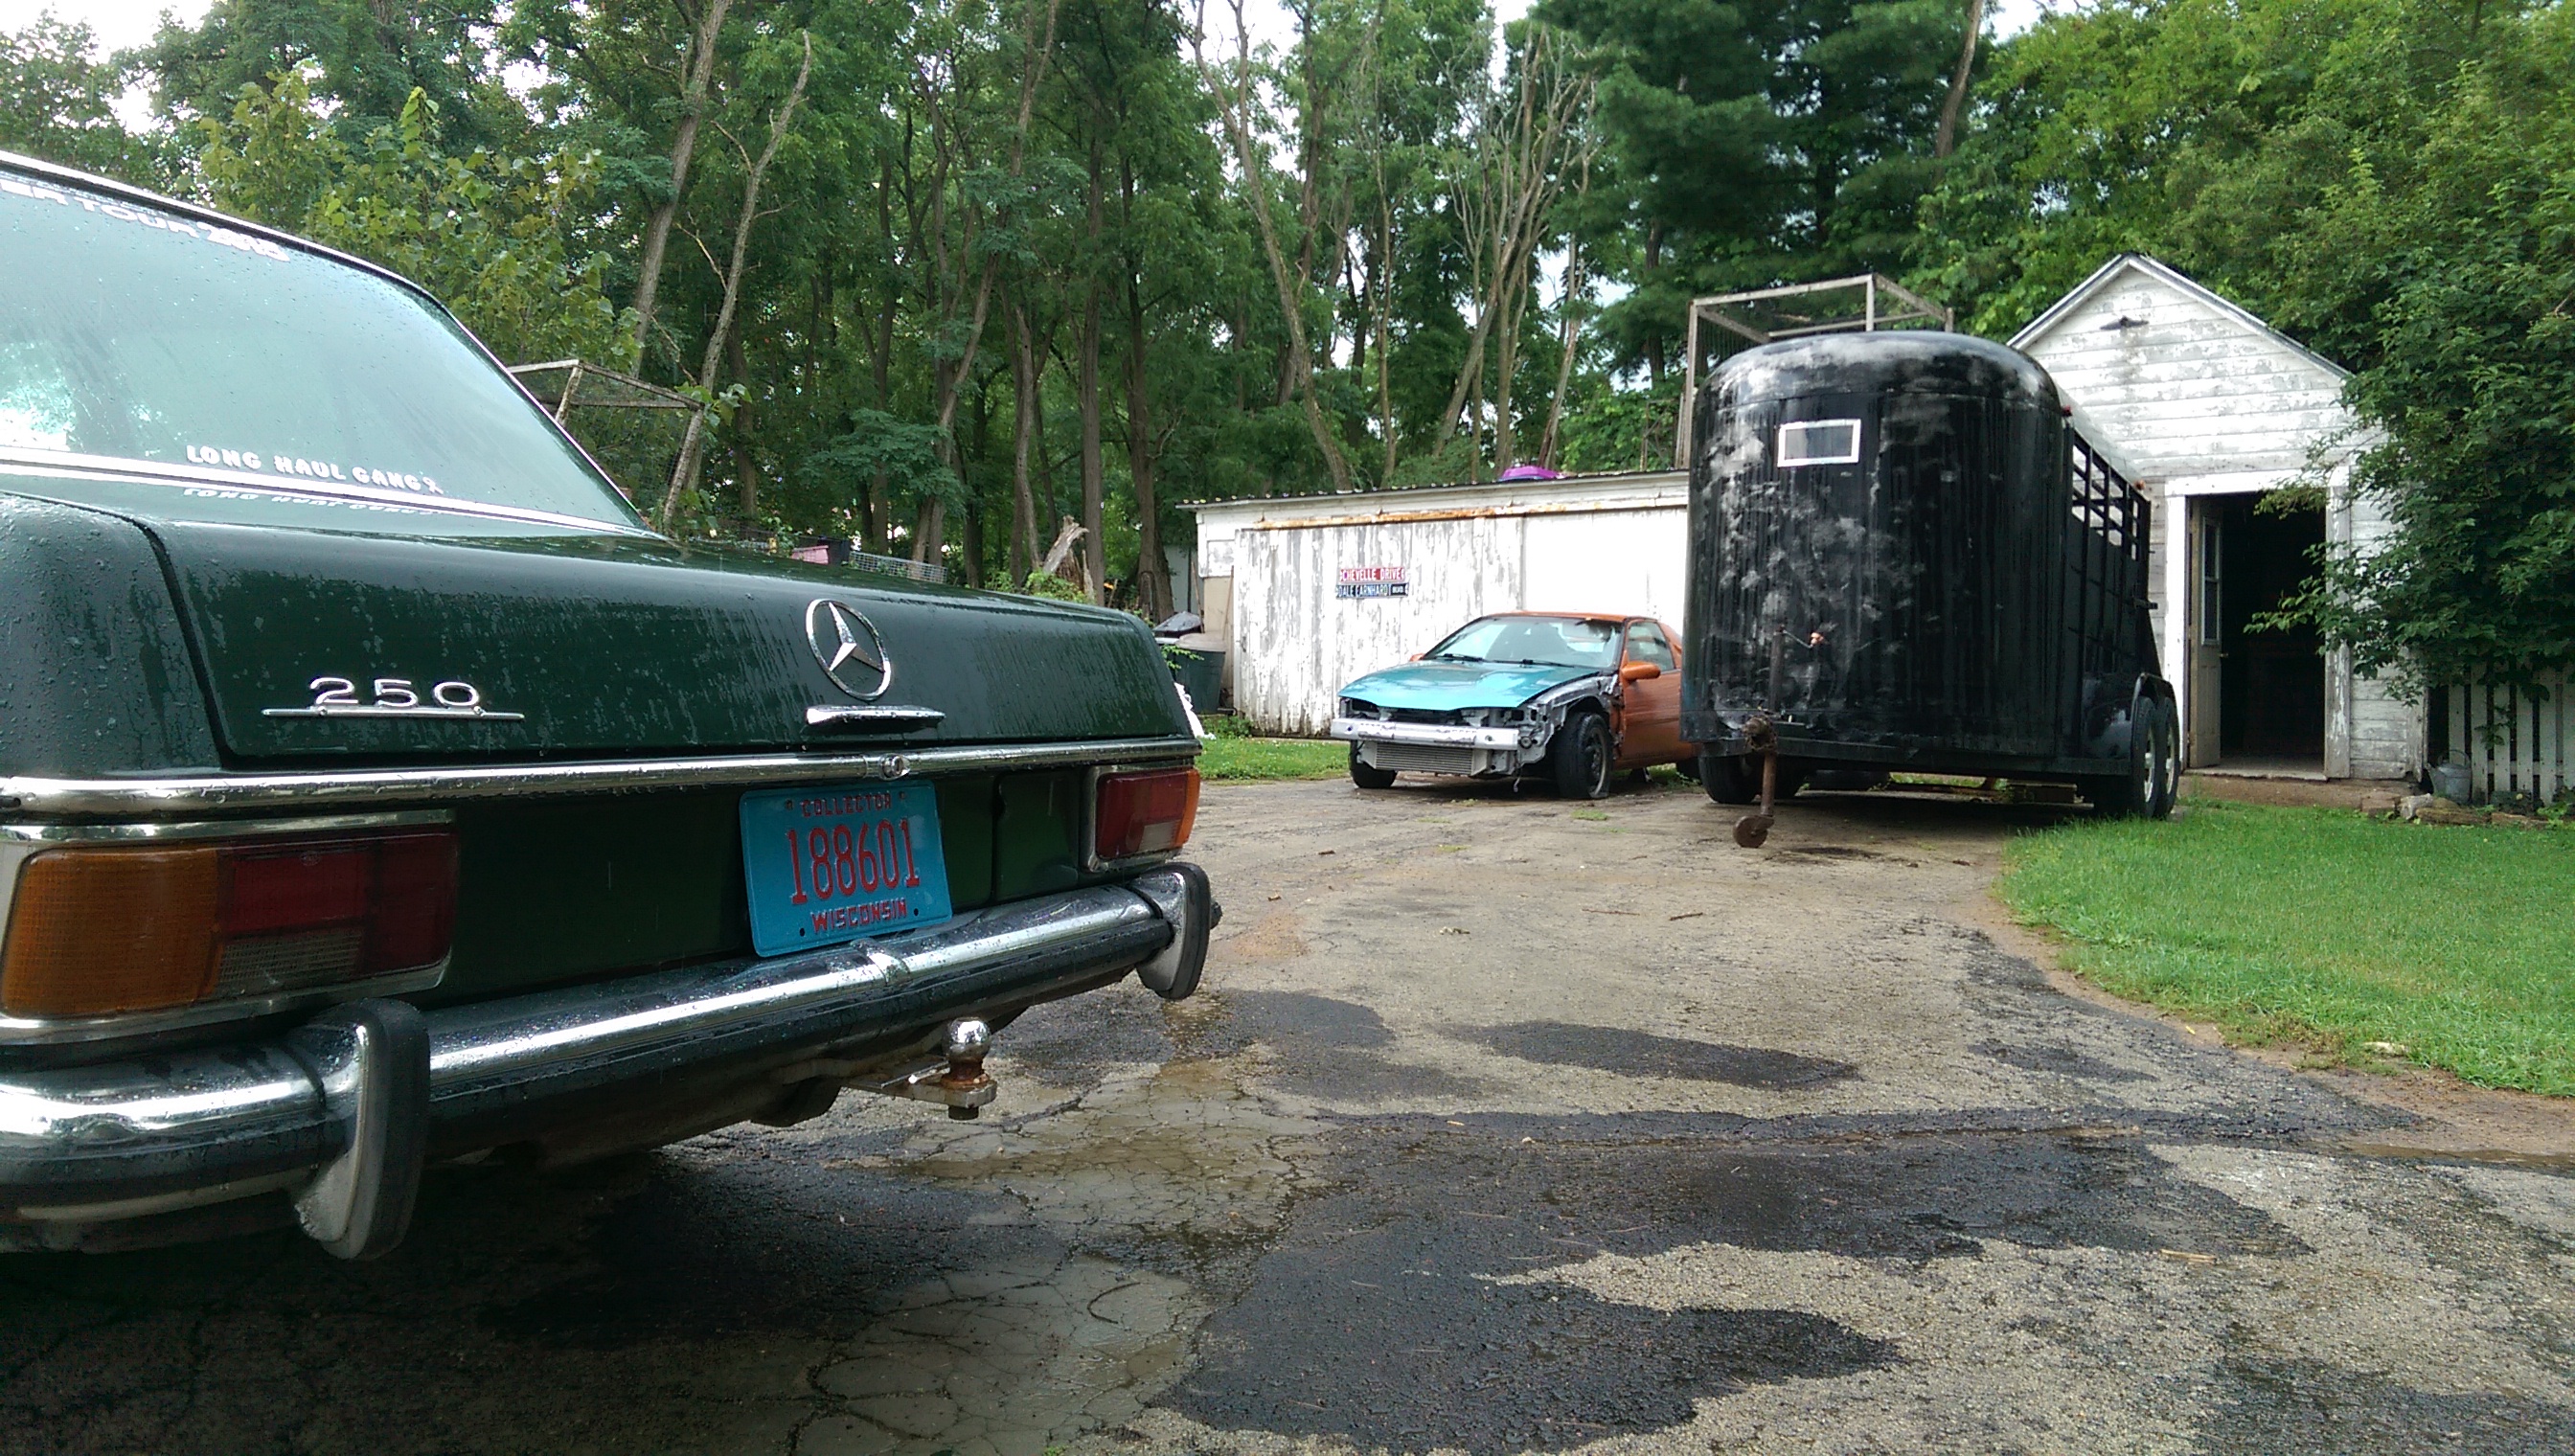
Yes, I successfully started the Laser. Sort of. It ran for a few seconds before I killed it for a few reasons. Namely, it started spraying fuel from the #1 injector, it was also leaking oil and only running on two cylinders. But none of that matters, because it didn’t explode! I didn’t get any video (though I have video of several attempts to start prior) so you’ll have to take my word for it. Starting it successfully uncovered a host of other issues that I’m slowly working through, but mostly this post will focus on the brake work that took up a few good weeks of spare time.
Since I’d broken my old calipers I went ahead and put on shiny new rear calipers and got everything back together, minus the lines of course. I did start mocking up where I’d need the lines to get too, and I purchased unions to go between the stainless line and the hard lines I’d be running. All of the fittings are M10x1.0 on these cars in case you’re wondering.


Turns out making brake lines yourself is pretty easy when you do it right, and assuming you have the right tools. Luckily, Sam has the right tools and I’ve got the time to learn. It’s also much cheaper if you’re running completely new lines from the front to the back, and thanks to my cutting the rear lines, that’s exactly what I needed to do. My first few attempts didn’t go exactly as planned though, so I gave up after about half an hour of breaking Sams tools. Good thing MAC tools are lifetime guaranteed.


While I was taking a break from breaking brake lines (yep, deal with it) I finished up some other small things like getting the throttle cable set up and getting the exhaust attached at last. Sam helped quite a bit with that last part and we had to grind a socket so that it’s walls were thinner. We were having a bit of an issue getting a socket to fit past the exhaust wrap at such an awkward angle. I picked up new nuts for that as well, couldn’t find my old ones. I found one at home that fit, then used that sizing chart at ACE. Those things are the best.


I put the serpentine belt on and made sure to set the tension correctly, then I took care of my turbo and oil cooler supply lines. I was previously using some pretty stiff heater hose that didn’t bend very well and would have resulted in a reduced cooling supply. So I picked up some 90 degree molded hose and swapped them out, making sure the clamp metal wasn’t rubbing on any of the nearby lines. Much better!


I had to remove my radiator hoses as well for much the same reason. I had managed to get the lower one to kink a little due to the thicker radiator and the upper hose needed trimming as well. I’m not about to compromise my rebuilt engine for something so simple, and turbo engines are more susceptible to overheating than most engines.


Turns out I didn’t trim these enough the first time. I found this out after filling the system with coolant, so I drained it all and then trimmed the bottom hose again. Then, since I’d removed my fuel tank supply and venturi hose the less than nice way, I replaced them with some new hoses as well.


I finally figured out how to get the flare tool to work correctly, so I made the two longest lines I needed to run all the way to each rear caliper. Getting the lines loosened up from the front proportioning block was interesting. You don’t have much room with the engine in there and these lines have been on the car for a very long time. They weren’t coming off easy, but I eventually got them out of the way. For reference, the top two lines go to the rear on their respective sides. It’s run that way on my car anyway.


So then I started running the new lines, which didn’t go quite to plan. First, I flared the ends of one line and then realized I hadn’t put either of the ends on before flaring. I had to cut one end off and start over on those. Even better, I somehow managed to run the long line that I had made for the passengers side, to the drivers side instead. I thought I had overestimated the length, so I cut it. Then I realized I’d have to get another union so I could use my shorter drivers side line joined to the part I cut off and run that to the passenger rear. It was one of those kinds of days.


You’ll notice that I give up on working with brakes a few times throughout this post, and this was over two weeks or so as I had to wait for some parts to come in as well as make parts runs and the like. This was one of those times. Instead, I replaced my leaking thermostat housing (which may be leaking again), drained the fuel tank so I could get some good fuel in there, put some RedLine 75W90 in my transmission (using one of these super handy pumps) and fixed my front calipers. We had noticed, while we were pushing the car out of the garage, that it seemed to be giving us a hard time. I figured maybe the flat front tire was the culprit, but it turns out the front calipers were dragging because I had forgotten the spacer that goes between the steering knuckle and the caliper. Two washers on each side fixed that.


With all of that done, I made my return to brake line work. Little did I know, I’d soon be foiled yet again. This round started with making sure my front lines had enough clearance at full lock in either direction. The answer: no. Full lock left would kink one line, and the the other side would twist on itself as well. I didn’t know at the time that this entire issue stemmed from having the center piece set up incorrectly, so I made a small “U” shaped hard line to go on the end of each caliper. This allowed me to bend that part however I needed to get the correct clearance on both sides at full lock each direction.


It was at this point that I thought “Why, after buying a kit specifically for the big brake upgrade, do I need to engineer a solution for this? I paid for a solution already.” This led me to look at the hard line bridge that connects the two stainless lines. After some experimenting and referencing pictures on the internet, I gave myself a well-earned face palm.


Once I had it hooked up in the correct orientation, things made a bit more sense. I did some more testing to make sure nothing rubbed at full lock and even threw the tires on to make sure nothing rubbed that way. I even dropped the car to make sure things wouldn’t hit when the shocks were compressed. All clear.

I should mention that I got my lines from Road Race Engineering, who was very helpful in getting me the lines I needed. I did end up using the little U ends I made as I still needed the extra length and flexibility they offered. I was eager to test my new lines, so I poured in some Motul RBF 600 and started to pump the brakes with the reservoir cap on. The leaks, oh god the leaks. They haunt me.


That’s where I’m going to leave this for today. I’m way behind on posts because life has been crazy, and it’s not going to slow down any time soon. Sam go a new job and stopped by with his new work truck (which has a torch, welder, and a 5 ton crane. We will use this crane). He also sold the 54′ and I was more than a bit sad to see it go. The guy that bought it was very excited and happy to have found it though, so at least it went to a good home.


I’ll also be heading out to the Pacific North-West this coming weekend, so I’m going to be skipping another two weeks. Eventually I’ll cover finishing the brakes, starting the Laser for the first time, as well as what I’m doing in the Pacific North-West. Here’s a hint.


You’re front brake calipers are upside down! The bleeder needs to be on top not the bottom. Just switch them side to side.
You know, that is absolutely something I’d do. I might have switched them already but I’ll be sure to check once things thaw out and I get back to working on it. Thanks for the heads up!