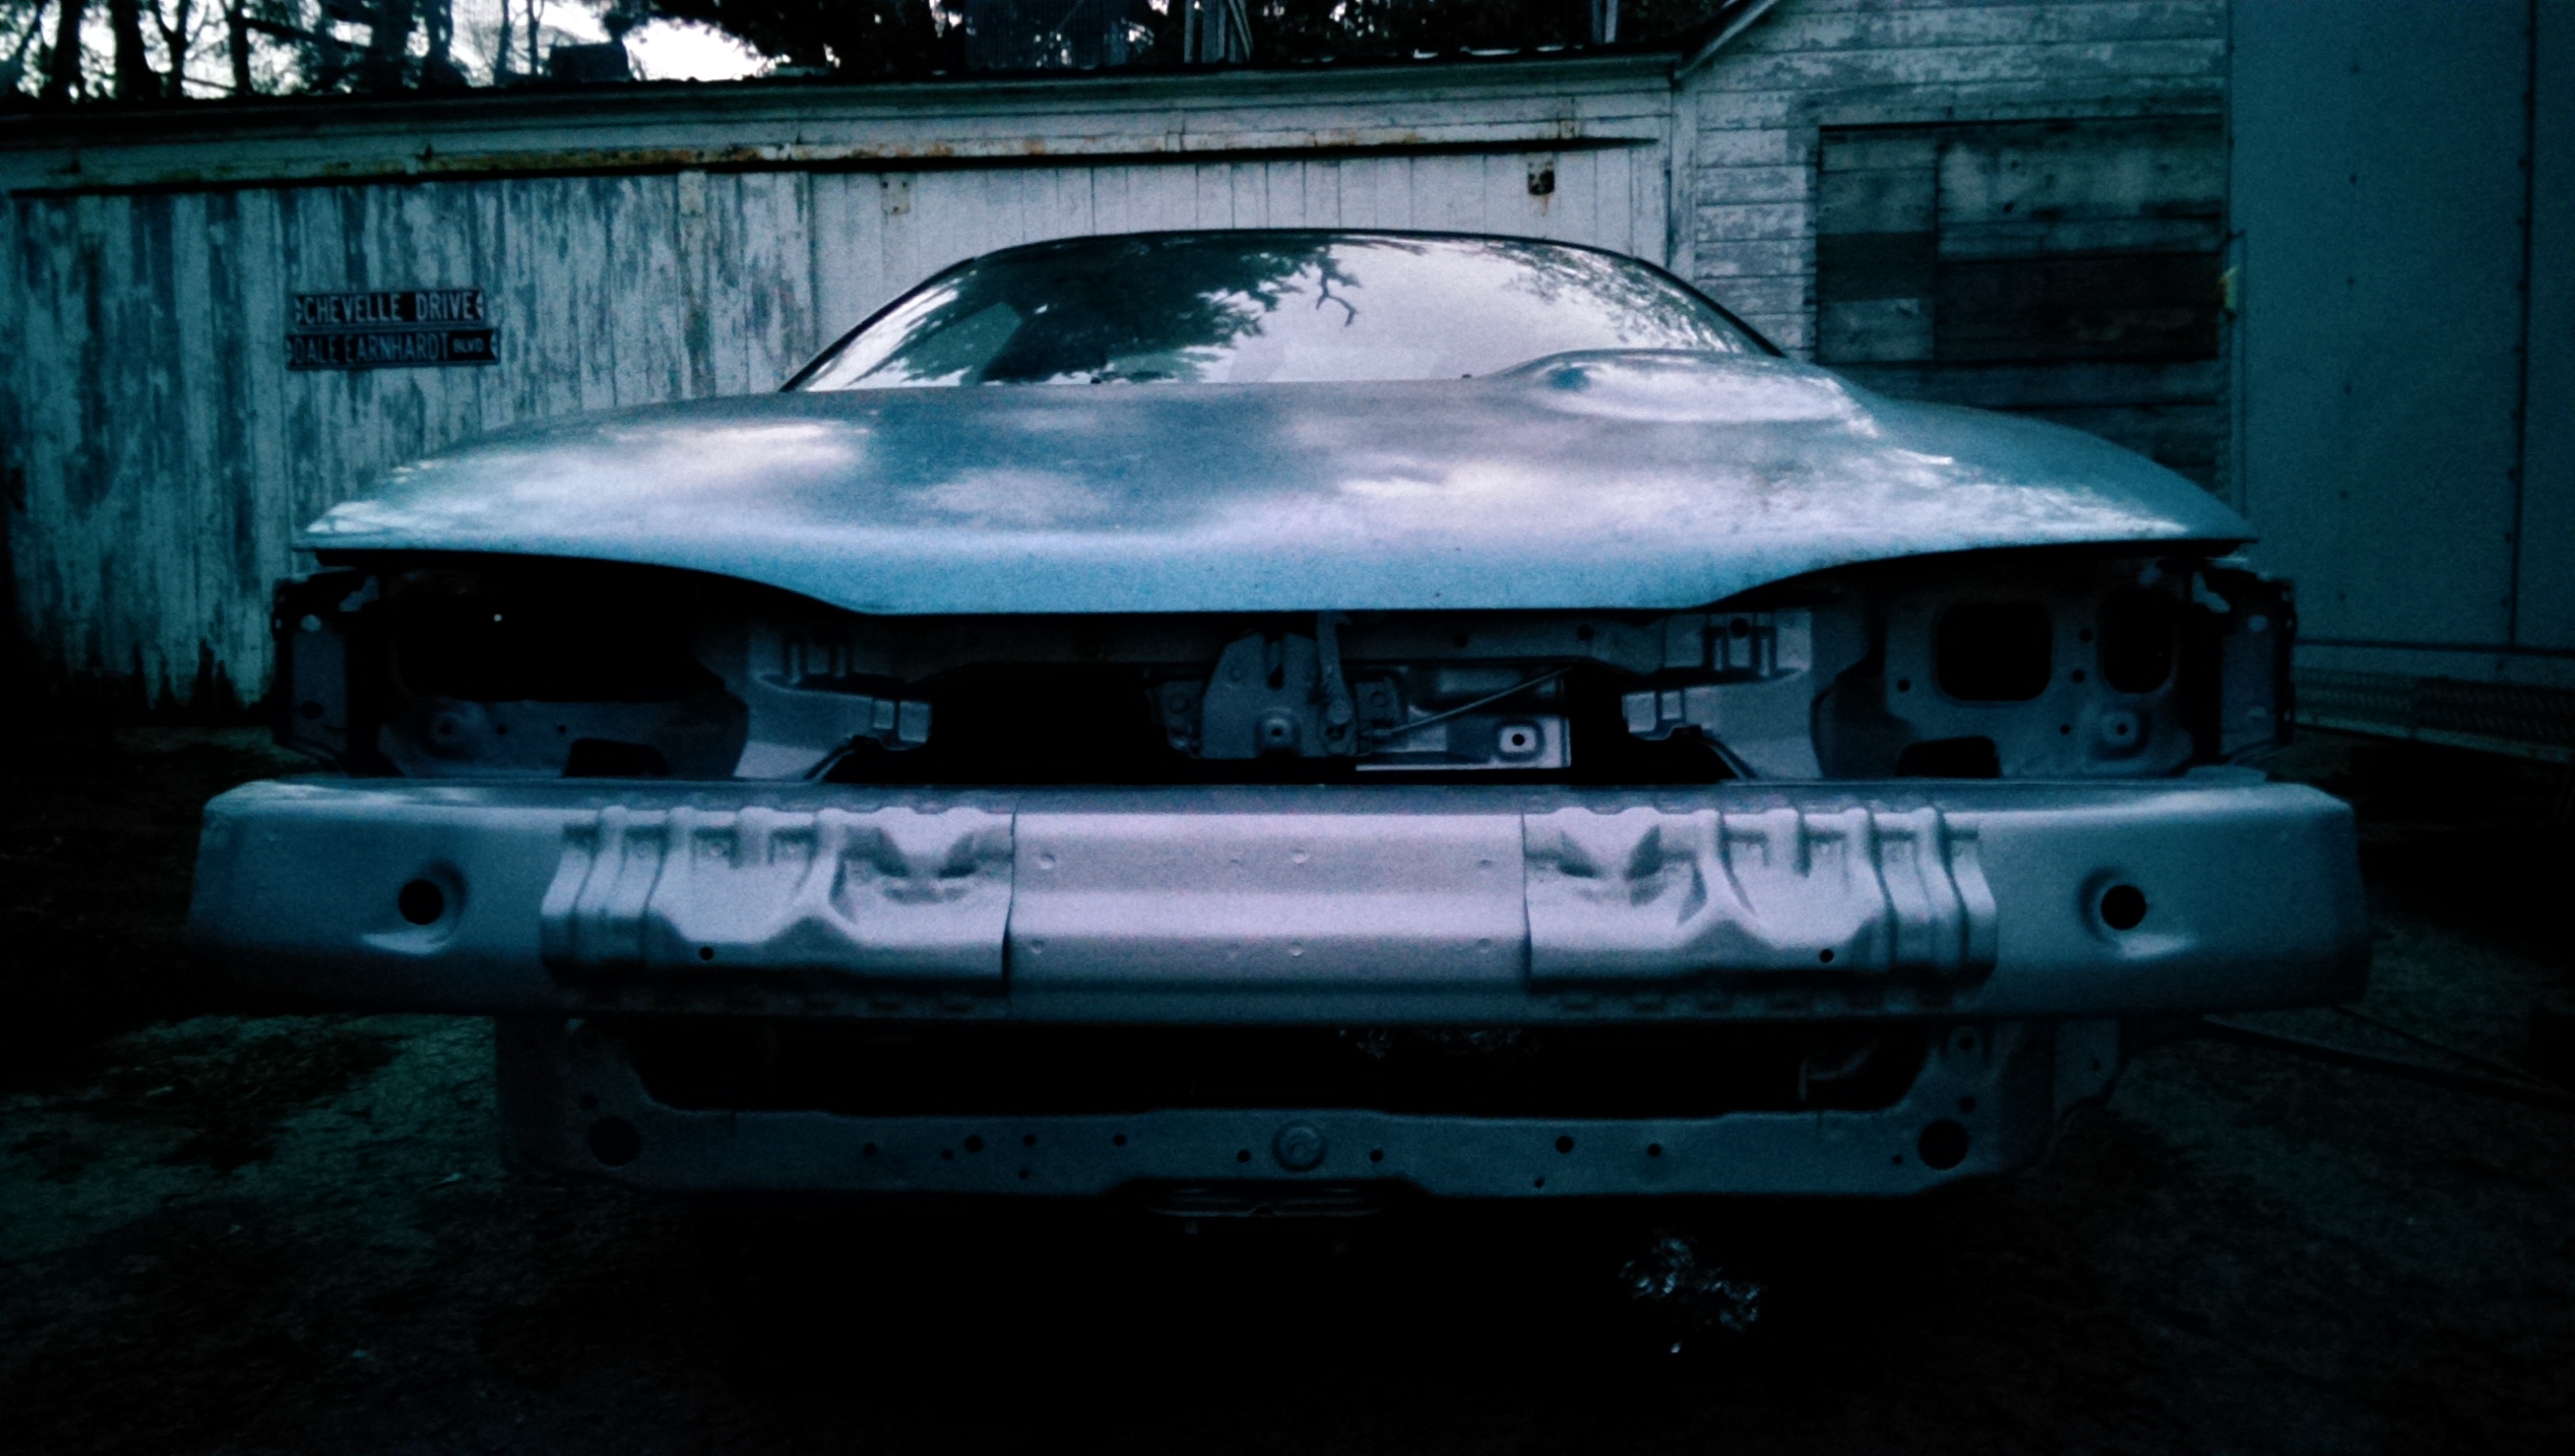
After dealing with yet another half shaft swap and a bit of sway bar end link work on the Mazda I carved out some time to get my engine bay painted. Our neighbor came over with his tractor (ours had it’s clutch give out) and we were able to move the car back onto solid ground. Much easier to work with, and he also mentioned he’s got a cherry picker we can borrow to drop the engine and trans in with. Thanks Lester!


I started things off by double checking everything I had previously wrapped, then did another quick wash with dish soap and a scotch-brite pad to make sure I was getting the best surface to start with.


After it was nice and dry I put on a light layer of self-etching primer. Self-etching primer doesn’t need to be put on thick, it contains an acid that will let it eat into the existing paint and give you a good starting spot for laying down a base. It also means try to avoid breathing it in or getting it on your skin. I don’t have a fancy booth so I donned a sanding mask (sometimes it’s the thought that counts) and some safety goggles while making sure to keep the paint downwind. Once it dried I went at it with some 400 grit sand paper to scuff the surface, I decided I better follow the directions with this one. The sanding also revealed a few places that hand’t been cleaned so well and the previous paint came right off, I made sure those spots won’t have that problem again. I made another quick wash to get the dust off and cleaned up some other parts I’d forgotten while I waited for the bay to dry.


I went with two coats of primer since I had enough and I really want the paint to come out nicely. The trick to spray painting is to keep it moving and only spray when you’re hitting the surface you intend. So don’t hold the button down and wave it around like crazy. Once you get into the rhythm you can cover a lot of area in a small amount of time.


Once the primer was down I was ready to get the silver on there. I knew the color would be almost an aluminum, but I was still a little surprised by how bright and shiny it is. At first I didn’t like it, which is alright since spray paint is pretty cheap, but it grew on me as I finished the second coat (third & fourth pictures below) and the color really settled in.


Seeing the fruits of my labor start paying off was great, hours spent stooped over pulling parts off, washing, sanding, re-washing, and painting at odd angles was starting to pay off. Then came the clear coat. I did two coats of this as well and was surprised when the clear coat actually darkened the paint a little. It went from a shiny aluminum to more of a cool steel color, I like it. It still shines in the light just fine, but isn’t the glaring “open the hood and be blinded” affect the silver previously had. This is much better! In this first shot you can see one spot on the bumper that isn’t painted on the left, compared to the clear coated darker right section.


So that’s that! I waited a little for things to dry out a bit before I started pulling tape and aluminum foil off things. By now I was losing light fast, so I’m happy I got that final coat on before it cooled down to much and got too hard to see. Here’s a shot of the final product without all the tape and foil.


I’ve continued to accrue parts this week and I think I’ve got nearly everything I need at this point. I wasn’t able to have the intake tanked, but they didn’t charge me for the alternator as the flywheel resurface cost more than they quoted me. Thanks Weavers! We also got around to trying out a headlight restoration kit I had bought for the Mazda. It did a great job and had enough left over that I went over the Laser head lights as well to get them in shape.


I’m really glad I got the painting done this weekend, and happy with how it turned out. Now I’m ready to get the engine finished and in the car!
Cars, Computers, & Random Thoughts

