
Sorry for the missed update! My lady and I are looking at buying a house as rent is just about the same price without the benefit of having a two car garage and doing whatever the hell I want with the place. We’ve gone out and taken a gander at a few places, lining up times hasn’t been super easy so that whole shebang has been keeping me good and busy after work. We’re still in the process and I don’t expect it to get less hectic, so apologies in advance if I miss another update!
The car work has not stopped, I’m still (as of this witting) troubleshooting the issue with the Mazda but I was able to observe the issue from outside the car when my lady arrived home from work Thursday. It’s definitely a fuel/air issue, as there was/is an audible misfire-esque sound at the tail pipe. So at least I’m moving in the right direction there. Before I had gotten that far though, I only had the drowning spark plugs to go on. Following up on that issue, I decided to go ahead and change the valve cover gasket on the Mazda. If my Google-Fu is a good indicator, this is a fairly common with the 2.3 MZR engine. The gasket for plugs 2 & 3 is shared and tends to fail over time, explaining my oily 2 & 3, and with 164k I imagine it’s time for it to be done. It’s a fairly cheap part and pretty easy to change out, so I stopped at O’Riellys and grabbed a FelPro VS50639R1 which is a 4 piece set with an improved design over what originally came on these engines. I didn’t do the actual work until the next day as I wasn’t sure how long this was going to take me.


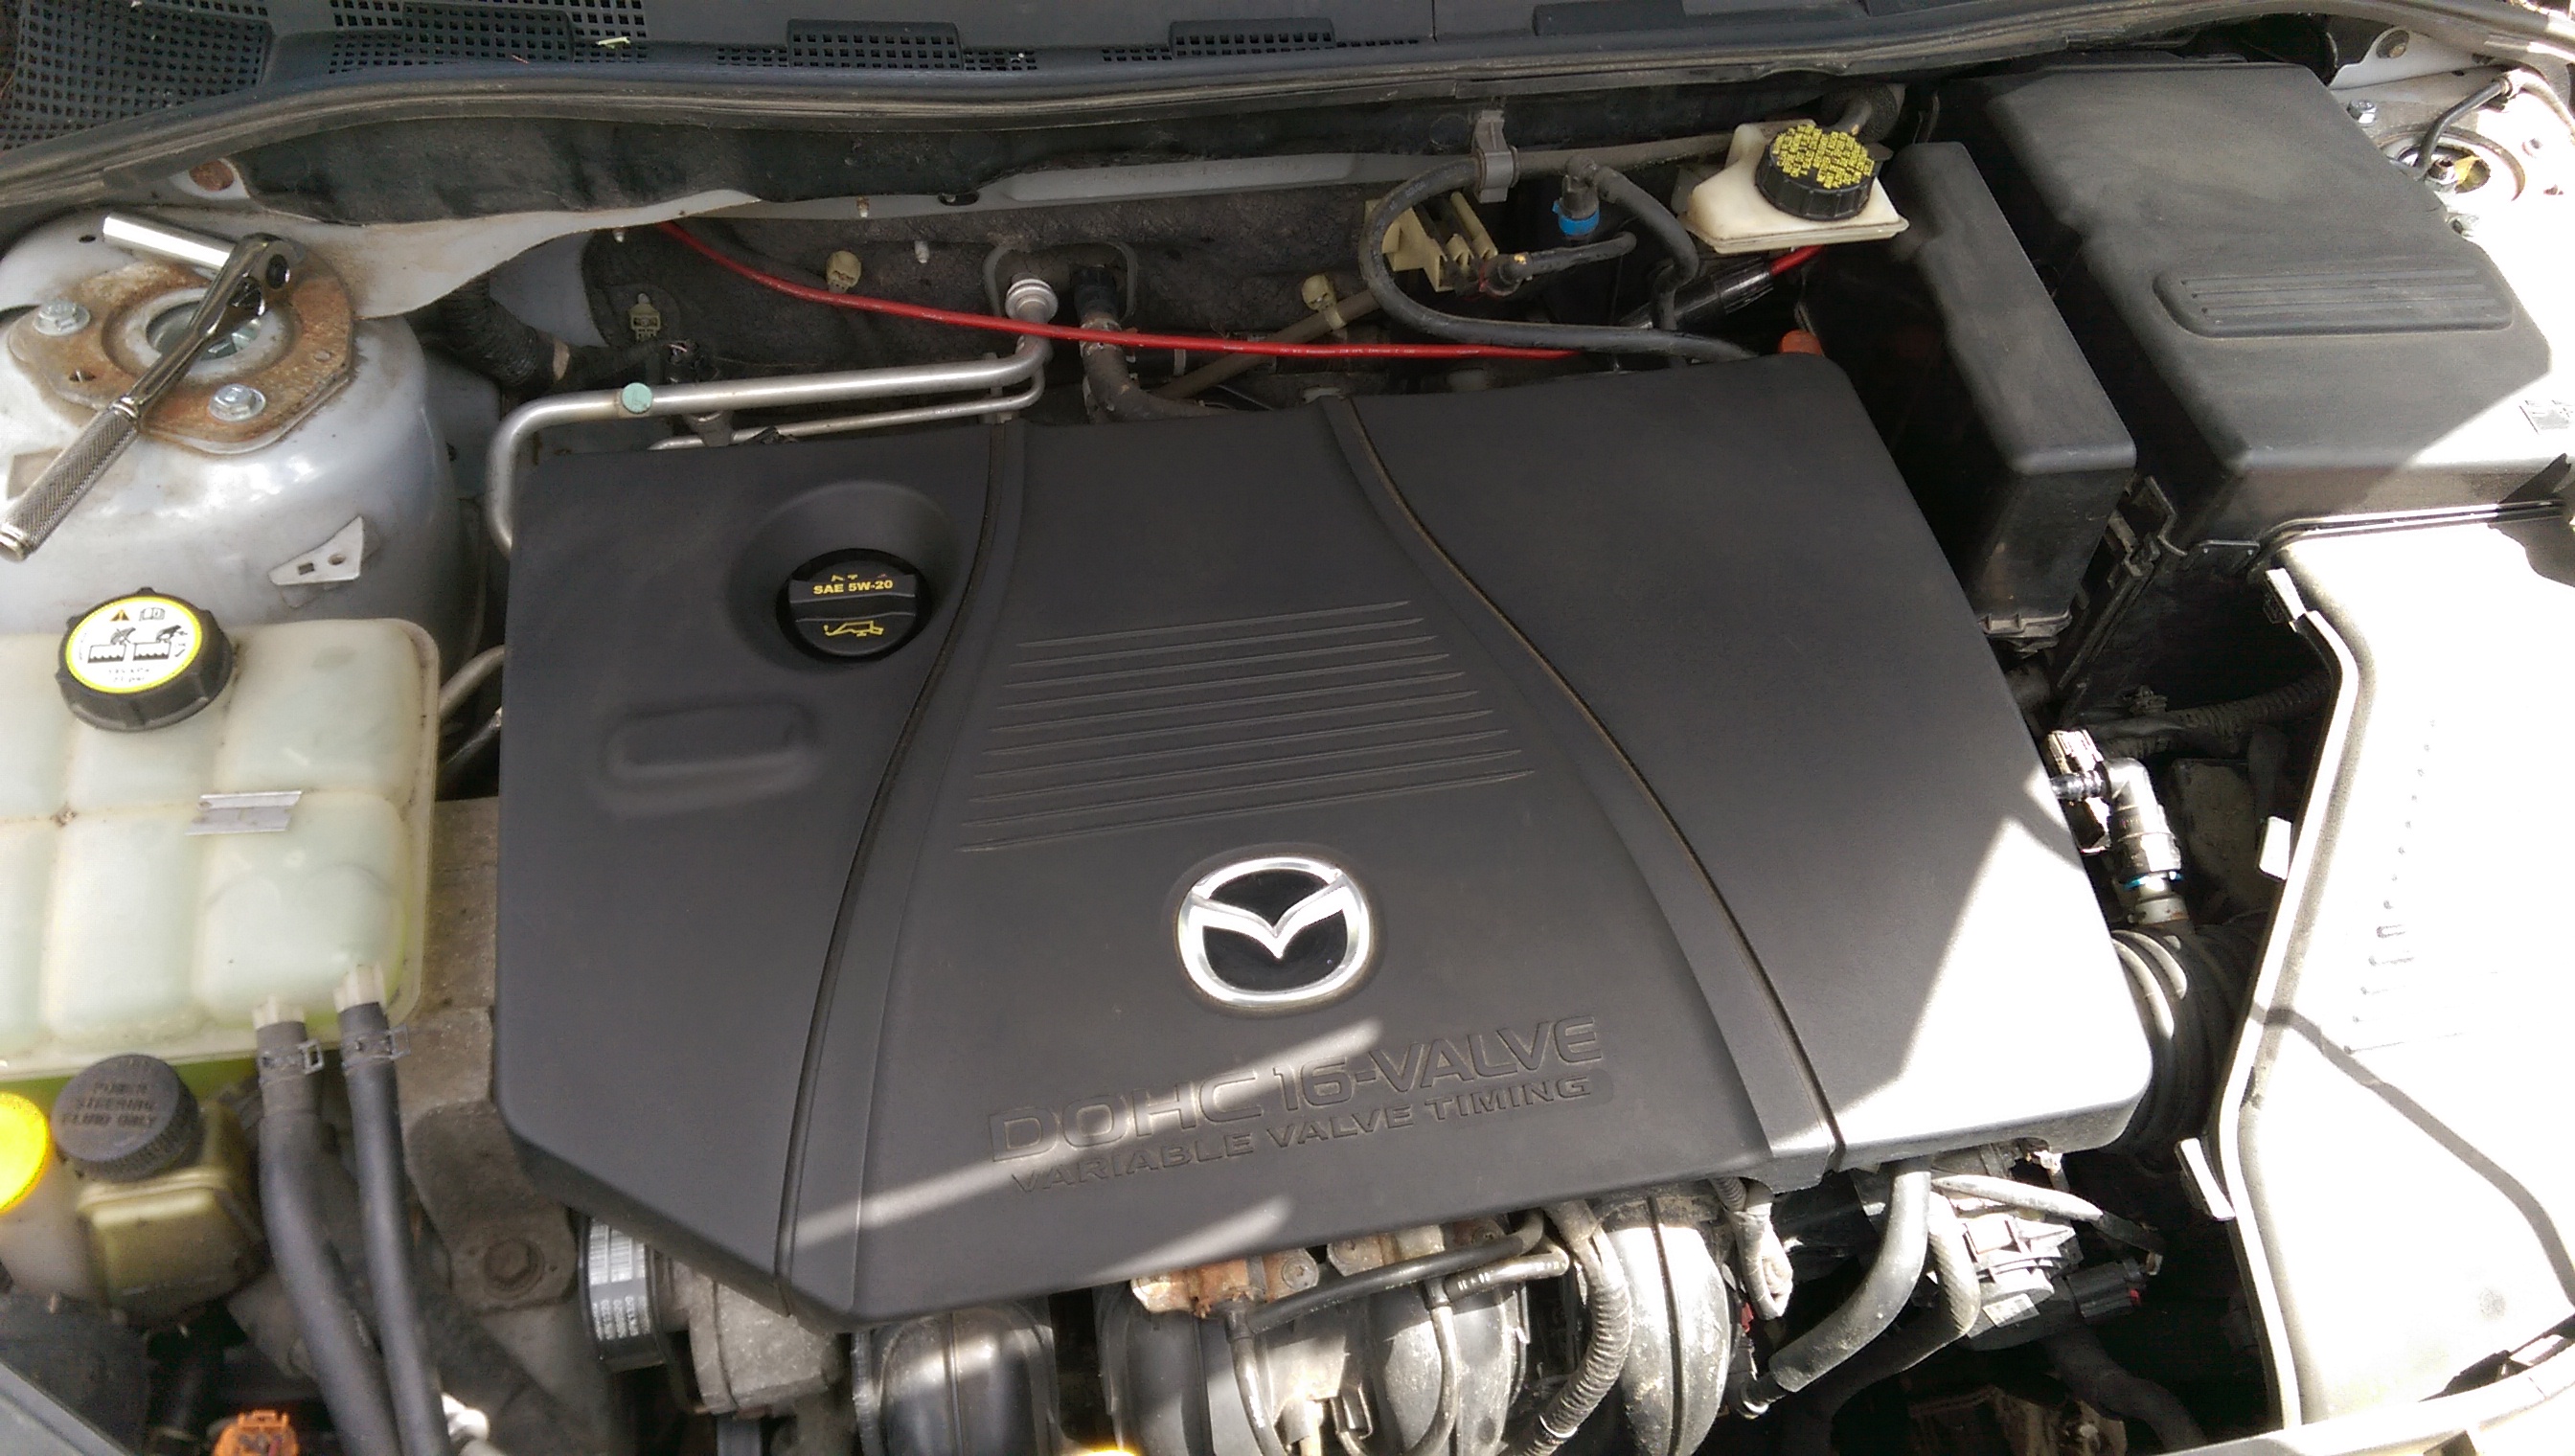
Like I said this is pretty straightforward; requiring a 10mm socket, 12mm socket, in-lbs torque wrench, some oil-resistant RTV, and maybe an hour and a half of your time. You’ll need to remove what I believe is the crankcase ventilation hose from the upper right, which is a pain. The clips they use are supposed to make this easier, but they don’t work well for me. You should be able to push away from the engine on the blue circle to release the clip and slide it off. Didn’t work for me. Instead, I accidentally broke one of the side clips for the piece that actually attaches to the valve cover. It’s been running fine with it like that for a week and a half now so I don’t think it’s a big issue.


Next you un-clip the injector and coil-on-plug harnesses and move those wires out of the way. Pay attention to the wiring and all the anchor points they use, there are plenty and they aren’t all cooperative. Naturally, the coils themselves are the next part to get the boot. When you’re done with those, there’s a bracket near the back right that takes some trickery to remove, you’ll have to pull the small bolt out and then lift the whole piece out of the way. Don’t forget the engine cover is held on by three plastic posts that need to be unscrewed, there is a bolt underneath each.


With that done, you’re ready to remove the 14 bolts that keep the valve cover in place. Note that these DO NOT come out of the valve cover and only need to be loosened from the head of the engine itself. You’re good to go once you’ve backed them out enough that they can rattle in the cover. The whole cover just lifts right up off the engine, but there is some RTV and with higher millage it’s likely the gaskets will stick and be a little harder to lift off. Be patient, and don’t try to wedge anything between the cover and head as the cover is plastic and the head is aluminum. Easy to damage something.


My valve cover is pretty clean inside, no build up and the head itself looks pretty good as well. There is a little wear on the cam shafts but nothing too concerning for a car with 164k miles on it that I occasionally treat like a race car. You’ll be picking the old gaskets out of the valve cover, so lower the hood to make sure nothing makes it’s way into the head while you’re not watching it. You may not be able to see it very well in the pictures, but the old gasket used to have a ridge like the new one, it’s been flattened pretty good. The old gaskets weren’t hard or brittle at all which is a little surprising.


The new gaskets are easy enough to line up, and there are notches that help make it even easier. Once you’ve got all of the new gaskets in place, head back to the engine side and grab the oil resistant RTV. You’ll also want a straight edge razor and a clean cloth. You need to scrape off any old gasket material or corrosion where the new gasket will sit. Once that’s done, you’ll want to grab that oil resistant RTV and put a dollop on either side of the engine where the front case connects to the rest of the engine. You’ll probably have leaking issues if you don’t.


Give everything a good once over to make sure you’ll be able to easily replace the valve cover and then get to placing it back on. As long as nothing gets in the way (watching the wiring harnesses and connectors) it should be pretty easy. With the RTV, you want to give it a little time to set up. What I did was tighten the valve cover bolts hand tight and let it sit for about an hour. This makes sure you don’t just squeeze all the RTV out right away.
You’ll need to follow a certain pattern when you torque the bolts down, I’ve got a picture of it below. The valve cover bolts only go to 60 in-lbs (5 ft-lbs) so grab a tiny torque wrench and follow the pattern. I went around 3 or 4 times just to be absolutely sure they are all torqued evenly. Then replace all the bits and pieces you removed.


Do note that Permatex recommends letting the RTV sit for 24 hours before you go driving around. Luckily this was a Sunday and I had nothing to do so I gave it time, but that’s up to you. There you are, all done! It’s really not that hard to do and was much easier than I expect for a newer vehicle.
I also swapped out the spark plugs a few days after this. They weren’t bad and I’ll be keeping them around in case I need a set. The reason I swapped them out is that when I changed them the first time I got the Bosch equivalent of NGK ITR5F13 and Mazda no longer recommends those plugs. They now recommend the colder NGK ITR6F13, these are about $17 a piece but I found 4 on EBay for $25 and snapped them up right away. I decided it couldn’t hurt, so I went ahead and changed them. So far, I can’t say that I’ve noticed any difference, I’ll keep an eye on fuel economy though.


As far as other goings-on, we had the chance to go and see the Lion King on Saturday two weeks back and it was awesome. Seriously, if you get a chance at cheap tickets (Thanks Chris!) grab them and go see it.

I did some other work on the Mazda the following day, but that’s for another post. More recently, I got to help put in a well last Thursday and then we had the craziness that is Moto-Static this past Saturday. Sunday was a really nice day for a cruise, so we went up to catch a ride on the Merrimac ferry and then took a tour of the new Driftless Glen brewery in Baraboo. I’ll cover all of this in other posts, otherwise this page will never load the enormous amount of pictures.

Until next time!