
First! The 54 was simply out of gas. Guess the gauge doesn’t work. Second, I want to give a huge thank you shout out to our neighbors Matt and Lester for helping me get the engine in and for helping move the car to the garage respectively. Now it’s warning time, this is a pretty long post with a load of pictures, continue at your own peril!
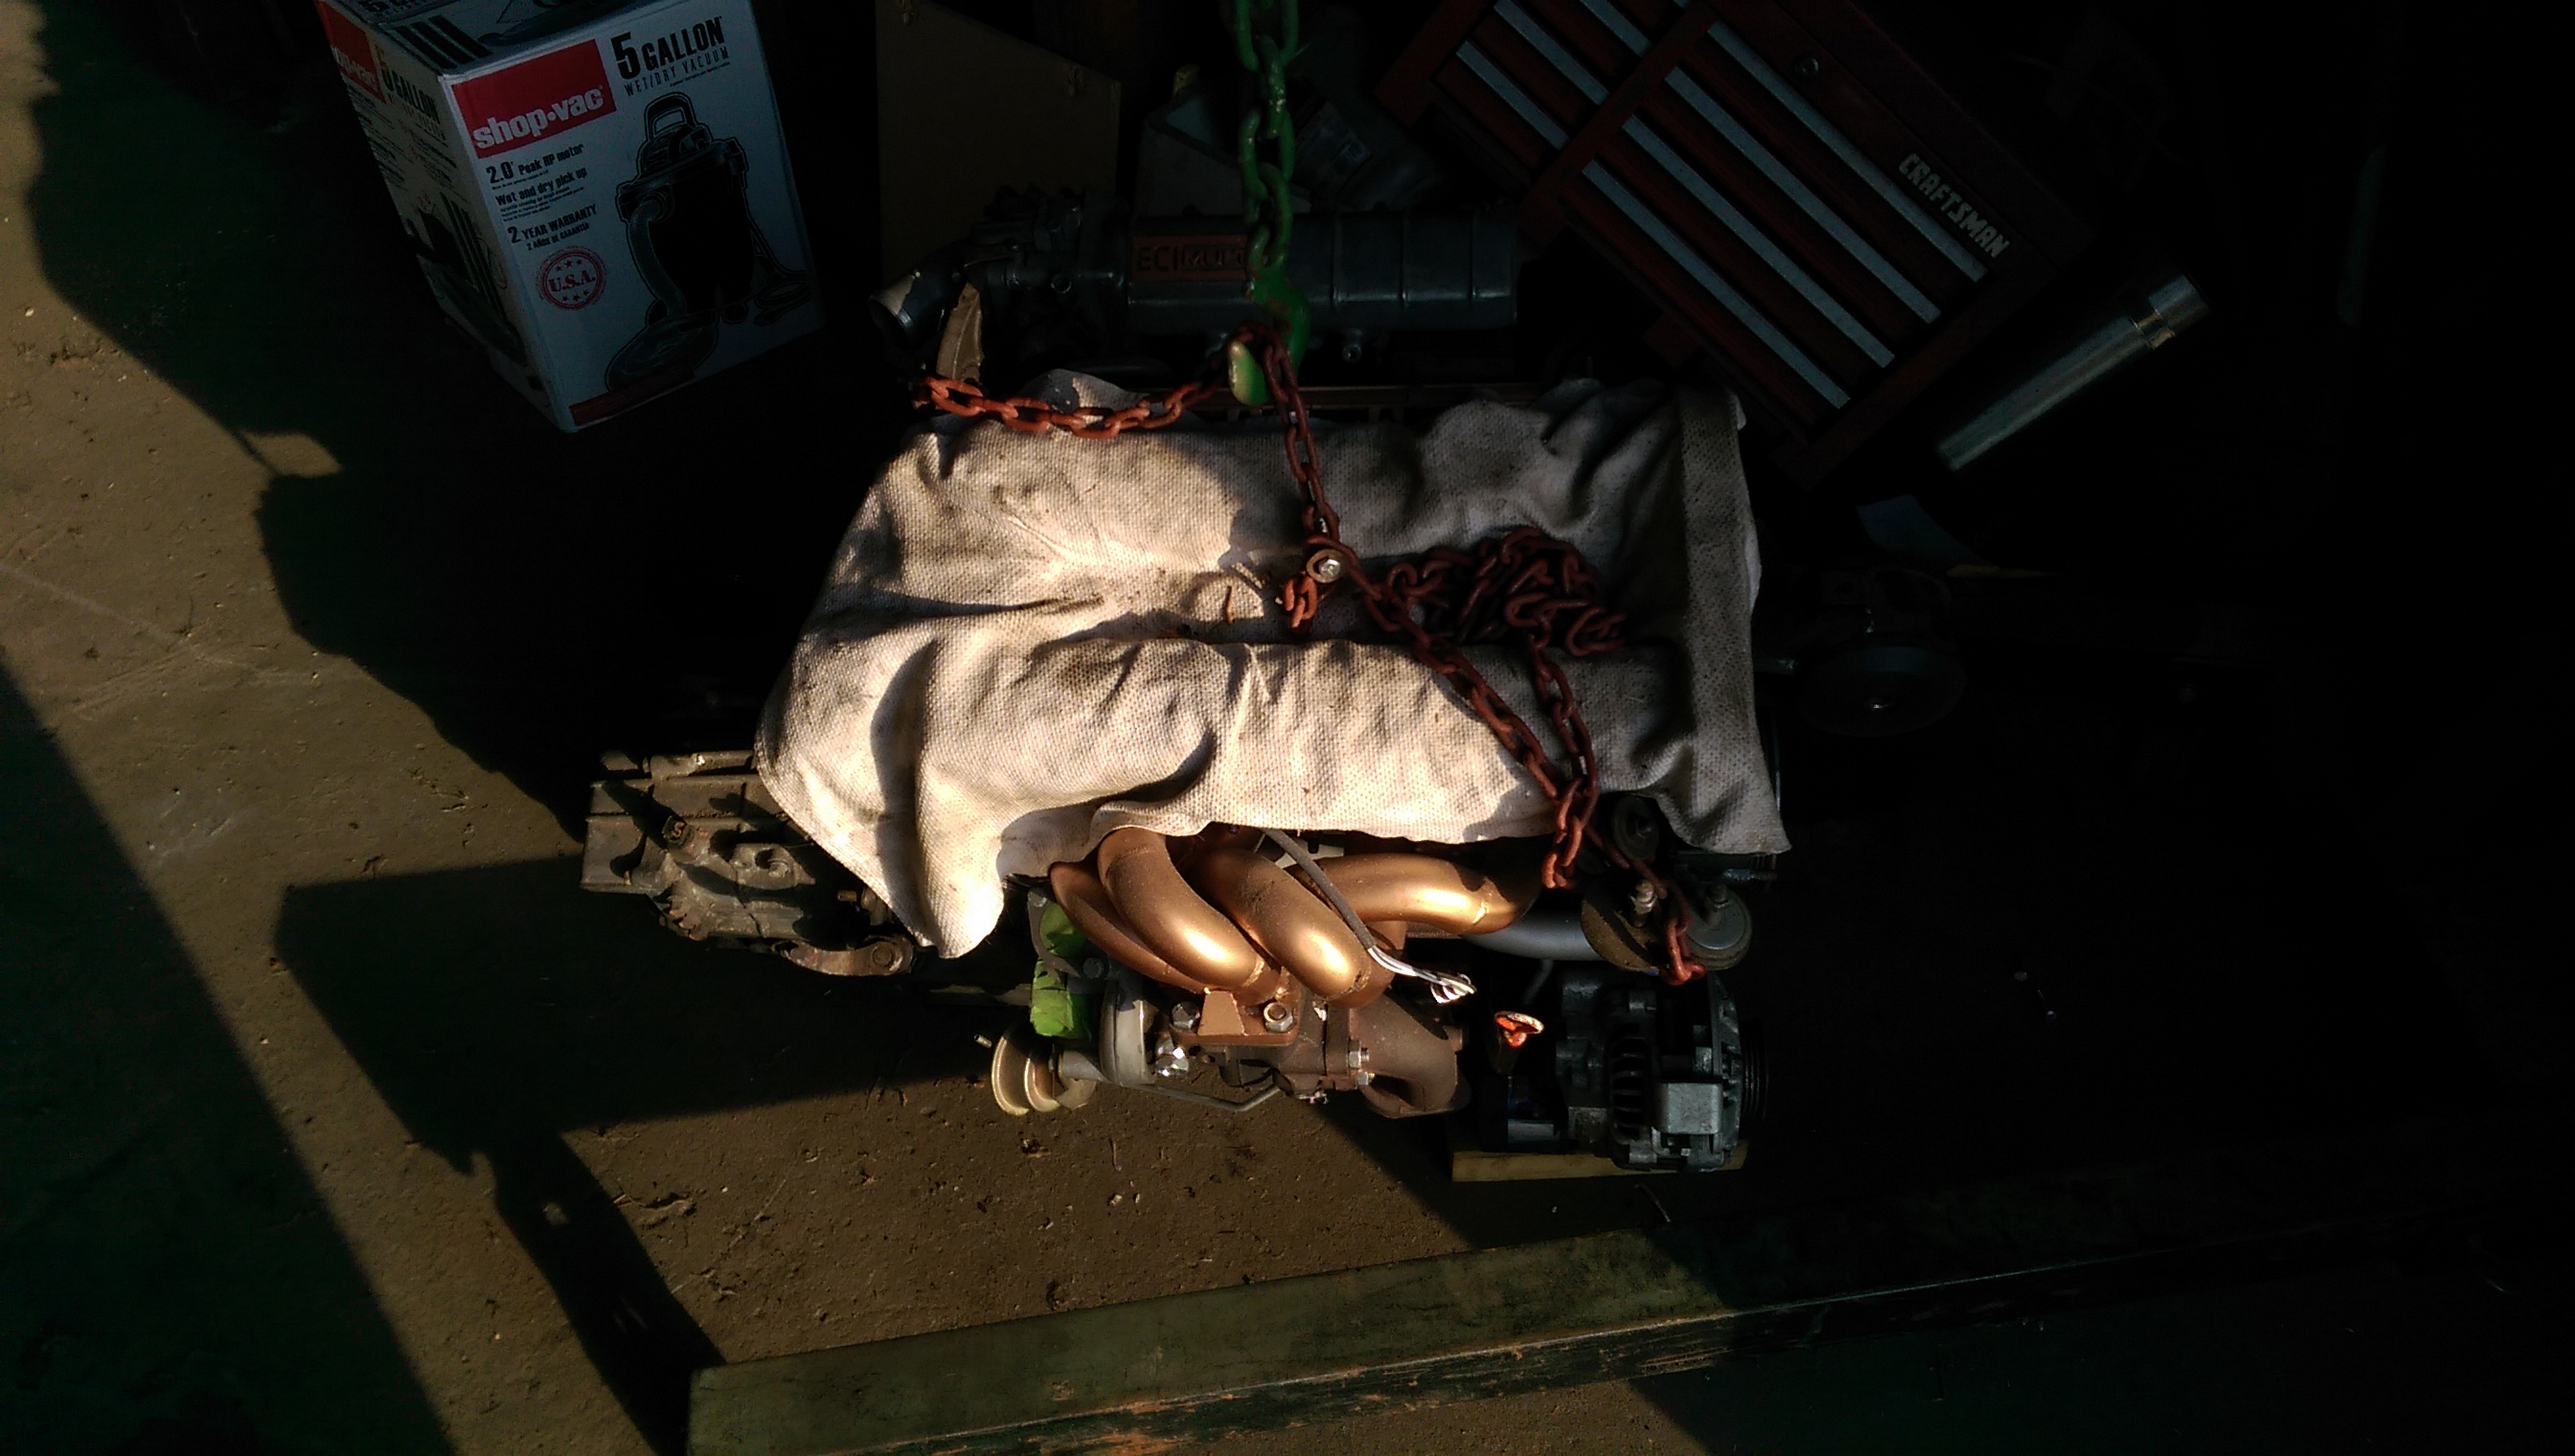
Yes, the Laser is in the garage and being worked on. I think I’m supposed to move it out tonight so dad can fix an axle on the Chevelle tomorrow, but it’s late and I don’t want to go put the wheels on and push it around. Anyway, Lester brought his tractor over, lifted the Laser up, and wheeled it back into the garage. We still had the engine sitting on the floor so we borrowed an engine hoist, asked Matt to stop by, and went to town.
Before putting the engine in I decided to drain the transmission and throw on the turbo oil drain pipe as I was fairly certain it would be easier to do both while the engine and trans were still out. The turbo drain line didn’t work so well, I broke one of the bolts almost immediately. It was not easy to get out, I gave up after 10 minutes of trying but my dad was able to get it out somehow. Thanks dad!


I’m fairly certain I accidentally got some water up in the transmission while I was cleaning it, hopefully it isn’t too crusty inside. The fluid is not supposed to be the milkshake color it came out as but I’m sure some new fluid and some gear grinding will fix that right up.


Matt stopped over to take a look and point out all the things I still had to take care of before putting the engine in. The list was not small but the day was pretty much over so I gave up for the night.


Sam dropped by the next day to drop off some Tesla parts from a car they were fixing at his place of employment. The door handle is surprisingly hefty! As usual, we had an array of car work going on. Dad was working on an issue with his alternator and we were troubleshooting a bad fuel pump on moms car. Shovel to the fuel tank is a surprisingly effective test for a bad pump.


With that, I got to work on the Laser for the day. I changed out the clutch line we broke when we pulled the engine, I also changed out the slave cylinder because why not. Next up, I took the old front struts apart to see if anything would still be usable. Nope, the strut bellows fell apart so I ordered new ones but the strut hat was salvageable which is nice as I couldn’t find replacement ones and the springs themselves were not in as good a condition as I hoped. That’s fine as I already had another set, guess I’ll clean the old ones up and resell them!


The throttle positioning sensor was next, we broke that when we pulled the engine as well. I was able to find one for a desent price but it’s used so I’m hoping it works. I also threw on a new flywheel inspection cover because my old one had gone missing.


Matt stopped down again when I’d figured out most of the issues. We had to do a lot of “Where did that bolt go” sort of thing but we eventually figured it out and got three of the mounts all bolted up perfectly. The 4th, the front roll stop, refused to go into place. We tried pretty much everything we could think of, prying, loosening the other mounts, everything short of pulling it out and starting over. A lot of people say to do the front and back mounts first, then get the side mounts hooked up. We just kind of made it work by bolting up whatever we could, Matt gave me some tips on what I should do for next steps and took off.


One thing I knew had to be changed was the oil pressure light sender, I accidentally broke off the connector. So I changed that out and then I got to figuring out the front roll stop. We didn’t know where the bolt went so we grabbed one that fit. That bolt turned out too small so we thought about using some hose to fill the space and make sure the mount stayed stiff. That’s why I got the inserts to begin with. The problem was, the hose wouldn’t last long.
So we found a thicker bolt and made a thinner insert by cutting the end off a outer tie rod that had come off the Laser (or Mazda) previously. The bolt fits perfectly through that and doesn’t move around.


Sam made me an insert knocker-outer to get the old insert out and then to get the new insert pounded into place. It worked pretty slick, some dish soap helped to slide the insert into place as well.


With the new bolt and the new insert, we had to drill a hole into the front roll stop to make room. I did try to widen the original hole at first, but the new poly inserts do not give and the damn thing just would not line up. So a new hole was made and everything went together, all four mounts in place at last!


Then it was on to all the small things you don’t think about until you need them, as usual. I replaced a whole lot of lines, brake, vacuum, coolant and otherwise.


Coolant returns go into the low pressure pipe. At least I’m pretty sure that’s what the giant pipe is for. I started with the heater core return.

Then did the heater core supply, the intake manifold return and then the intake manifold supply.


Next I found the hard line that goes from the thermostat housing down to the oil filter housing as that’s cooled. I forgot to put that hard line on before everything else, and with the engine in the car it took a bit of finagling to get it into place, but it got there! The coolant lines are hard to run with everything else in the way, so be prepared to get frustrated. You’ll also see the turbo coolant supply has been run, though the supply nipple is larger than the actual line to the turbo so I need to look a bit more at that, maybe get a smaller supply nipple if possible. I got the oil filter coolant return in place but I didn’t have the clamps to put the supply in.


I got my strut bellows in and decided to put my struts back together. This is pretty easy, just be careful with the spring compressors as they have a lot of potential energy to keep in check. Just try to keep them balanced as far as each compressor handling about half the spring.


Electrical! There are plenty of plugs on these cars, some of which I no longer need as the EGR has been removed and so has the AC. I’m not sure what I do and don’t need though, so I’m kind of just finding like-style plugs and plugging them together. Hopefully I can once again draw on the expertise of Matt or maybe even get another DSM over here to check against.
Alternator first! There’s a giant plug, a power strap(?), a connector to the power steering, and then two connectors that go on the oil filter housing. One for oil pressure, and I believe the other is simply a switch for the oil pressure light or maybe oil pressure shut-off.


I straightened what I think is the neutral safety switch and plugged that in, the connector on the transmission side is pretty messed up but it should hold together. I also hooked up the starter power supply and solenoid switch as well as the ground strap to the transmission since those all run off the same wiring trunk.


I also hooked up all the stuff up top, like the coolant sensors and the injectors. I don’t have pictures though, so on to putting the steering knuckles, half-shafts, and struts back in! The knuckle goes on easy enough, just a 19mm for the ball joint and then 17mm and cotter pin for the outer tie rod. That’s it, and then on to the strut. I put the top bolts in and just started the threads to keep it in place, then lined up the bottom of the strut as well and put those bolts in place to hold everything together while I tightened things up.


I got a good look at what happens when you paint POR-15 on dirty metal without any sort of prep first, it peels off. No good, but entirely my fault for not doing any sort of prep. I will say that the POR-15 has held up well on the Mazda where it was applied to rust, without any prep beside a good wash first.

I went ahead and pulled that off, I wouldn’t want that holding water against the paint and helping the rust. Before I actually tightened the bolts on the bottom of the strut I made sure to put the half-shafts in place. This whole process was super easy, it took me maybe 10 minutes to get the knuckle, strut, and half-shaft on either side. I’ve gotten down to about half an hour on the Mazda, and that’s just for the half-shaft, so this was surprising and welcome.

That’s it! Wheh, not a short post huh. I’ve still got a lot of work to do, I swear every time I complete something I find another that needs putting in order. It’s getting there, and hopefully I’ll be starting this bad boy up shortly.
I should mention that I did some work on the Mazda, replaced the valve cover gasket (I’ll cover it in another post) in hopes of solving my oily plug issue. I haven’t checked the plugs yet but I think the issue is still there, I’m not 100% sure though. I really hope it isn’t a vacuum line somewhere but I’m still researching the possibilities. Until next time!