
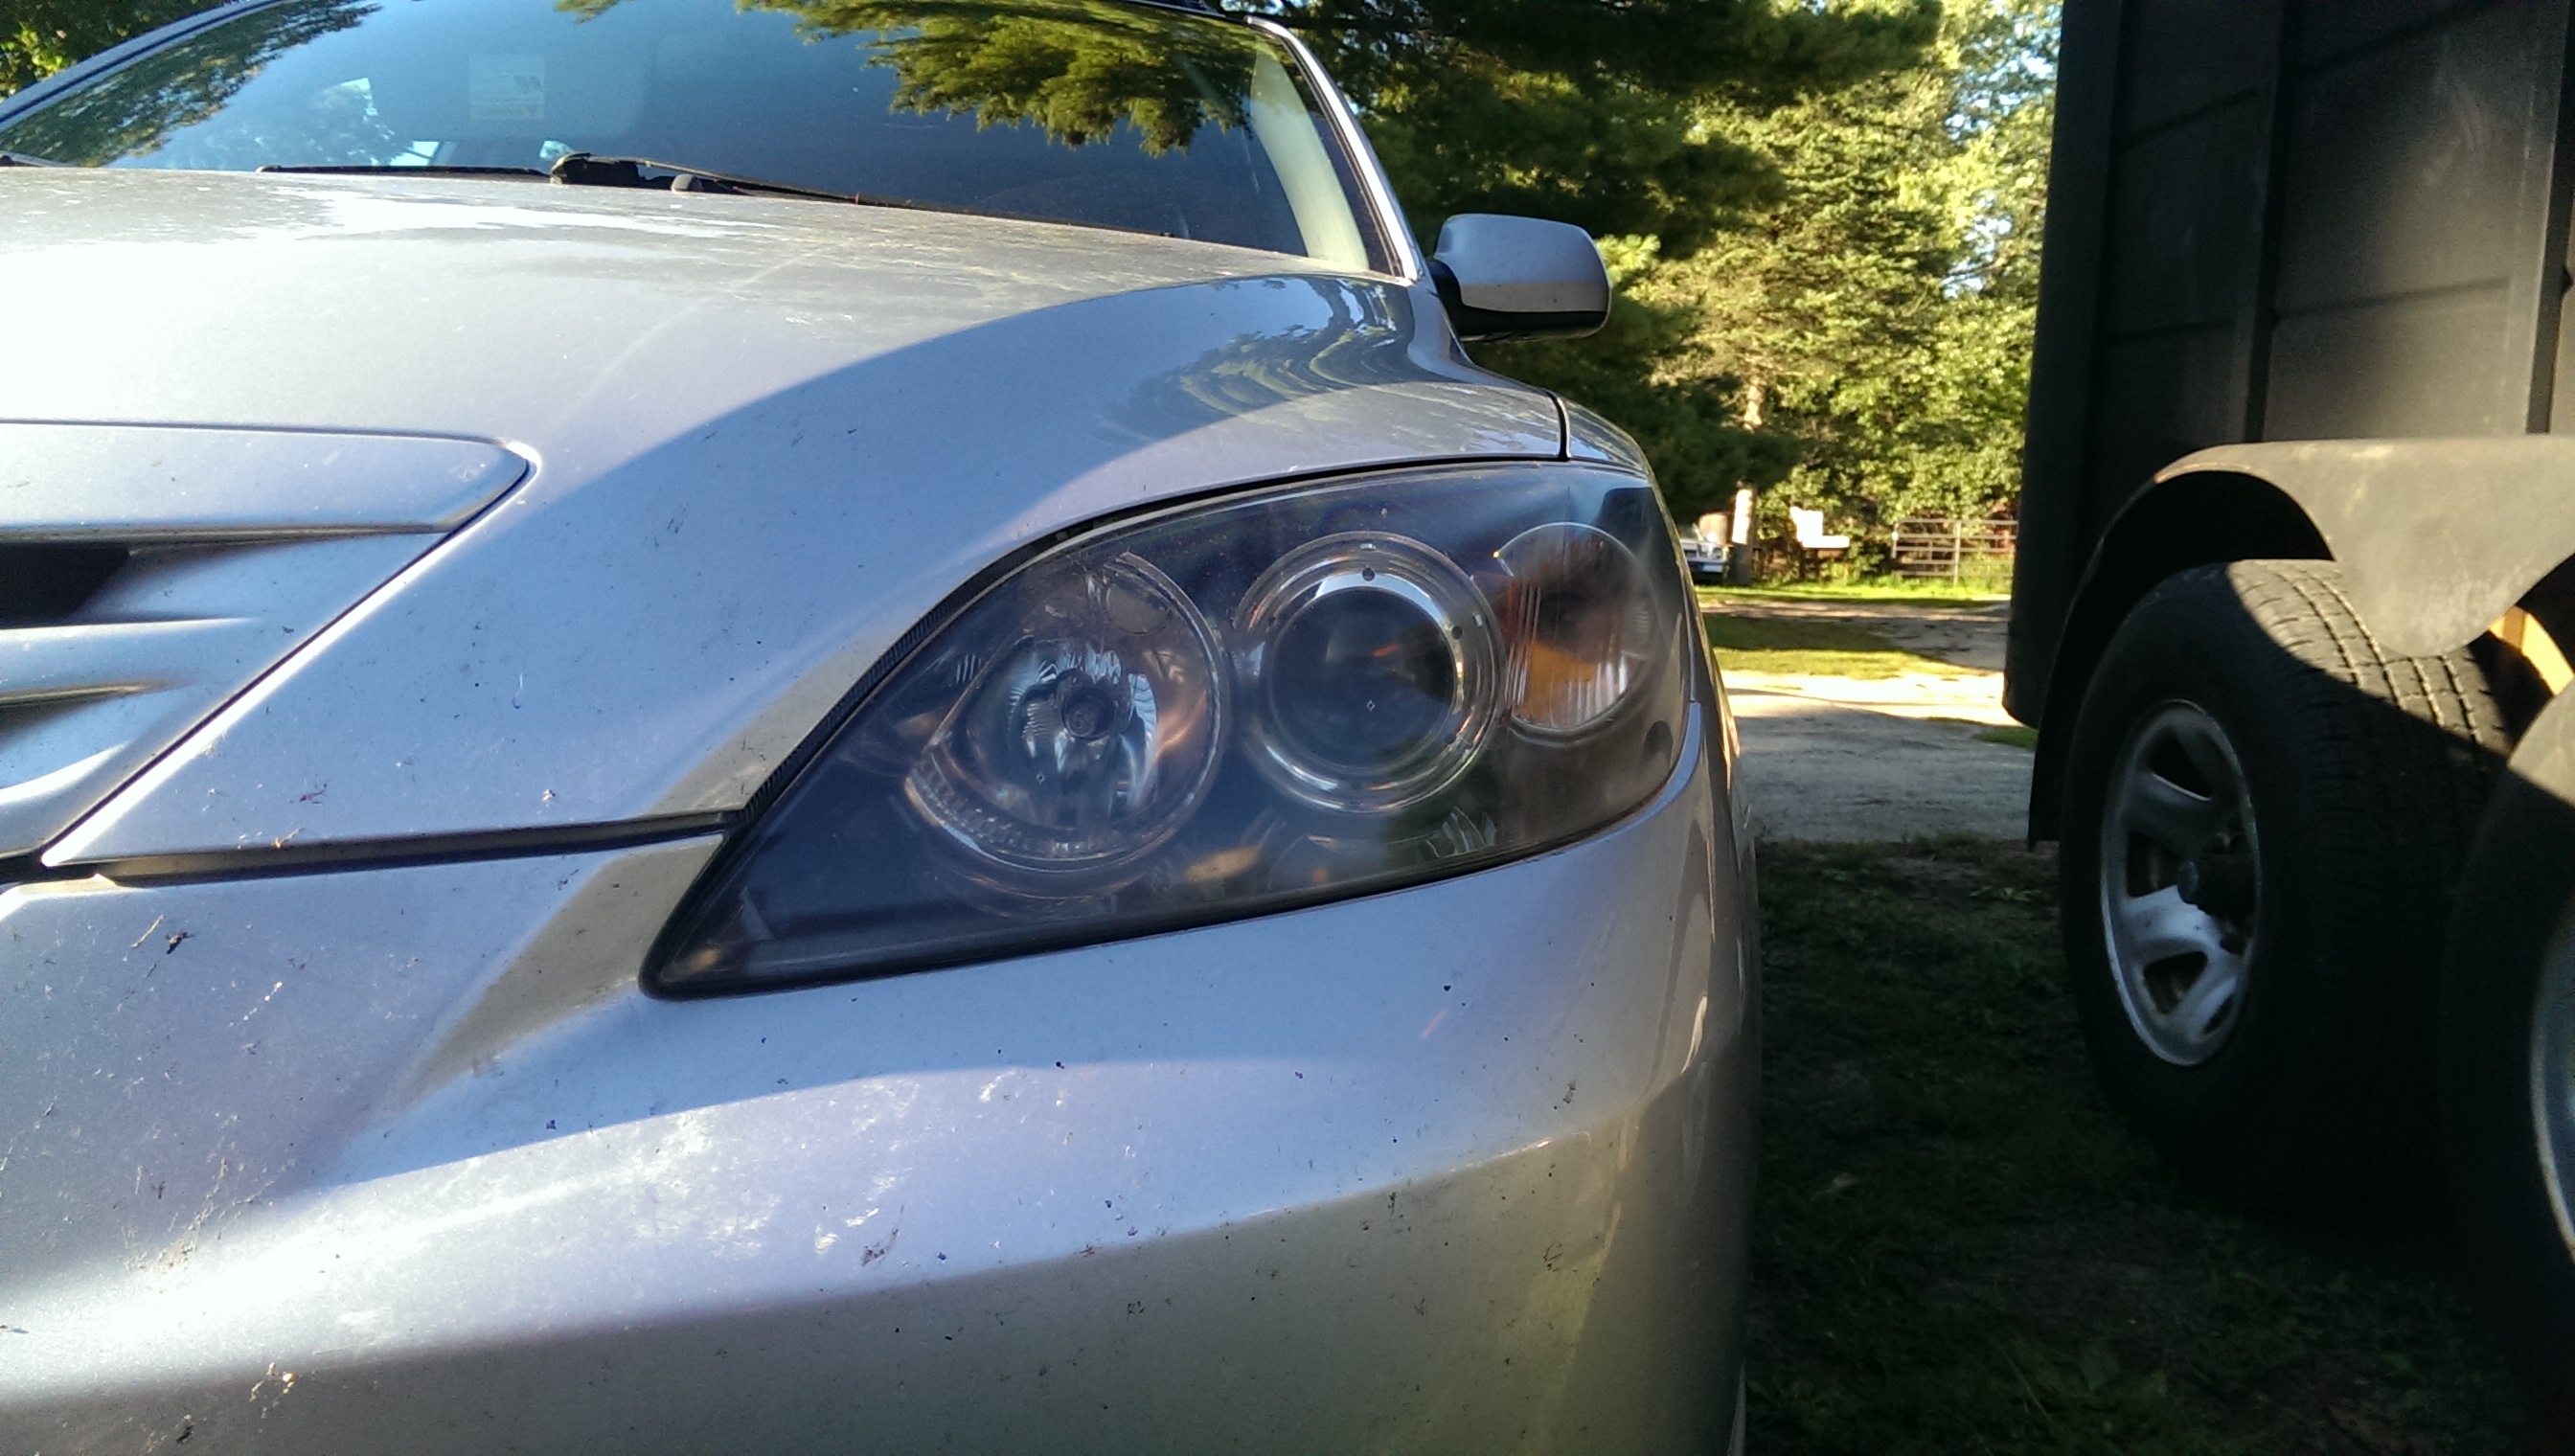
Headlights! Kind of important, useful for seeing in the dark, also useful for standing out during low visibility situations. All around something you want working on your vehicle. The Mazda 3 is equipped, like most newer cars, with plastic headlight housings. I’m all for weight reduction and an assumed decrease in production cost, but plastic tends to dull rather quickly. My old Buick had glass headlight covers so I never had to worry about this, just a bit of attention to the lights during a normal wash and I was good. Not so with the Mazda!
My Mazdas headlight covers were a bit grimy when I got them, so I tried to clean them up when I first washed the car. As you can guess, that didn’t work. The plastic itself had pits and dings in it, which lent a cloudy appearance no matter how clean I got it. So I turned to the interwebs in search of help, I picked up a 3M headlight restoration kit and some Blue Magic sealer that is supposed to help keep this from happening. I was curious how well the protectant would hold up, or if it would make a difference at all, and this was the perfect time to test it!

I gathered everything up and got started taking the headlights out. You can do this with the headlights installed, but I had a feeling I’d make a noticeable mess out of the surrounding paint and due to the very sharp corners on the Mazdas headlights, I wouldn’t have been able to clean the entire thing. I would have noticed every single time I looked at it. The headlight removal isn’t super hard, but you don’t have much space to work with and you have to take the front bumper off, or at least the top edge and the wheel well fasteners.

Once the lights were out I grabbed the 3M kit and attached the coarse grit sand paper to the drill attachment. This is the easy part, you want to get all the large issues worked out with the coarse sand paper and then move on to finer and finer grits for a nice finish. I made sure to get all the way around the headlight, including the pointy bits I wouldn’t have gotten with the headlights installed.
If you can, have someone hold the headlight in place. You’ll be putting a bit of pressure on it with the coarse sand paper.


Next up is a finer grit sandpaper that smooths the finish out quite well. Even at the second stage I was seeing a massive difference in how clean they looked.

The final stage is actually a polishing compound. The 3M kit comes with a separate drill attachment for this as well as a good amount of polishing compound. Take your time on this stage and you’ll be able to really get those headlights looking like new.


Finally, I grabbed the headlight sealant and, following the directions, rubbed the headlight covers down with the stuff. It almost feels greasy when you touch it and it did bead up a bit on the plastic, but a wipe with a clean microfiber towel took care of that. With the sealant on, the headlights feel slippery. Not sure if that’s what I’m going for but we’ll see how well it holds up to the elements.

Once I was happy with how the headlights looked I went ahead and put everything back together. I must not have done it quite to the Mazdas liking, because my headlights have been uneven since I did this. I did look into adjusting them but it seems like a major pain that I’m not willing to deal with just yet. Plus it’s not noticeable enough while driving at night for me to worry about it.

We had plenty of leftovers, the 3M kit comes with several of each grit of sandpaper and two packets of polishing compound. We had enough to do my Lasers headlights, which really weren’t too bad, and my dad did his Jettas headlights as well. I grabbed some shots of th Laser headlights before the action:


After the first stage with the coarse grit:

After the polishing was all done:

And finally, after the sealant was applied:

I really didn’t notice how dirty they were until I had cleaned them up. I’m glad I did! That’s all for this week, I’m really looking forward to some warmer weather that’s a bit more “working on my car outside” friendly.