
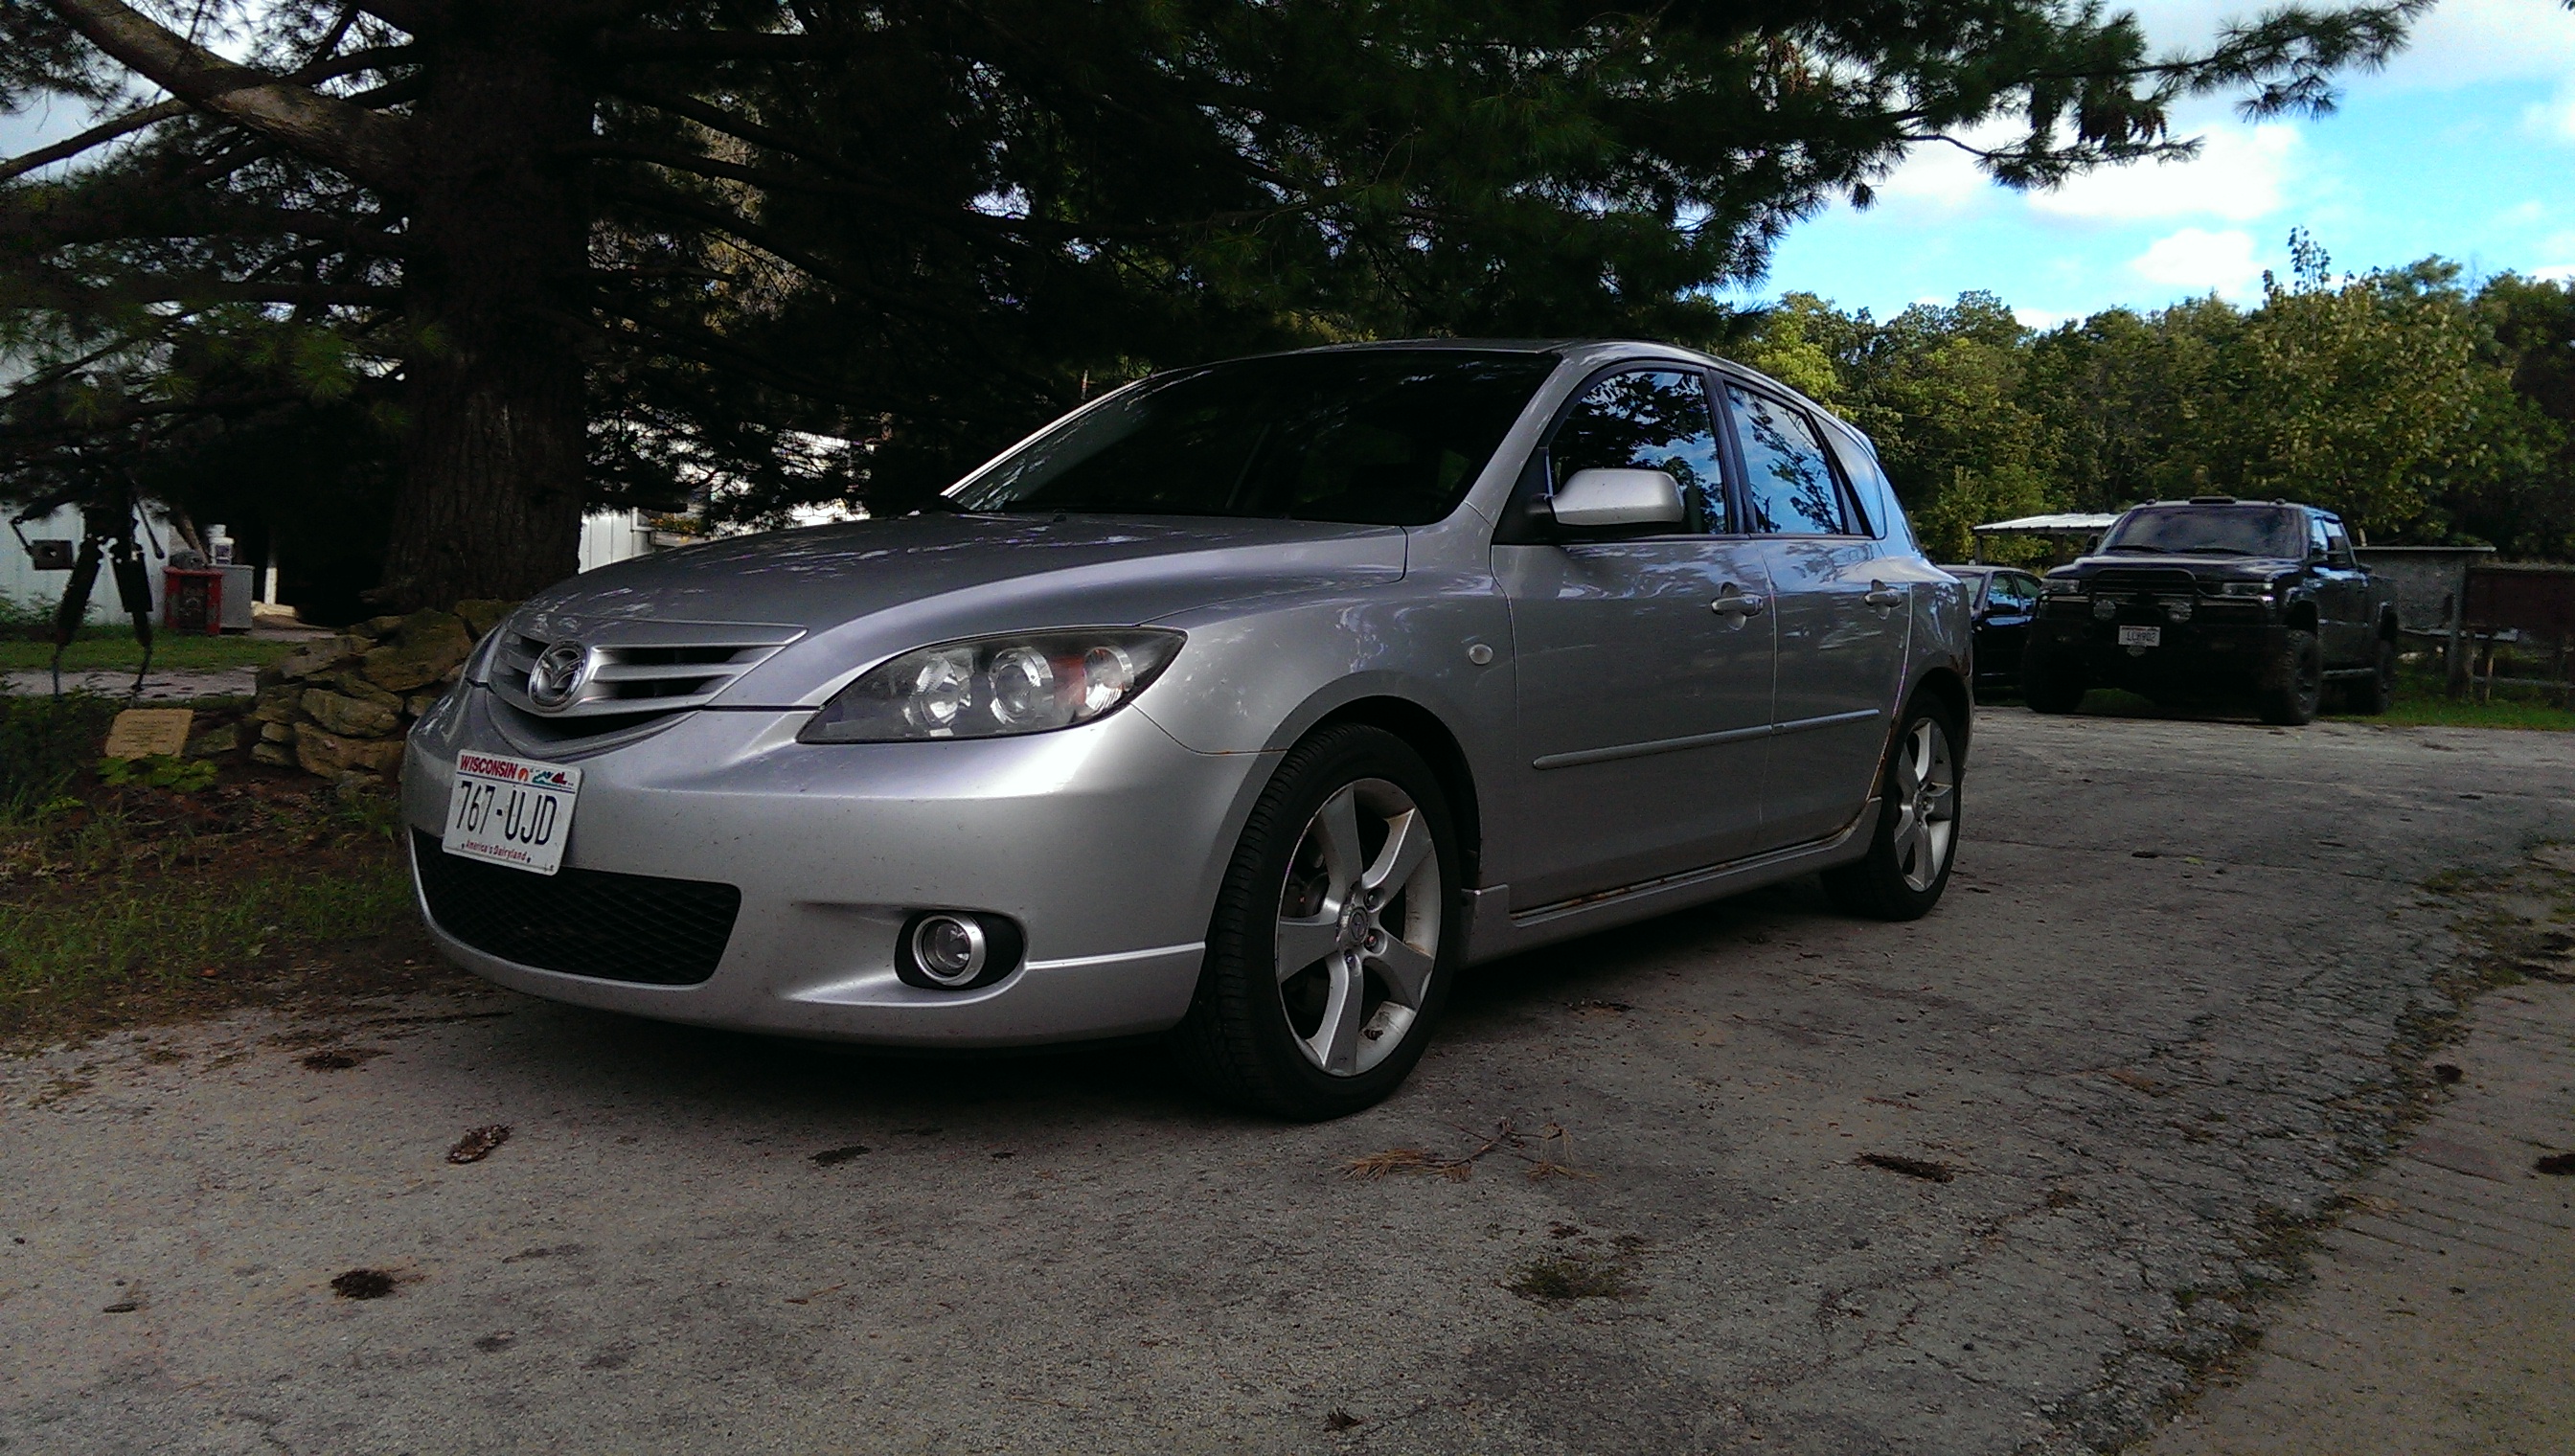
I hope everyone had a great Christmas and is ready for New Years! It’s currently very snowy outside (thanks for missing Christmas ya jerk!) so I’m digging into the archives on this one. A few months back, in a warmer time, I needed to change out the drivers front sway bar end link on the Mazda as it was causing a clunking noise when going over bumps. So I decided I might as well do all of them right away since they’re cheap and I’ll have all the tools gathered up. I started with the rear sway bar end links instead of, you know, fixing the one that actually needed fixing.
First things first, gather some tools and jack the car up so you can get some stands under there.


Sway bar end links are pretty simple on this car. You need an odd size hex key to hold the center still while you back the 14mm lock nut off. I think I was using a 5mm hex key but you actually need 4.5 or 5.5 or something, you’ll have some troubles with this otherwise. This worked fine on the sway bar side, but the top end that bolts through the control arm wasn’t having it. Rust.


So I did what any rational person would do, I brought out the sawzall and went at it. It cut down the time it took to loosen the rusted nuts considerably. See what I did there? I’m that guy.


Putting the rear sway bar end links back in can be a little tricky since you have to line up both sides at once. I suppose having a helping hand wouldn’t hurt here.
My method was to get them started in the sway bar bolt hole but not enough to actually go through, just enough to hold them in place. Next, I lined the top up to make sure they would hit both bolt holes. With that lined up, I slowly worked them into place for both bolt holes and started the nut on the control arms of either side to hold them in place. Then I started the sway bar nuts and tightened everything up.
Don’t do what I did and get the first one all tightened up before realizing you need to line them up simultaneously. Oh, and these only go on one way, so test fit before you try to line everything up.


There, rear is all done! Now you’ll want to find a walking stick insect and an interesting caterpillar.


Wait, no, wrong post. Uh, oh yea! Move to the front. Jack stands and what not, make sure you’re steering wheel is centered and remove the wheels.


The front sway bar end links are held on the same way, and thus will likely require a similar method of removal. Do be a bit more careful on this end, hitting brake lines or ABS sensors wires is a good way to ruin an otherwise easy fix.

One thing to note, new blades make this so much faster. So maybe throw a new metal eating blade on before you start cutting. I think I was under the car working on the rear ones for half an hour, after switching the blade it took maybe 10 minutes to cut off both front sides.


Installation is just as easy as cutting them off. These parts didn’t have a hex key so just crank the 14mm lock nuts as tight as you’d like. Hopefully you like cranking them tight enough to hold them on.

Now repeat on the other side!


Make sure to have the official shop puppy inspect your work to be certain it’s up to spec.

Now take it out for a ride and enjoy the sweet silence!
As a side note, my replacing these parts brought out a tendency to oversteer when I run my usual backroads. I hadn’t really noticed it doing otherwise previously but with the new suspension bits I definitely have different handling characteristics. The turn-in is mostly unchanged but once the tires bite I get something close to snap oversteer. Just something to consider, you may have to re-think your turn-in points and the like if your old end links were as bad as mine. My sidewalls are also more compliant then I’d like, so if you have a stiffer sidewall tire you may only notice sharper turn-in.