
Welcome to the final installment of my Running of the Benz series! In this final edition, I’ll cover the water pump, brake work, and my second attempt at stopping the valve cover from leaking. Without further ado, lets jump in!
WATER PUMP
I thought that it might be a good idea to go ahead and replace the water pump before driving across the country. I didn’t really want that to break when I’m a few states away from home, so I hit up Amazon and had one shipped over. Once I received my new part, I got to work taking my old pump off. This necessitated the removal off the radiator, as I didn’t have enough room otherwise. Being an automatic, there are also transmission fluid cooling lines run through the radiator, so I had to get a bunch of buckets and make sure to keep all of the dripping fluids separate.


After getting the shroud out of the way, taking the fan off, and finally unbolting the pump, I noticed that the new pump wasn’t quite going to fit. As you can see below, my current pump is about as long as my trusty Sanrenmu 7056. It turns out there are two different versions of this pump depending on how your car was optioned. I returned the longer pump to Amazon and started looking for a shorter one to fit my car. I could only find a few options, and they were out of my price range for a single part. Instead, I opted to clean the pump as best I could and then reinstall it. You see, old Mercedes-Benz like this car are what originally gave the brand its reputation for reliability.


I hit the pump with a wire wheel to take off whatever corrosion I could get at. After that, I used a razor blade to clean the surface where the old gasket had stuck to the engine.


If I had been thinking I would have sprayed a few coats of clear over the outer housing to preserve my work. Instead, I got to work creating a new gasket since the old one shredded itself on the way off the engine. This actually wasn’t that hard, but I did have to make a second attempt before I was satisfied with the result.


New gasket in hand, I reinstalled the pump and then refilled all the fluids I had captured on their way out. I’m still running this homemade gasket and refreshed water pump about 5,000 miles later.


Next, I had to deal with some brake issues that were holding me back. Heh.
BRAKES
I had noticed my brakes tended to get hot, smoky hot after one particular highway run, and decided it warranted attention before such an undertaking as the Power Tour. Since I had already replaced both calipers, rotors, and pads on the rear of the car, I started looking at the hydraulic lines. The indicator that it was likely a hydraulic hose problem was that the brakes worked pretty well, but the brakes would then stick. This is caused by brake fluid getting through the line on the way to the caliper, but not being able to make it’s way back to the reservoir. This meant the brake pads kept pressure on the rotors. In some cases, these hydraulic hoses are held in place by metal clips that rust and then put enough pressure on the hose to lock up the caliper. Luckily, my car doesn’t use that setup so I got to replacing the hoses! We quickly discovered it was easiest to cut the end off the outgoing hose and get a socket on there to turn the end piece off. This was repeated at all four corners of the car.


While I was under there, I checked my brake pads again just to make sure they hadn’t sustained any major damage due to the lockups. I also got a good look at my leaky differential, turns out someone overfilled it. I cracked open the case and drained it a bit, hasn’t acted up since. While I was changing the rear passenger hydraulic hose I twisted the rusted metal end right off the metal line. A quick run to a nearby Weavers and some wrenching got everything back together alright.


While we were under the car, we noticed that the gas pickup line had gotten sort of janky. replacing it was not easy, and I’m pretty sure I smelled like gasoline for a few days afterward.

VALVE COVER GASKET, ROUND 2
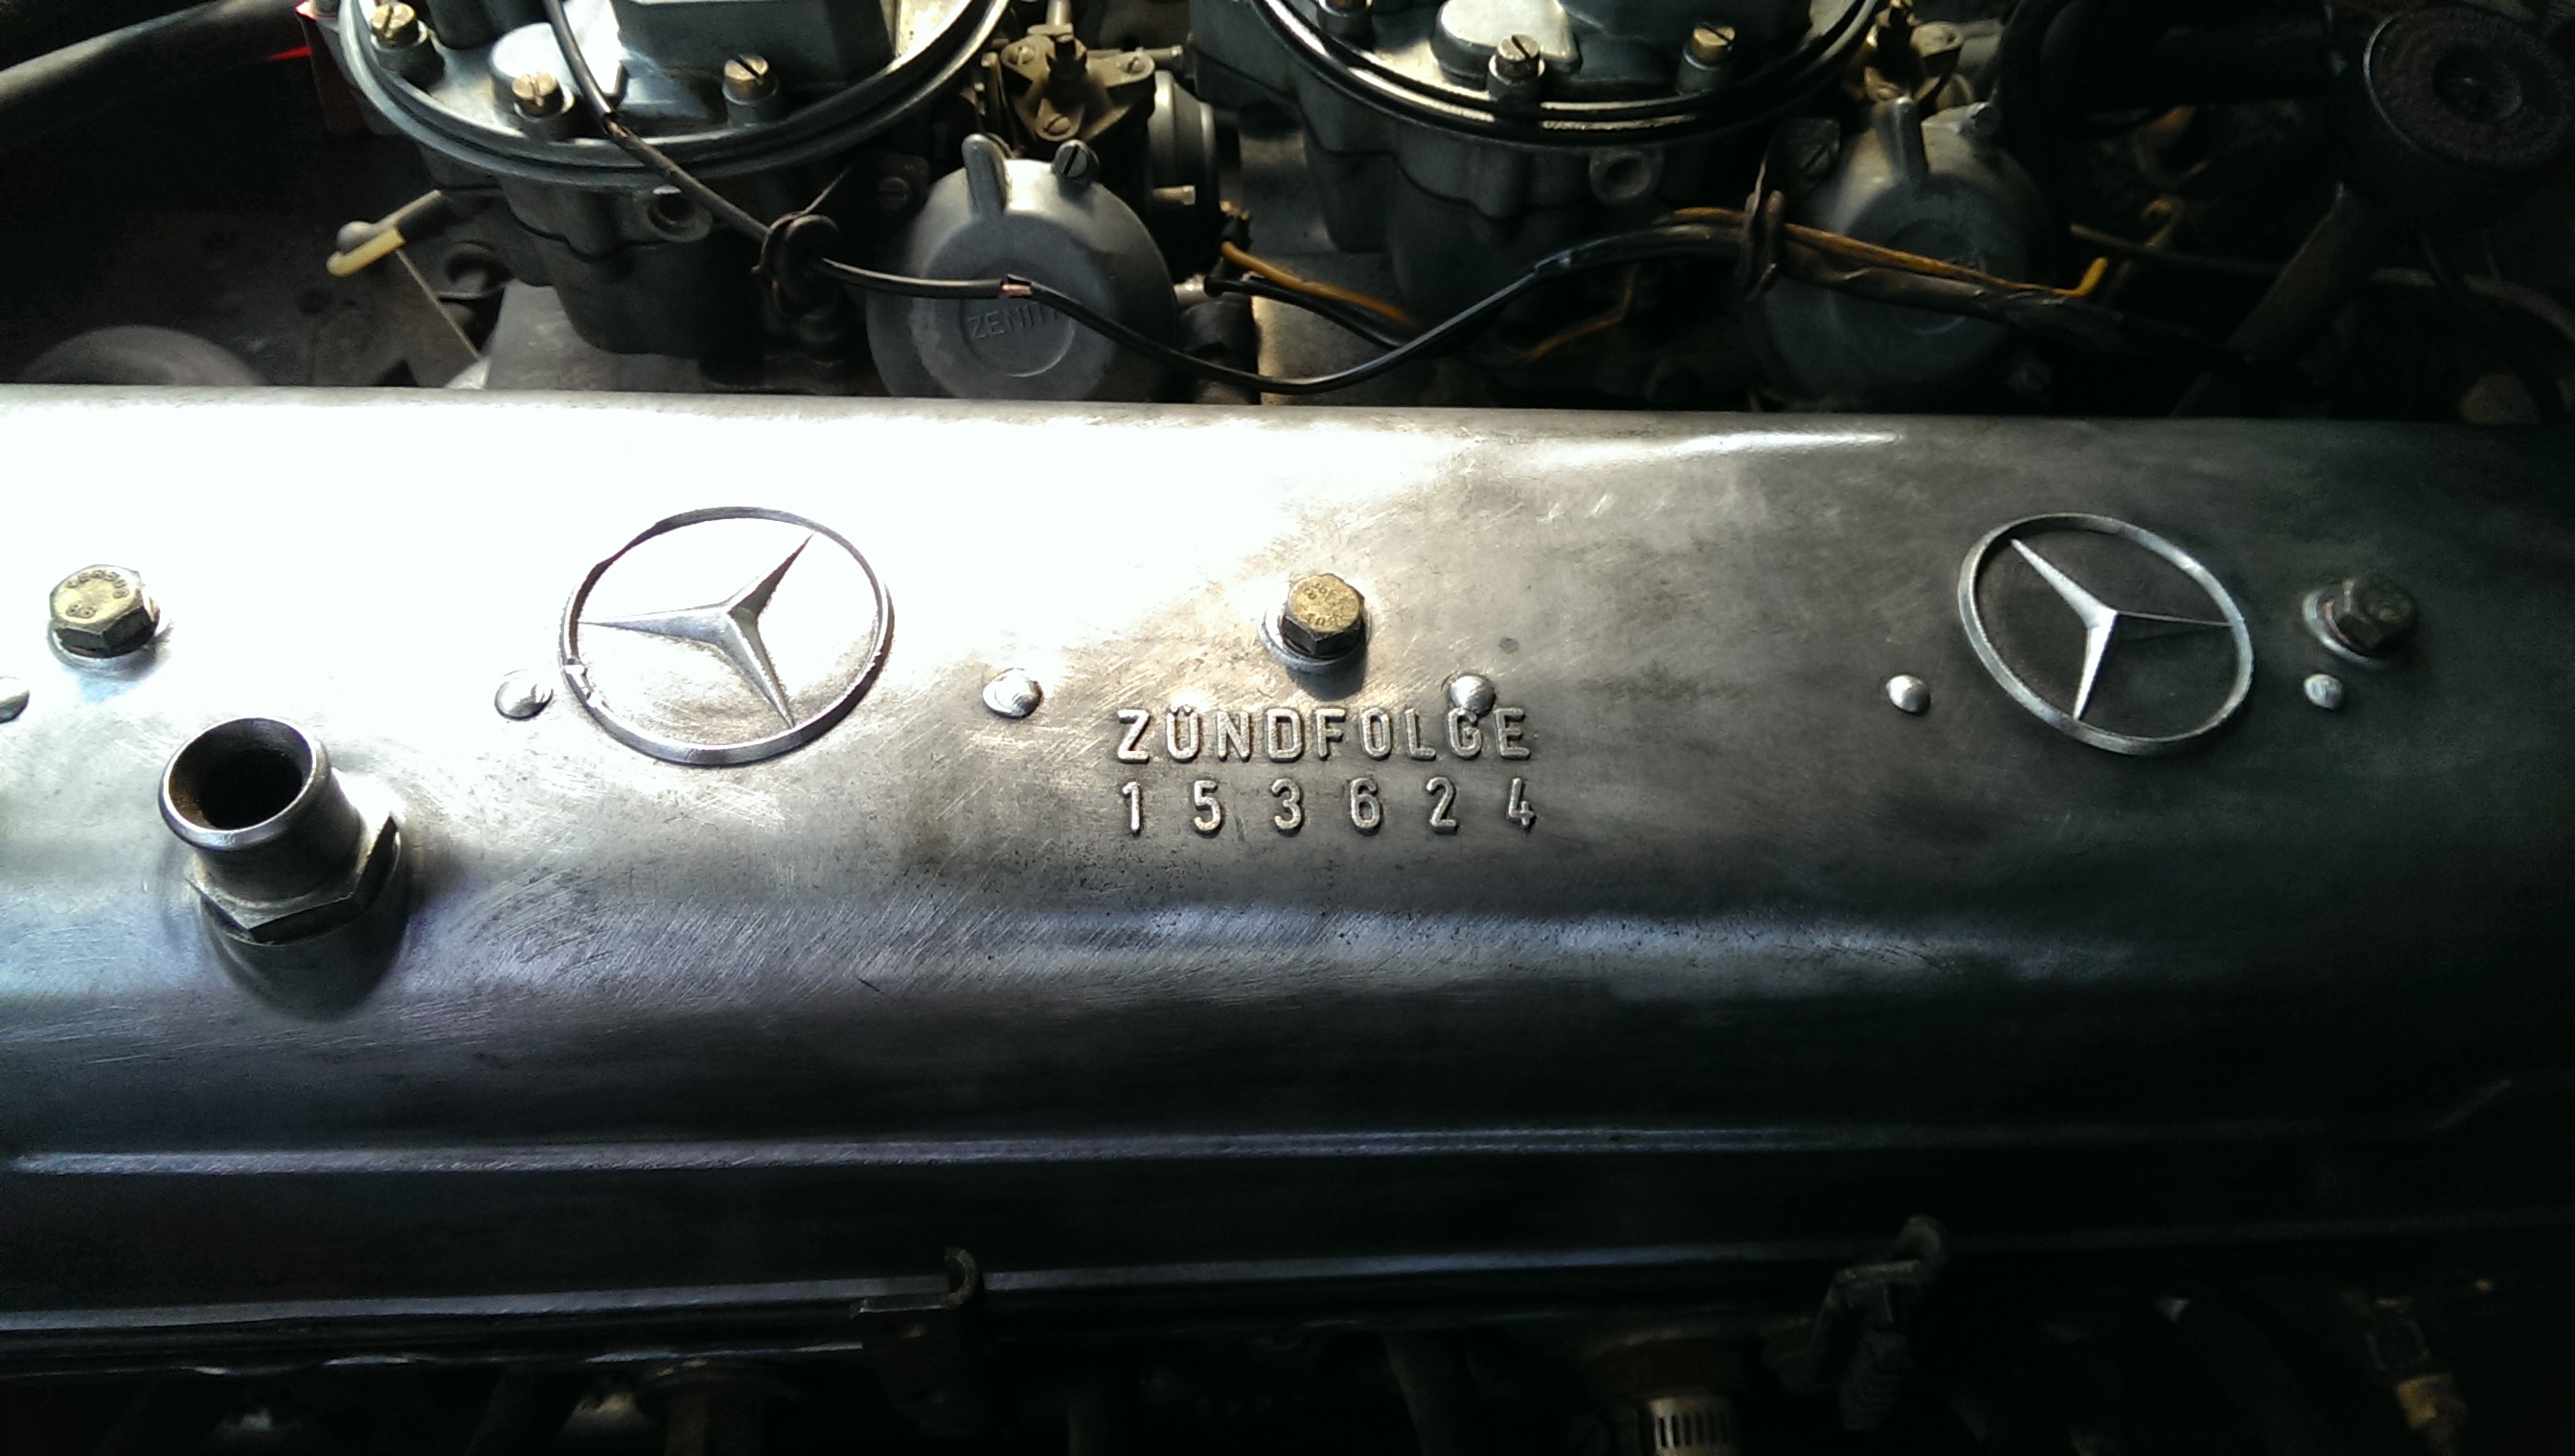
The valve cover gasket had once again become an issue. More specifically, I think the three bolts in the top of the valve cover have been leaking more oil than they should. I’ve been trying to find new crush washers, but we already had some oil specific RTV on hand, and I was looking for an excuse the get the valve cover back off for a good cleaning. Just like last time, I removed the bolts and tore the cover off the engine. This time, I had to clean off the blue RTV from out previous attempt. It would have been quicker to just buy another gasket. I did get to hit the cover with a wire wheel to make it nice and shiny.


I did give this a couple good coats of clear to make sure I could enjoy the cool look for a while. It also makes cleaning up those leaky bolts a little easier.

After cleaning the gasket I applied our oil resistant RTV and started putting everything back together.


In addition to having a better sealant, it looks properly wicked in the right light. I’m very happy with the results, though Winston still prefers to slowly waterproof my parking spot at work. Industrial art work at it’s finest!

Seriously, I think I’m going to keep the valve cover when I give this engine the boot.
Speaking of, I bet you’re wondering what’s next. Boom, Project Underkill! Project Underkill is some crazy idea about swapping an LS based engine (probably an LM7 or LQ4) into the Benz. The idea is to buy a whole truck, drive it this winter, and then start transferring the bits over. It may work, it may not, it’ll be fun either way! I’ll also let you guys know if I break anything in the mean time and hopefully I’ll be restarting my other project after it’s year long hiatus. So stay tuned, and thanks for reading!
Bonus! this is what your car looks like after mice have lived in the HVAC passageways for a while. I finally figured out how to work most of the functions, and was rewarded with a nice sprinkling of chewed up stuff. Naturally, this happened immediately after I cleaned the interior.
