
Happy New Years everyone! 2016 wasn’t an inherently bad year but a whole lot of unhappy stuff went down. A whole host of great people rode off into the sunset this year; David Bowie returned the world he sold, Alan Rickman, Prince, Mohamed Ali, Gene Wilder, Carrie Fisher, and many others passed on. Oh yea, and there was the whole thing where Donald Trump was made the president elect. Need I say more?
Personally, it was a pretty great year. Kendrick Lamar surprise-released a new album, which was a nice treat. Ali and I made our way up to Minnesota for our anniversary (and then found Prince had passed while we were on our way up).

Our next trip took us out to New Hampshire for Ali’s graduation commencement. We also got to visit Boston and knowledge up on the history of the city.

Kyle and I made our way out to Oregon to do some biking in the Pacific Northwest. It was an incredible experience and it sounds like Ali and I may make the trip at some point.

Beyond these trips, we also got to see the Lion King play in Madison, I completed my first full year as a (non-intern) engineer with QBE, and Ali and I bought a house. Yeah, we accomplished quite a bit this past year!


So what have I been doing in the past few weeks? Well, I swapped out a toilet for one, and then battled the associated toilet related issues for about a week. After that I focused most of my time on working to patch some cracked plaster walls and in the final week of 2016, Ali and I made a big push to strip our living room of wallpaper. As a result, I really hate wallpaper.
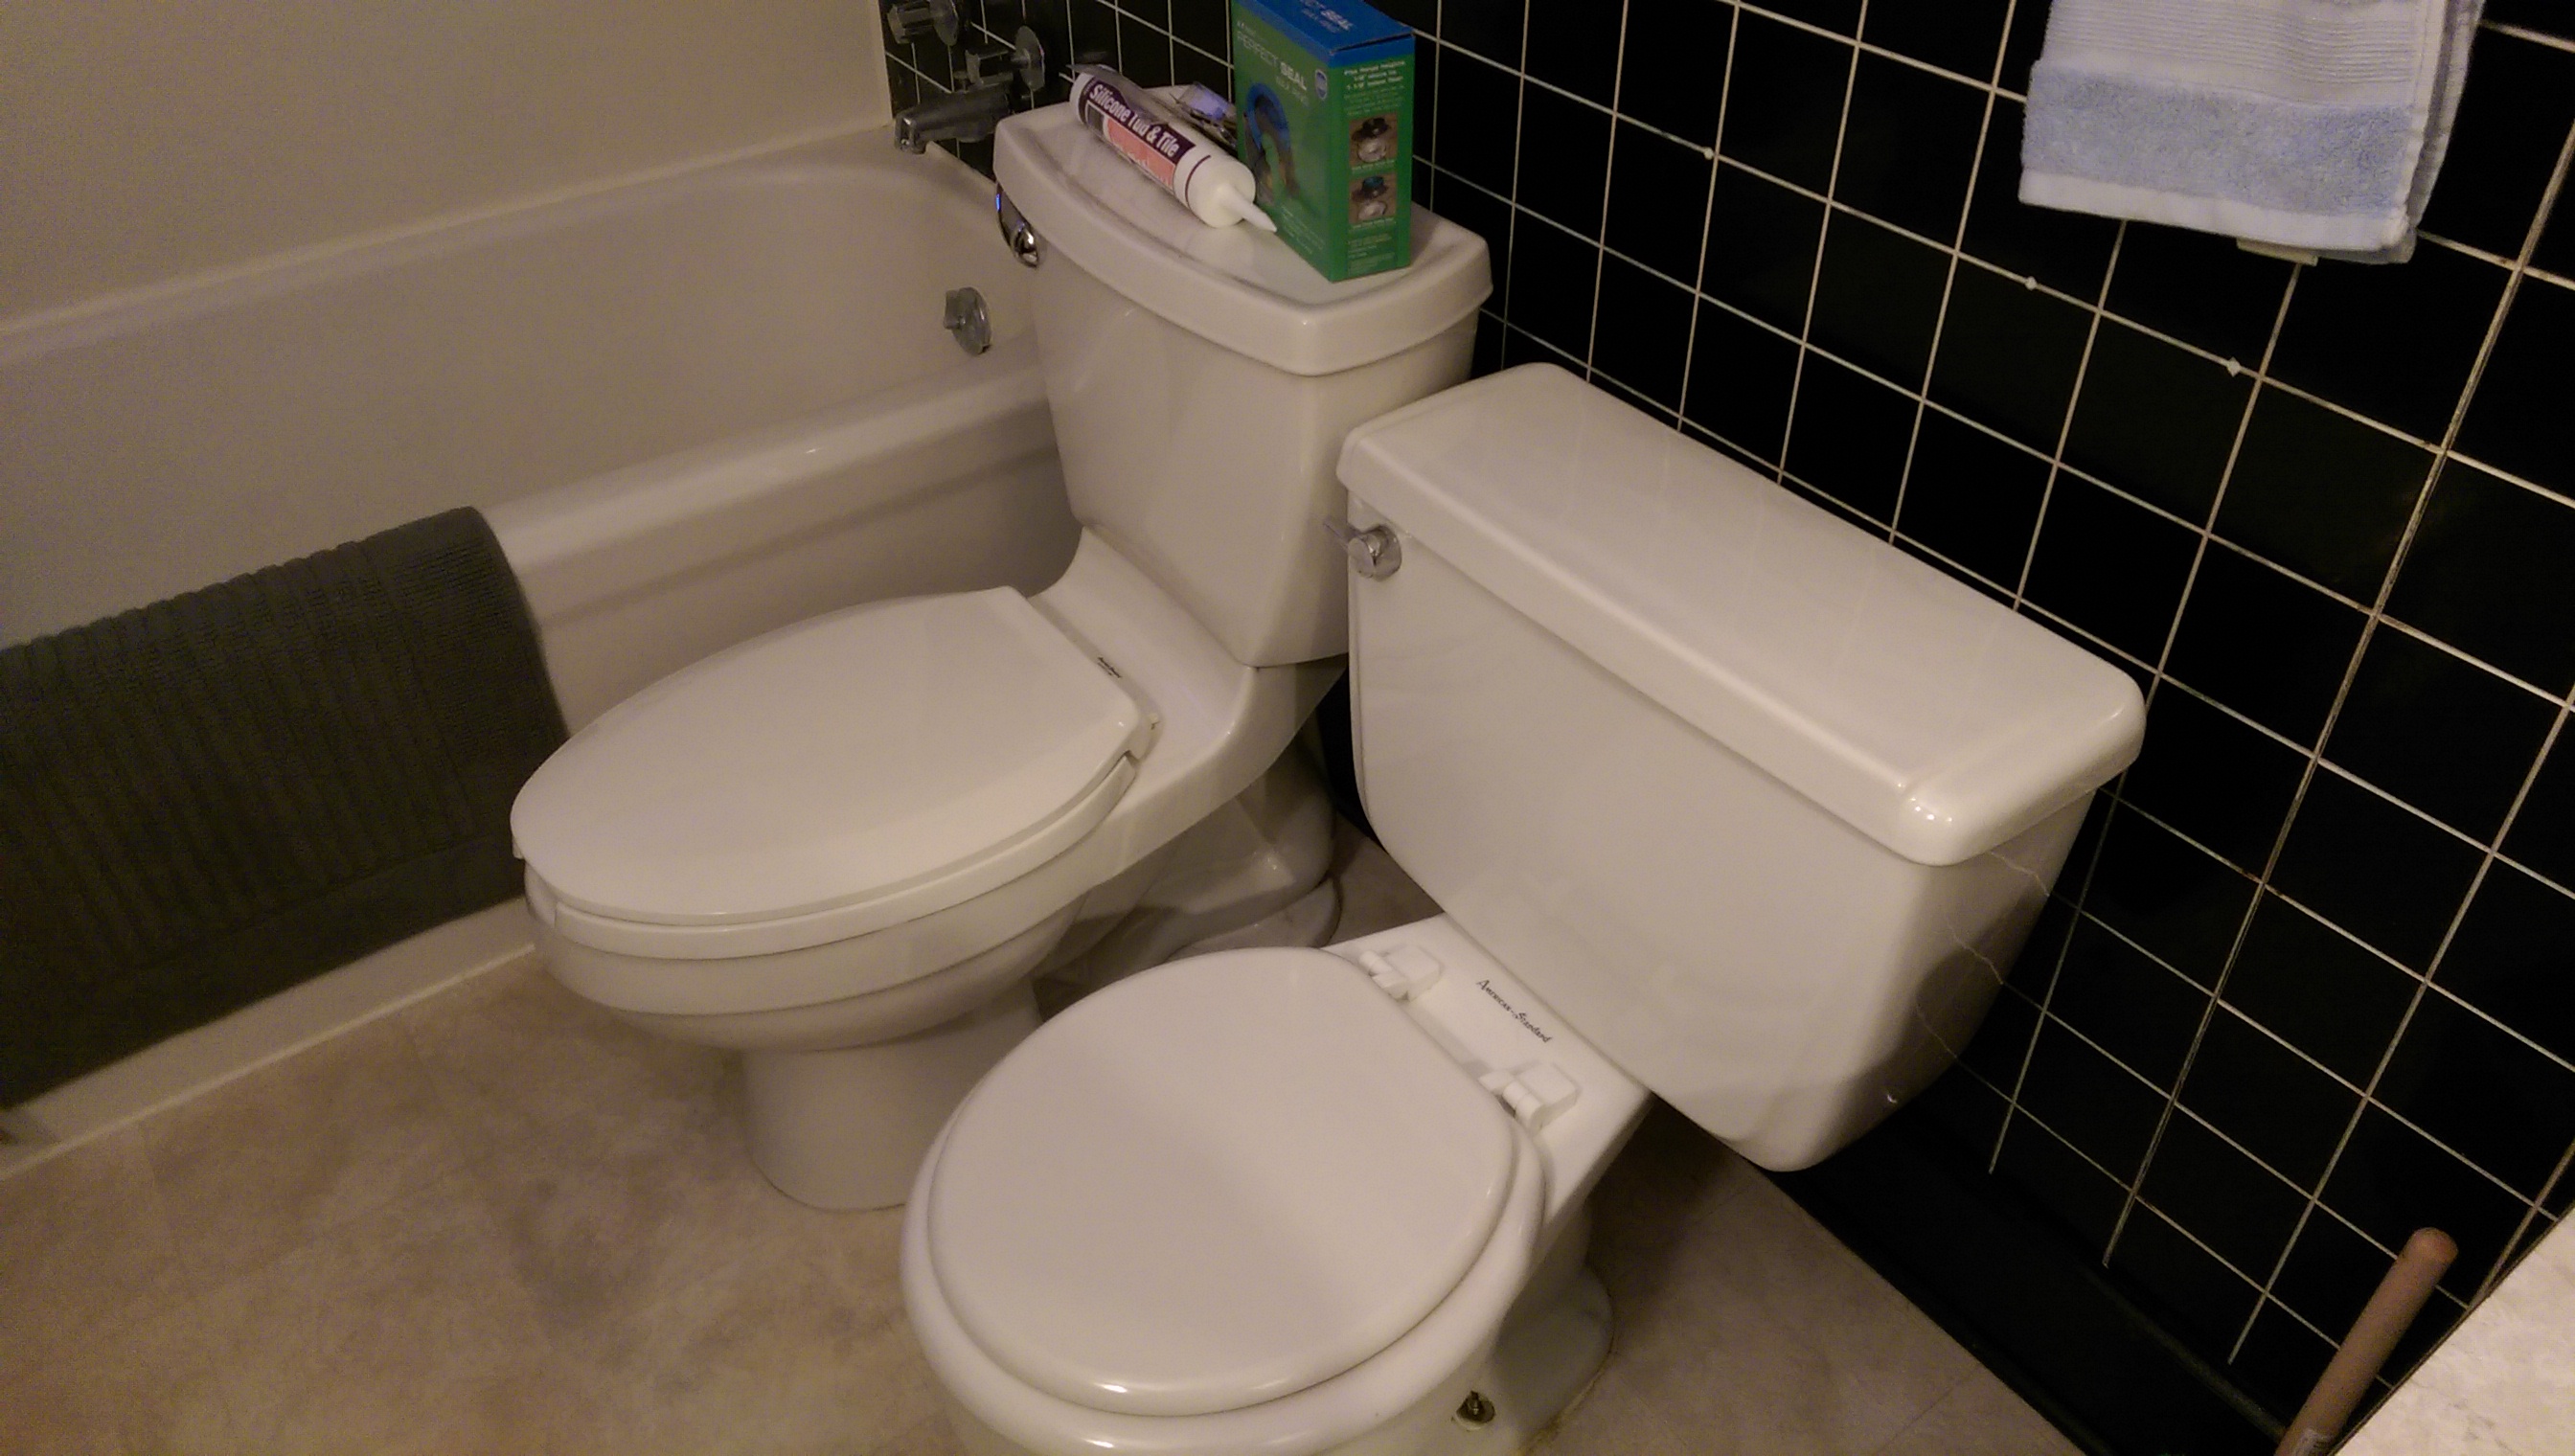
The saga of my toilet swap begins with the fact that all three of the toilets in our house are of the small bowl variety. On top of that, these things are from an age when each flush could fill a swimming pool. Now, I don’t know about you, but I think they call it a throne for a reason. To that end I found a standard size toilet on Craigslist, made sure the rough in was similar to that of the existing toilet, checked that a single flush wasn’t equal to 3 years of farm irrigation, and then paid $52 for my newish throne. This was thrown in the back of the Mazda and then hauled into the house, where it made a brief stop on our not-a-bed-at-all couch.

Eventually it made its way upstairs. You see, this is a two piece toilet, which means the reservoir can come off the base of the toilet, thus making it easier to move. Well, my $52 special has the dubious honor of brass studs that were paired with steels nuts, for reasons I’ll never know. As a result, the steel nuts were completely rusted on which necessitated carrying the entire unit up stairs.

Time to uninstall the old toilet! I turned off the water supply line and flushed the toilet to empty the reservoir. This doesn’t completely drain the reservoir though, so I stuffed some spare towels in the reservoir to soak up what was left. There’s very little actually holding the toilet in place. You’ve got the water supply line and then a nut on either side of the toilet. Take those off and you’re ready to move the old toilet out of the way. Make sure you have a cat inspector take a look at your work!


Whoever installed this toilet was a big fan of greasing everything, which worked well to keep things from rusting but made gloves a must have. If you pass inspection you can move on to taking the old toilet studs out of the base and replacing them with a new pair. I choose to go with brass, as did the previous installer. This is usually done because they don’t cost much more but brass studs are much more resistant to corrosion or rust. You’ll want to watch the kit though, some come with steel nuts which help defeat the purpose.
Now you’ll want to replace the wax ring. I went with a nice rubber ring that only had a small amount of wax on the bottom. I did this mostly because it was about $2 more expensive than a standard wax ring but will have less of an issue with sealing should your installation not go well. Full wax rings tend to lose their seal if you accidentally squish one side more than the other, I wasn’t going to take that chance. I can also attest to full wax rings being quite messy to clean up, as the previous installer had used one. I also chose to use some water proof caulk around the base of the ring, as our floor is vinyl in this bathroom. We already had an issue with the kitchen where a leak got under the floor and caused it to separate, we don’t want a repeat.


Now it’s time to put the new toilet in place! I managed to break the toilet handle while I was installing the new one and then I found out I didn’t have a long enough water supply line. A trip to Ace solved both issues and I was back in business. Long enough to fill the reservoir and then have it start leaking anyway.


The leak stemmed from the water supply line, or where it attached specifically. You can see in the picture above that the plastic nut used to keep the water tower (if that’s what it’s called) held down was not tightened. I tightened that up and then re-tightened the supply line. Leak eliminated! Rather, one leak eliminated. A few minutes later I heard the toilet filling with water again, though it hadn’t been used. Not a good sign.


This leak stemmed from the aforementioned reservoir bolts as they had managed to get rusted in a state that wasn’t entirely tight. To solve this, I once again deployed our (now soggy) extra towels to empty the reservoir. With that done, I made use of Alis hair dryer to make sure no water remained. The rest of the aforementioned water proof caulk was then used to seal the bolt area in the reservoir.


Success! Or so I thought. I once again heard the reservoir filling, and discovered it had leaked down to the flush valve. I let it fill again and then shut the supply off. A very faint dripping could be heard from the flush valve area, and when I pressed down on the valve top the sound went away. Ace had a flush seal that fit, but it didn’t solve the issue. Amazon has the OEM valve kit for my toilet on their site, but that didn’t stop the dripping either. In the end, I used the new OEM flap stacked under the old OEM flap and was able to get the dripping to stop.


I’m happy to report that thus far, more than a month later, I’ve had no other problems with that toilet. We do, however, have an abundance of leaky faucets and one of the other toilets has developed a leaking flush valve now that it’s being used again.
That’s all for this week folks. We had our first party last weekend when we hosted a get together for our first gaming day of 2017. In order to do that we invested any spare time we had the week prior in tearing down wall paper in the living room. It was horrible. You’ll see that in a coming update though, see you later!