
I’ve just purchased the final few pieces that I need to start reassembling my 4G63T engine. I’ll need some of the accessories such as the water pump and starter, and I also need a new clutch and some other transmission bits before it’s ready to go back in the car. However, once my head gasket and oil pump come in I’ll be ready to get that engine back in one piece.
With that in mind, I decided I’d dedicate this post to backlogging how I went about pulling the engine out and taking it a part in the first place. First, a little history!


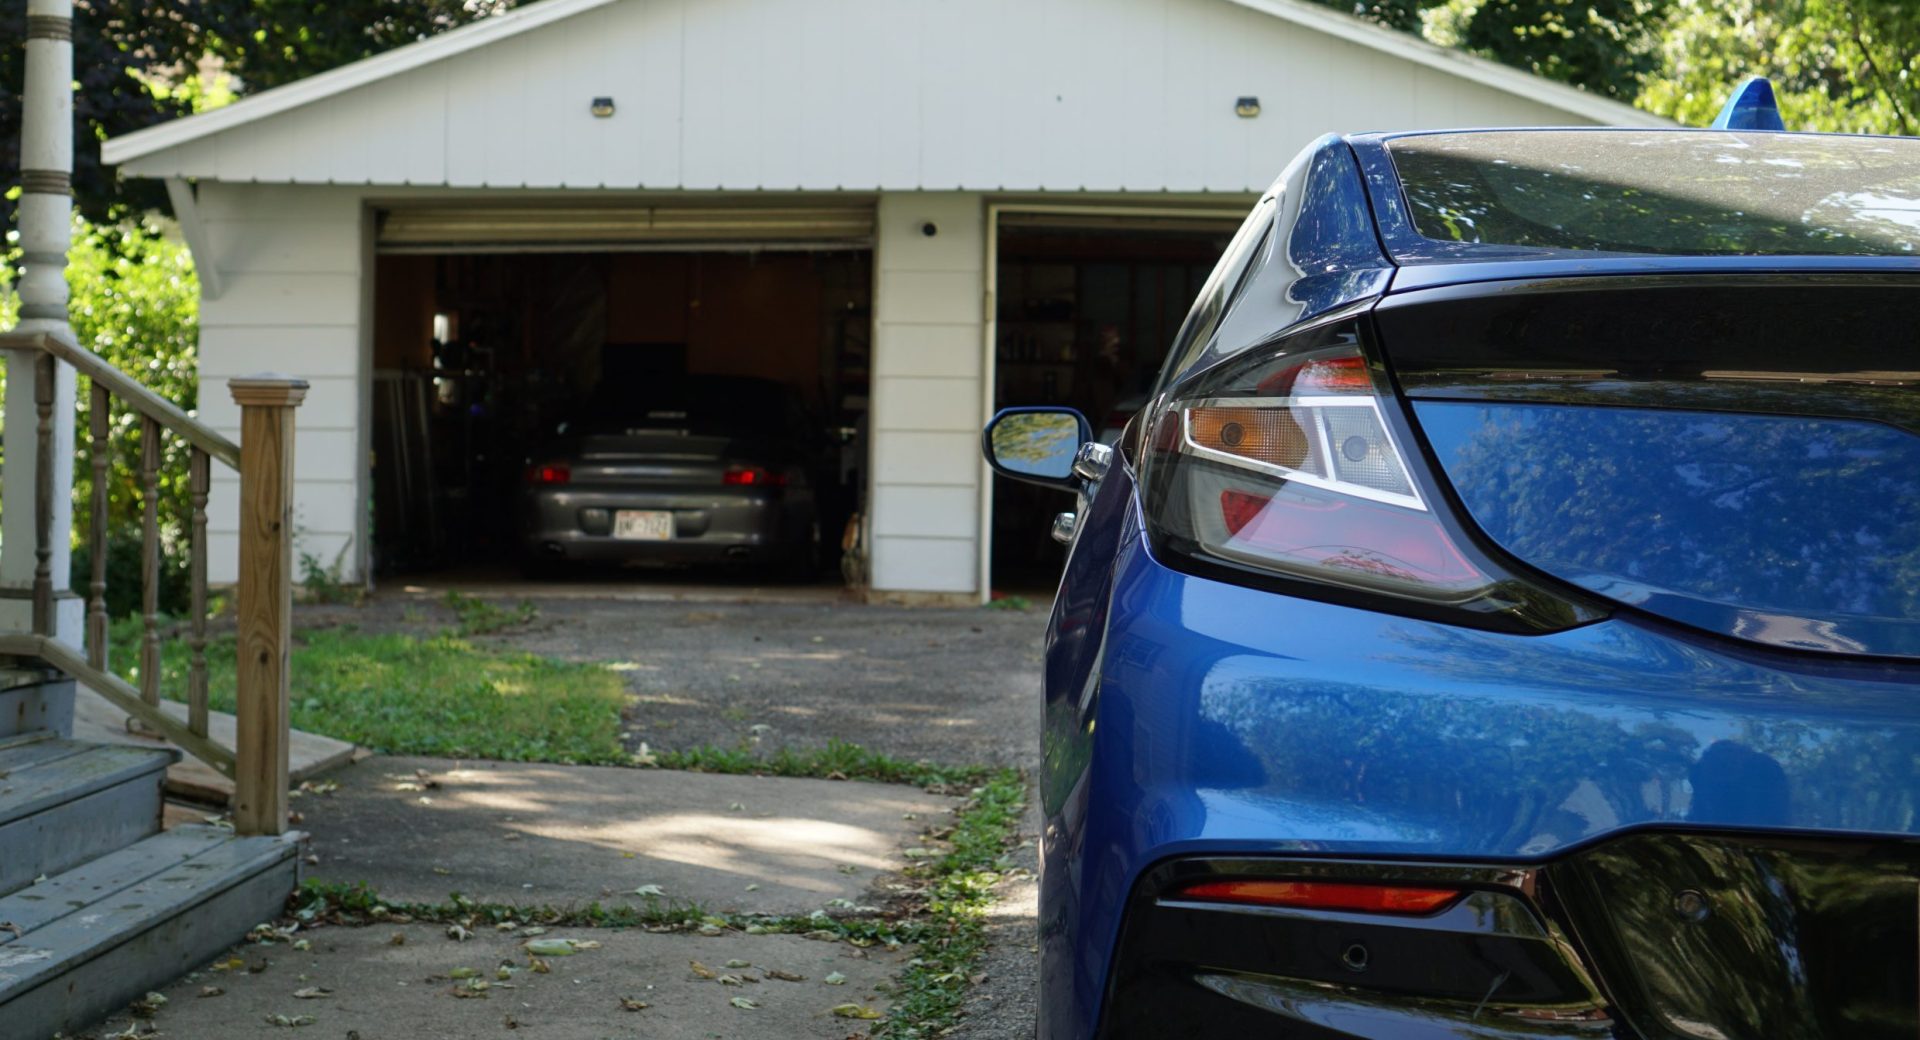
I bought my 1992 Plymouth Laser RS Turbo (No GST or TSi here, they had to have a super long name) as you see it above in 2010 with little knowledge of the car or DSM’s in general. This was also the first car I’d bought, and boy did I mess up!
I had actually meant to buy this car right from a local friend, but he sold it before I got the money together. When I saw it was still in the area, I decided to check it out again. By then the carbon fiber hood was long gone, as were the nicer wheels, and a few other bits. We settled on a price that seemed good and I forked over the money. Oops. I didn’t do my due diligence, and as such I ended up with a car that had a nice paint job (mostly) but that had a misfire. A compression test (which I should have done before even considering a purchase) revealed low pressure in cylinder 3. We poured in a little oil and rechecked compression. Yep, that brought the compression back to where is should be. That meant a bad piston ring. The piston ring was letting pressure past and into the bottom end, pouring in some oil helped to seal that leak, thus bringing the pressure back up. At the very least, I would have to take the engine apart and switch out the rings on that piston.
But here’s the thing with cars, while you have x apart you might as well replace y right? No point in putting it together and then having to pull it apart a few thousand miles down the road to fix something else. This leads to replacing every random piece that you probably didn’t need to replace to begin with, because risk. Would anything bad really happen if you didn’t? Maybe. Willing to take that risk? Nope.

So I decided on a full rebuild. Might as well do everything while the engine and trans are out of the car. By now, I was entering college, so money to put towards this project was non-existent. That might be a good thing though, it gave me time to research and learn about the car, about what I’d need to do, about what mods are likely to get me to my goal, and most importantly: it gave me time to figure out what my goal for this car is to start with. Plus it got me out of my “giant spoilers are kool brah, need bigger rims” stage and into my “paint doesn’t make the car faster, but a bigger turbo will!” stage.
So, with graduations getting closer, and finally having a job that paid decently (looking at you Taco Bell and Wal-Mart) I decided it was time to start working on getting this car road worthy. Step the first: pull the engine and transmission out. There was a lot of unplugging sensors and unbolting stuff from the firewall. It didn’t take very long, though I was extra cautious and took pictures of pretty much everything I unplugged or unbolted. When it was ready to pull, I had my dad bring the tractor over and hooked it up to the chain we had anchored to the engine.


Naturally, there were a few things I’d missed and needed to unbolt yet. We cracked the housing of the CAS/Cam angle sensor, a $150 mistake. I also learned the hard way that you want something like a used tire between the car bumper and the tractor when doing this. Otherwise, you very well might scratch the nice paint. I didn’t throw a tire in there. Yes, that is a car tear from the headlight.

Next we pulled the tractor into the garage so I could take the transmission off the engine. I also pulled the pressure plate and flywheel (which was gone!) and then put the engine on a stand so that we could get the tractor out and have more space to work on the engine.


First I pulled the fuel rail and intake plus some other top end bits, then I started stripping the block down. First the turbo came off, followed by the exhaust manifold and the oil pan. Taking off all the accessories is fairly easy, remembering where everything goes is a bit harder. I’ve got a shop manual though, which has some exploded views of the engine that are very useful. These cars are also the entrance to tuning for a large number of people. As such, pretty much anything you can think of doing to them has already been done, documented, or discussed in forums and on YouTube.


Probably the hardest part of the whole thing is the timing components. There are numerous pulleys and belts, luckily the balance shafts are being deleted. This is done because it removed parasitic rotating mass, complexity, and a know point of failure, and because race car.


Once all that was off, the only thing still left was the valve cover. I pulled that, and would have taken the head off the engine block if we had the tools. Instead, I took off everything I could and then took some time to appreciate my handiwork.


We threw a few garbage bags over the whole thing and put it in a cardboard box. The undressed engine is actually not that heavy, being an aluminum head and only a 4 cylinder iron block, so it was easily lifted into the back of our Mazda3 and taken to Weavers in Portage, WI. From there is was sent to their workshop in Sauk, which is equipped with all the right tools to work on making engines new again.
The shop foreman, Brad, gave me a call when they received the engine. I had left some instructions on what I wanted done plus my number, it’s always best to talk it over with someone who knows what they’re doing. I went over what my plans were, and Brad suggested the best course to get me there. Once we had a agreed on a plan, they set to work. They did a complete tear down, cleaned everything up, re-bored the cylinders, checked the connecting rods, polished the crankshaft, decked the block, rebuilt and resurfaced the head, and did an angle grind on the valves while they were in there (3-angle if I recall). Then Brad gave me another call to let me know what sizes I’d need for pistons, rings, main & rod bearings. I ordered the right parts, and sent them down to Sauk. We spoke again to make sure everything was good, they balanced the rotating assembly (important, especially since I’m not going to have balance shafts going forward), and then oiled and bagged everything so that it wouldn’t rust before I could get to building it. I got another call, and ran over to pick up the now clean and ready to rebuild parts.


I once again stuff all the parts in our Mazda3 and then found a corner of the garage to stuff everything. All that machining was not cheap, and Winter arrived before more funding, so it was shelved while I researched my next steps and plotted. Spring rolled around, and so did the Hot Rod Power Tour. I was then busy getting the Mercedes up and running, any project car money went straight to that. Project Underkill is now in it’s infancy and no further action is needed at this time. Therefore, I can divert my project car funds back to the Laser, as I did earlier today. For now I wait and prepare. I took the wraps off everything last week to check and re-lube it all and did find a few small bits of rust. I’ll have to clean that off with sand paper or steel wool, but I’ll do that when I’ve got everything on hand. I also picked up some plastigage to check clearances, engine assembly lube, and loctite for bolts I don’t want to come out. I’m ready, I hope you are. You’ll be coming along as I work on the car. See you soon!