
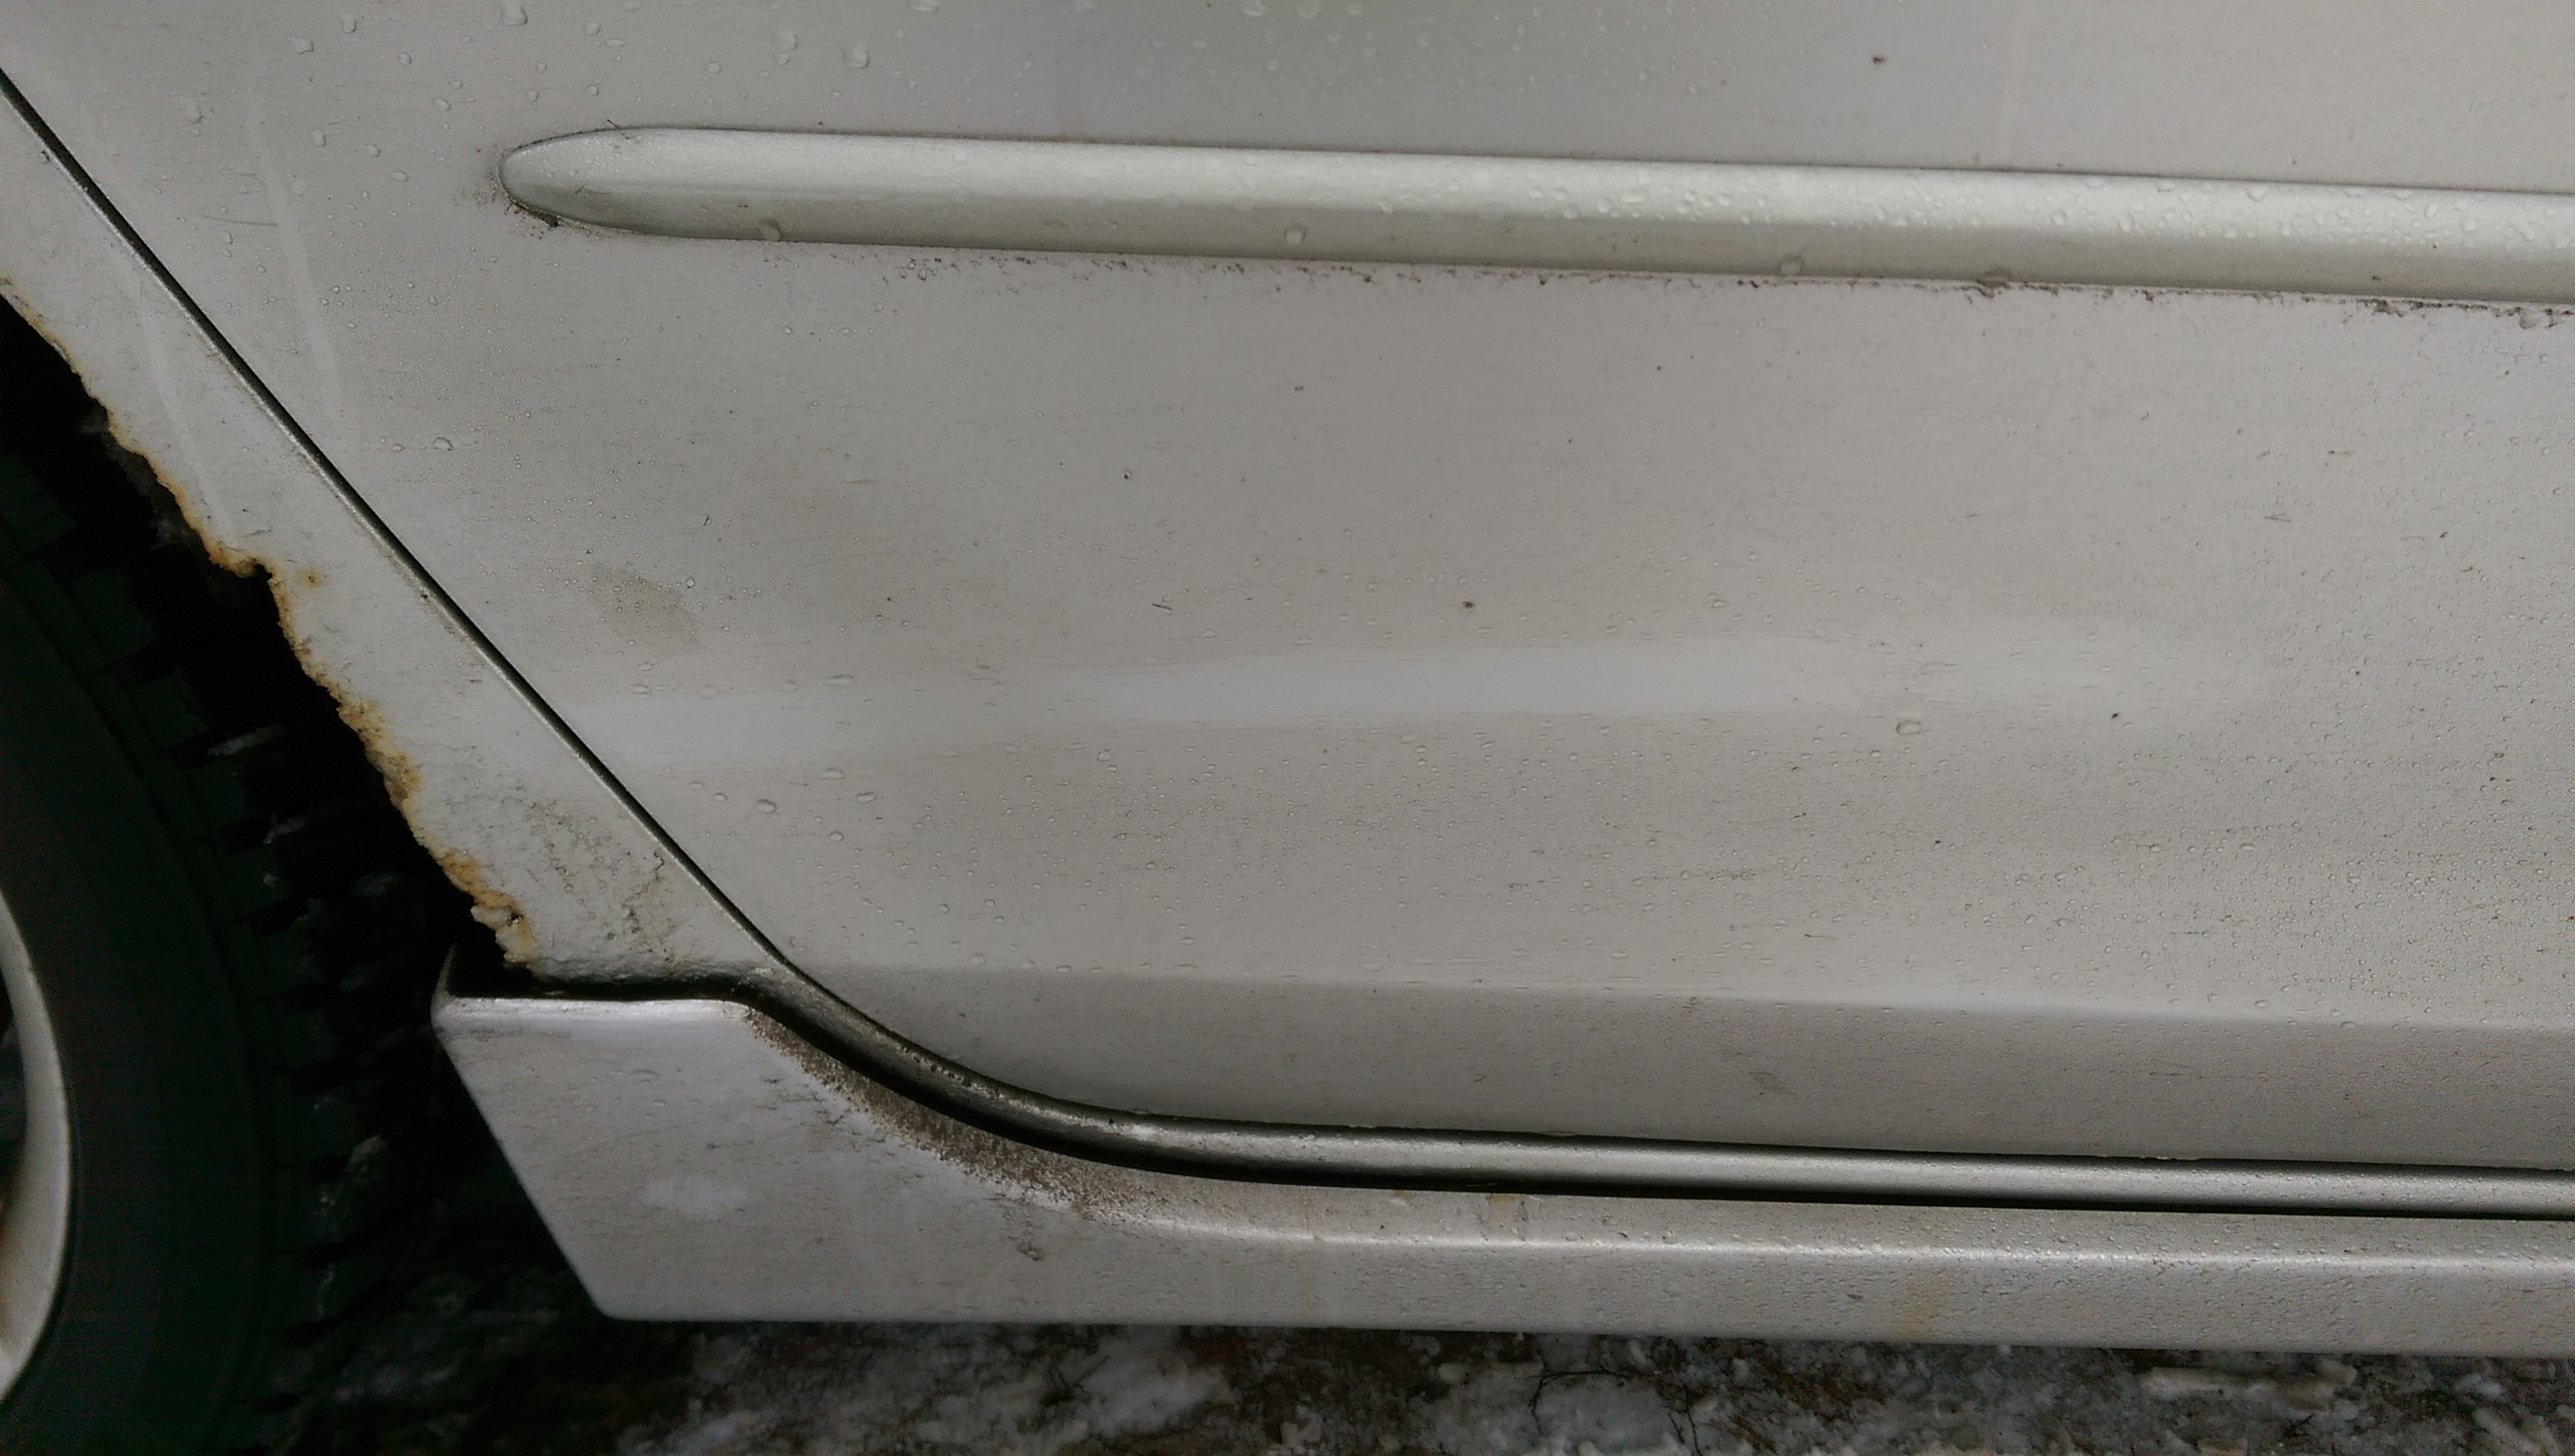
Last week I had a deer run into the rear of my Mazda. Deer aren’t very smart. I turned around to see if I had hit it hard enough to knock it’s brain around but it was gone. It appears to have knocked it’s nose and knee on the rear quarter panel, but it didn’t leave any dents, just a clean streak through the road grime. The title image for this post is where I assume it’s knee hit the car, the picture below is the lovely imprint of a deer nose. My car is classy, deer nose imprint finish. This is also the 4th time (that I’m aware of) that deer have run into one of my family’s vehicles. Coincidence? I think not!

Well guess who I saw on my way home from work today? Same place, nearly the same time, I almost got to see what my insurance company values my car at. Just when I got the CEL to leave me alone (the fuel cap switch out worked!) too, naturally. My advanced Playstation training saved my Mazda from that gross under valuation though, so we’re all good.
I’ll start with a good tidbit of information about the early (2004 and some 2005) Mazda 3. Some of them didn’t come with cabin air filters. It’s not really a big deal, but I didn’t come across that until after I purchased the filters for my car. Turns out my car wasn’t running cabin filters previously. Not a big deal, but if you don’t feel like doing this work after reading my run-down then take solace in the fact that Mazda didn’t want to do it either!
The cabin air filters are in the bottom center of the dash on the passenger side, which presents some interesting challenges when you’d like to replace them, every 20,000 miles is the recommendation from Mazda I believe. I don’t think I’ll be replacing mine every 20,000 miles but I also easily put on twice that many miles every year. You’ll need to remove the passenger kick panel, the fuse box, it’s cover, and the floor bracket for it. If you want to have more room to work with the fuse box you’ll also want to remove the glove box. Anyway, enough talk, let’s get started!
Go ahead and crawl into the passenger foot well and pull down on the front of the fuse box panel. Pull straight down on the rear of the panel and the whole thing should come off, giving you access to the entirety of the fuse box.

I removed the passenger kick panel next, there’s a plastic push screw you pull out and then the panel just pulls straight back and out.

Next up is the glove box. The trim that runs across the top pulls straight out on the drivers side. Then just pull it up as you move towards the passenger side, though there is a hook on the passenger end. Don’t break it!
After that’s out of the way you only have two screws along the top holding the glove box in place. There are a few push clips but gently prying outward and up will get the whole box out of the way. Make sure to un-clip the glove box light as well before you move it too far.


Now you’ve got clear access to the connections on the fuse box. Mazda made it extremely easy to remove these, the small connectors have a black clip that you just slide to the opposite side to unlock. The larger connectors have a black handle that you pull up on to disengage them. Once the clips are all off you have to slide the fuse box up and out to actually remove it from it’s bracket. You’ll also need to remove the two 12mm nuts holding the bracket to the floor, plus the bracket has a push clip that holds the carpet in place that will need to be removed.


And thus I was finally ready to take out the four screws, two on top and two on bottom, that hold the filter cover on. There will probably be some leaves and other junk in the filter area, so have a vacuum ready. My car, being one of the early models, didn’t have any filters. In my case there wasn’t a whole lot of leaves and junk in there, probably all got sucked into the fan and shredded.

In any case, there is clearly a top filter and a bottom filter. The top filter has a slide guide for the bottom filter to slot into and help keep it in place. The top filter also has a cushion on it’s top edge. You’ll have to get the top filter in first, and hold it up out of the way as you slide the bottom filter in. Try not to put them in handle first, I could see how that might be frustrating.

My phone decided it didn’t like the cold and was having issue taking pictures, so I don’t have anything of the reconstruction but it is much easier to put everything back together. Make sure the fuse box connectors are securely in place when you put them back on, Mazdas’ system is pretty fool proof but I can see a loose connection here being an absolute nightmare to troubleshoot.
When putting the glove box back in you may have to remove or loosen the trim panel where the passenger door frame is, a part of the glove box trim fits in behind it. You’ll also want to be careful to line up all the push clips, a little patience will go a long way here.
Once I got everything back together I turned the key to the on position and checked to make sure all the pretty lights showed up like usual. The car hesitated to start when I first turned the key, but it did start right up on the second try. The CEL came on right away and made me semi-freak out for a second. Luckily I’ve got a little Autel AL319 OBDII code reader so I was able to see that the codes were both for lost connections (one for instrument cluster and the other I don’t remember) so I just cleared them and moved on. Do note that since I unplugged the fuse box my trip odometer and radio settings were all reset. Not a huge deal, but it’s worth mentioning!
Test out your HVAC system and take the car for a shake down run, if you didn’t forget to connect anything you should be good to go!