
This week didn’t net me much work time on the Laser. Works been good and busy plus we had a wedding on Saturday (which was a lot of fun!) so I didn’t get to devote as much time to work on the car as I’d have liked.
After work Monday we ran to Portage to drop off the wheel hub I had messed up as well as my flywheel to have the step height checked. It wasn’t until Wednesday that we got to pick those up. The results? The flywheel needed to be adjusted a bit, and the bearing and oil seal were demolished as I had suspected they would be. The bearing would have been fine, but one of the races cracked and some of the bearings weren’t looking great.

I got a few more parts in, turns out they are mostly wrong parts. Yay. I did finally get a paint mask as well, now that 90% of my painting is done. I’m very good at planning.


Saturday morning was my first chance to get some work done. I was able to get the flywheel in place, but the bolts are torqued to 95 ft/lbs. This creates an issue as you can’t hold the flywheel in place and torque it at the same time. After struggling for a good half hour, I did some googling and found an easy solution.


With that plate in place I was able to torque all the bolts in just fine. I followed ARPs instructions and used red Loctite on the threads nd a bit of ARPs moly lube under the head of each bolt.
Next up was the new clutch. I chose a SouthBend stage 2 daily clutch as the price is good and the torque rating should be fine for me starting out. The kit comes with a clutch alignment tool and a new NSK throwout bearing (I previously stated it was an SKF piece, it seems NSK is on par with their quality), and a new pressure plate. It’s basically a Mitsubishi 3000GT clutch as those cars are rated at around 300hp from the factory.
I stuck the clutch alignment tool through the clutch and into the flywheel to line everything up, the pressure plate slides over the alignment tool and lines up with the 3 pegs around the flywheel. They only line up correctly one way, so make sure to rotate it if all the bolt holes don’t line up right away. The pressure plate bolts only go to 14ft/lbs of torque, so don’t crank on them too much.


Next I moved to the transmission side of things to remove the clutch fork and pivot ball. I wanted to make sure the clutch fork wasn’t twisted and that the pivot ball didn’t have any flat spots or other obvious issues. Other than being dirty, both pieces checked out. I cleaned them up and threw some POR-15 on the fork before reassembling. I also used some anti-seize in place of grease on the pivot ball, you don’t want that to be metal to metal with the fork.


Once the fork is in place and working, it’s time to put the throw out bearing and clip in. The throw out bearing is what’s used to push the clutch away from the pressure plate when you push the clutch pedal down. I put the bearing on, once again using anti-seize on the transmission shaft, and made sure it would easily slide back and forth. The clips on either side of the TOB slide right over the sides of the clutch fork, and then you put the clip on. The clips goes on in a way so that it keeps pressure on the bearing towards the fork. Seems sort of like a flimsy way to keep things together to me.


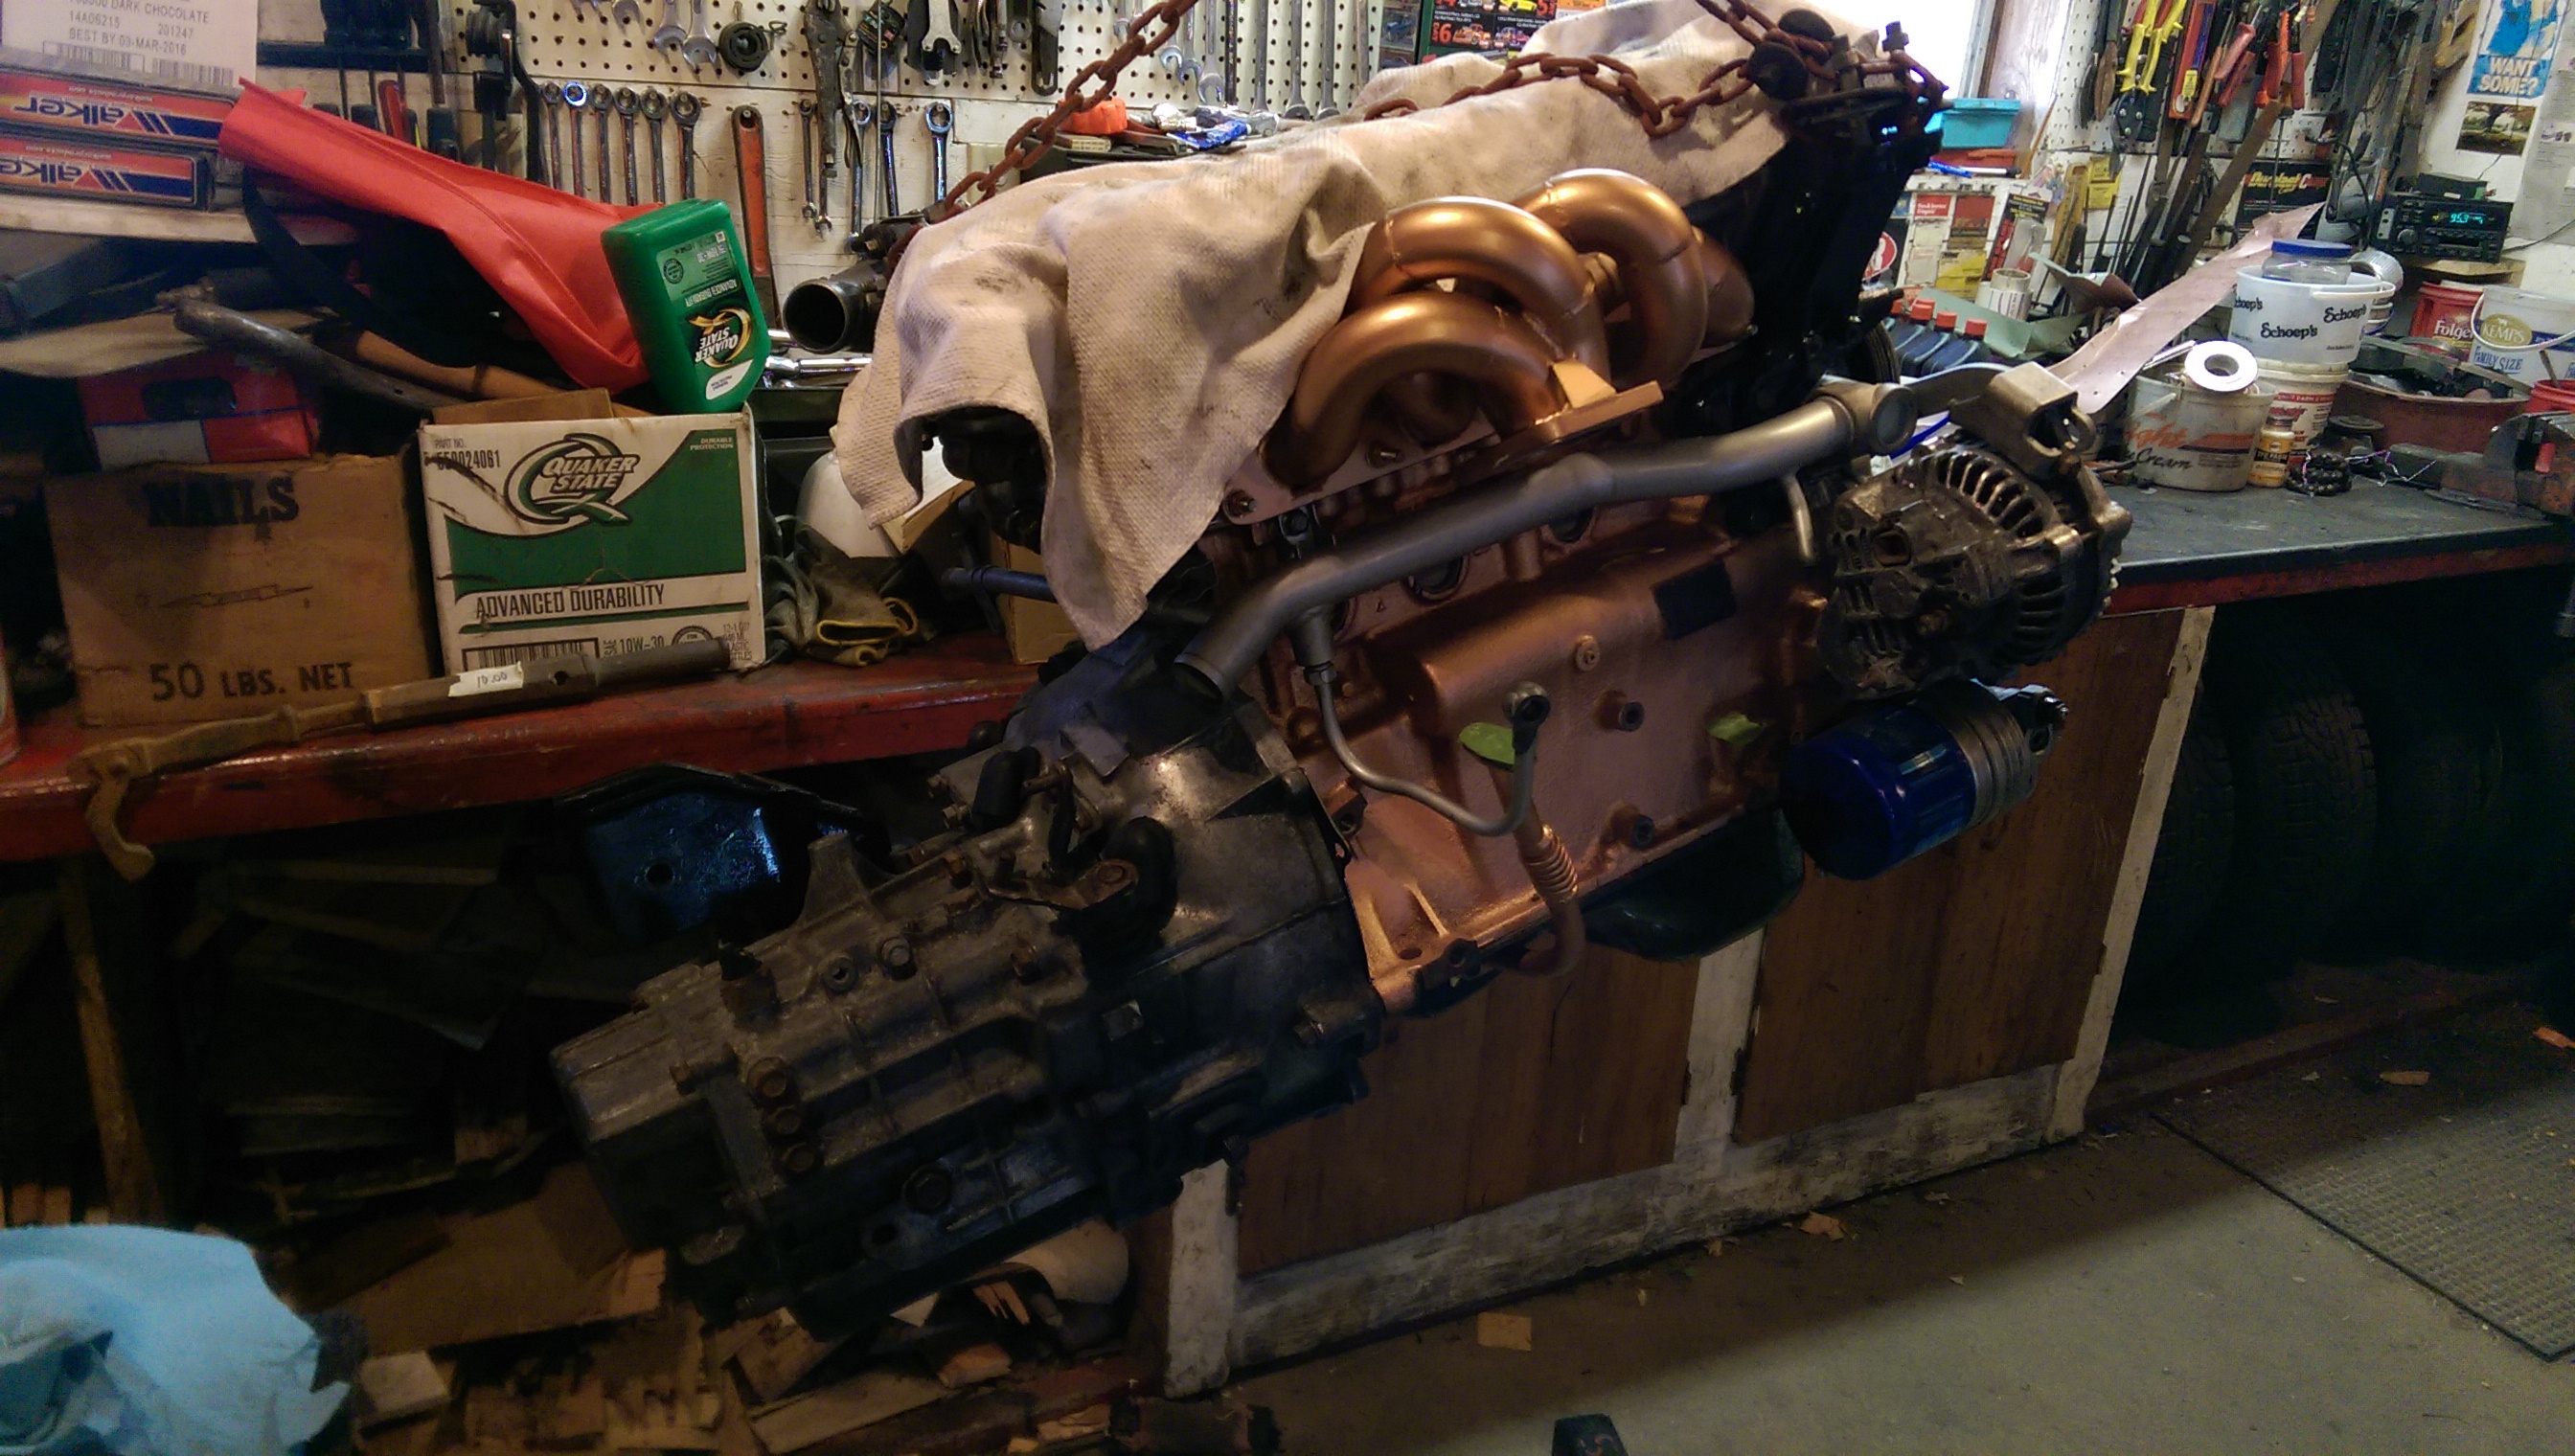
With the transmission and clutch sides both taken care of I was ready to get the two together. My dad arrived home from work just in time to help me get the transmission sleeves on either side in place. Those, along with two bolts M10 on the top, are all that’s holding it to the engine currently. I think I lost some bolts, I also didn’t take pictures for some reason.
Brakes are up next, I decided it was time to get the old single-piston front calipers off and start putting my new braided lines on. The rubber lines are all held in by a pressure clip which needs to be removed before you can separate the hard line from the rubber line. As is expected, I rounded nearly every 10mm hard line fitting. I ended up using a pliers set as tight as I could manage to break those loose. Once I had them off, I made sure to get another layer of POR-15 on the connecting bracket. I let that dry for a bit and then put everything back together with the new calipers. Apparently I didn’t grab any pictures of that either.


I left the brake lines sit and drip as a way to gravity flush the system, I’ll be replacing the standard fluid with something a bit more track friendly and if the car wants to do some of the work for me then I’m not going to argue. Just make sure you have buckets to catch the old fluid.
Here’s a random picture of the side mount intercooler reinstalled. This felt like the right place.

I’ll be upgrading to a front mount intercooler in due time, but with how much longer this is already taking I just want to get the damn thing put together!
I turned my attention to the turbo next. I was really hoping it would be a straight forward switch from the 14b to the 16g turbo. My research indicated it’s a straight bolt on, but from comparing the two side by side I found a few differences that I’m not sure about. The 16g has an extra water line, though it seems that some have plugged it with no ill effect. The other lines aren’t the same size as those on my 14b, and have been cut by the previous owner so I can’t just plug them into the cooling system. I also pulled the cut water line and found some grody stuff that I’m entirely sure shouldn’t be there. I’m pretty sure this is the line that many people don’t use, and that would explain the rust in there, but I want a second opinion before I throw it on and risk the rest of my engine. I tried cleaning it out, but I think that passage is good and clogged.


This line here is cut as well, though I’m not sure why anyone would cut that. It would take maybe another 5 minutes to loosen the clamp on the other end. I compared it to the line on my dirty 14b and it’s definitely larger on the 16g, so I can’t use my current line either.


This is entirely my own fault as I wasn’t educated enough on what to look for when I bought the turbo. It’s still a huge letdown though, as I’m sure these aren’t cheap parts and I’m going to need the turbo looked at. [See update below]
Given my frustration with the turbo, I threw the starter on and called it a day.

I’m not happy with the small amount of progress I made this week. Lots of frustration and not much progress. Here’s to hoping this week yields better results!
Quick addition to the quick post! After some sleep and a major “oh, duh” moment I have found the root of my turbo problems. I have a TD04 13b that came on the early automatic DSMs rather than the TD05 14b that came on the manual equipped cars. Whoever dropped this engine in must have pulled it from an auto, which is sort of funny as this car was originally an auto. The point is, the lines on a 13b won’t fit a 14b or 16g as they are meant for the center section of the TD04 housing rather than TD05 center sections. I’ve got some shiny braided stainless steel bits on the way to rectify that situation, though I still want the turbo looked at as the previous owner must not have run the coolant lines when using the turbo.
