Short update this time! I was really hoping to paint my engine block this weekend, but alas, my paint has not arrived and I shall have to wait until next week. I’ve got my block taped up and ready for paint, I even ran a socket around all the tape edges to cut them to form.
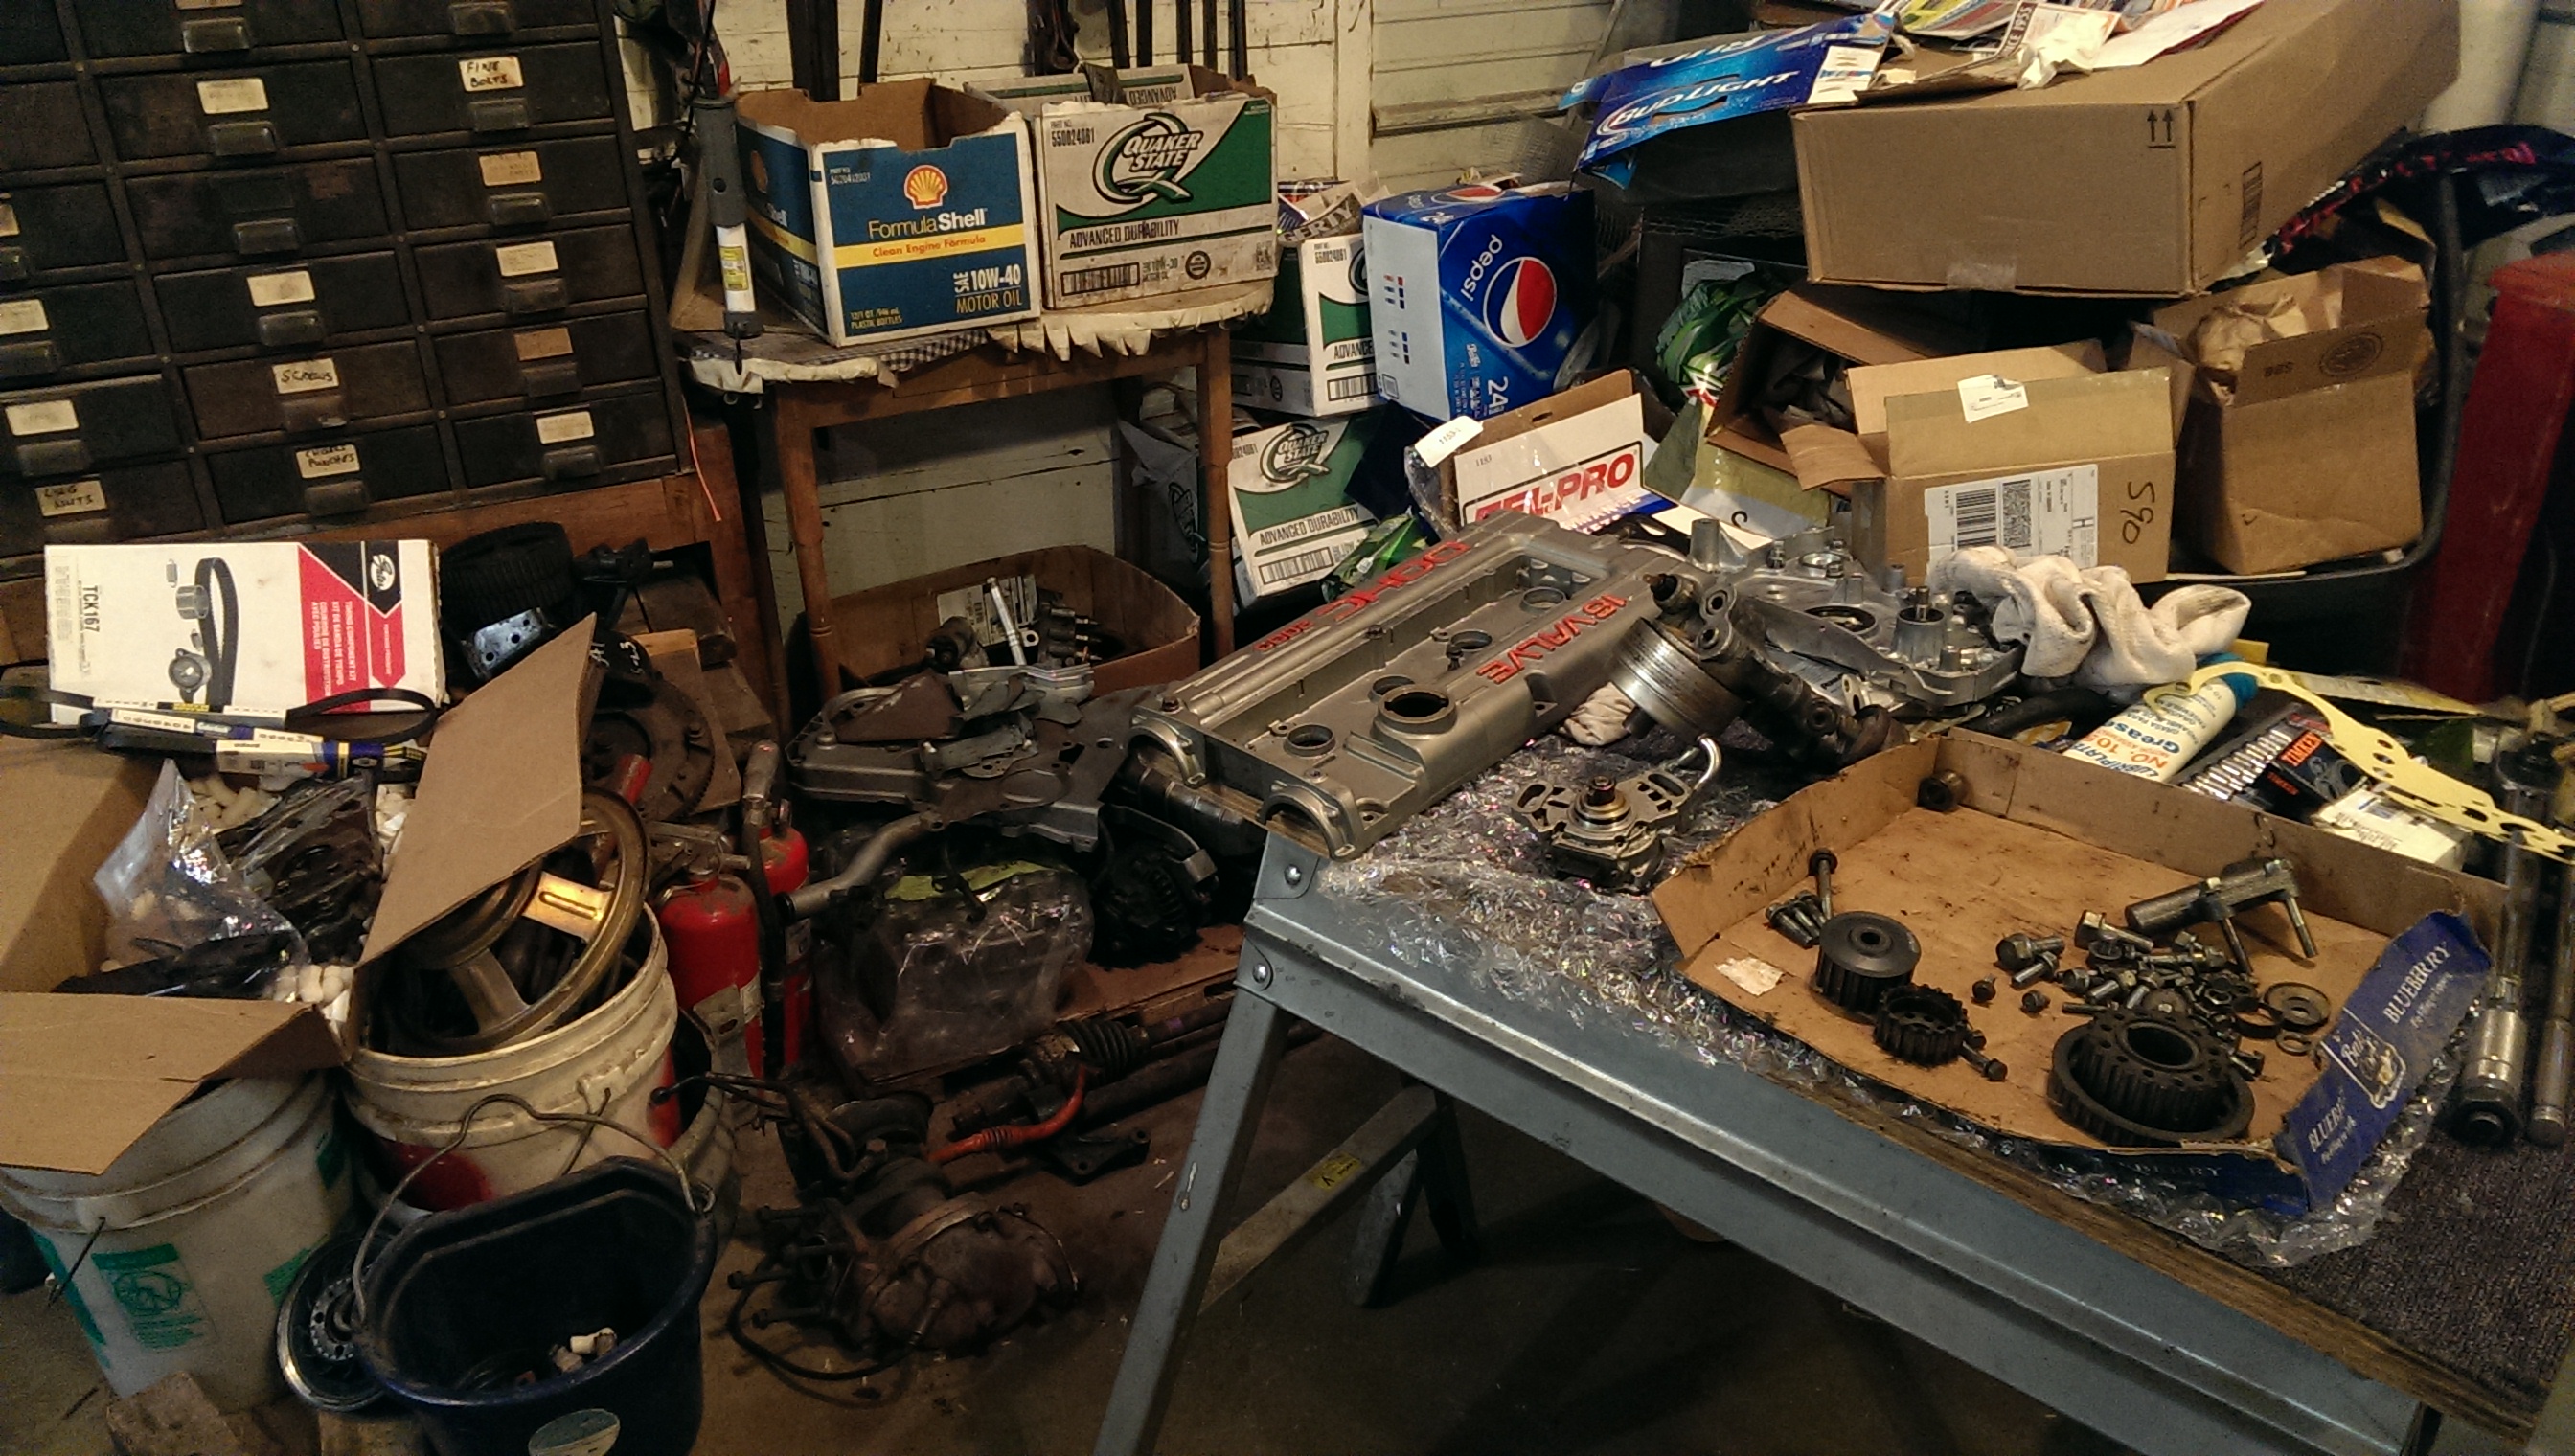
So instead, I thought about setting all of my timing components up and figuring out how to correctly time the car. That’s a no-go as well, I don’t have the special tools I need or the knowledge to do the work without them. So I decided to just clean everything. 6. Hours. Of. Cleaning. It really wasn’t so bad. I also got some more parts in, such as my clutch and some ARP bolts for various things I really want to stay on.


Yay new stuff! Most of the stuff that came out of my engine bay was just filthy, so I put some of the worst stuff in to soak Wednesday night. Our parts washer is kinda iffy, basically just diesel fuel and brake clean with some brushes. Our actual wash function works when it wants to, so I usually just stick with a wire brush and some good old elbow grease. We even have different brushes (steel, brass, etc) depending on what you’re working on. Yea, we’re fancy. Check out the three step process below; soak, scrub, and final wash down with brake cleaner.


Some of the parts are plastic, which I didn’t want to leave in the washer very long. The combination of our part washing stuff and the brake clean I use as a final wash had actually peeled the paint off some of the parts I washed. I was a bit more careful with the plastic, using a tin can to pour some over the part and a stiff plastic bristle brush to clean up with. Everything turned out alright, though I wish I had taken a before picture on some of these, they really were filthy.


Since I was already cleaning things, I elected to take apart my intake manifold and clean up what I could reach. While I was cleaning parts a bit earlier I saw that my cam angle sensor wasn’t broken, though I remember one of our hoist chains breaking something when we were pulling the engine. While I was taking the intake apart, I found that it was the throttle positioning sensor that we had broken. Good to know! I think I’ll wait to replace this until the engine is back in the car.


A drill mounted wire brush and some more elbow grease can make corroded aluminum nice and shiny again. This is one of the parts I may send off to Weavers or another place for cleaning, or porting and polishing if funds allow.


I was planning to have some of the more complicated parts dropped off at Weavers and let them take care of the washing bit, and I still might. But since I had time, I decided to try and clean what I could. Minus electrical parts, I was able to clean all the major bits and most of the minor ones as well. This should get me well prepared for after I’ve painted the block, I won’t have to clean parts as I go so I can just throw them on and keep rolling.

That’s all for today, told you this was a short one. I won’t be working on the engine tomorrow since I’m not sure what I can do, and I’ll also be hanging out with some friends for a much needed and completely unproductive game day. Hopefully my paint will arrive Monday and with the help of a local DSM wiseman I may be able to get the timing figured out. If we do, I’ll let you guys know here!
Cars, Computers, & Random Thoughts

