
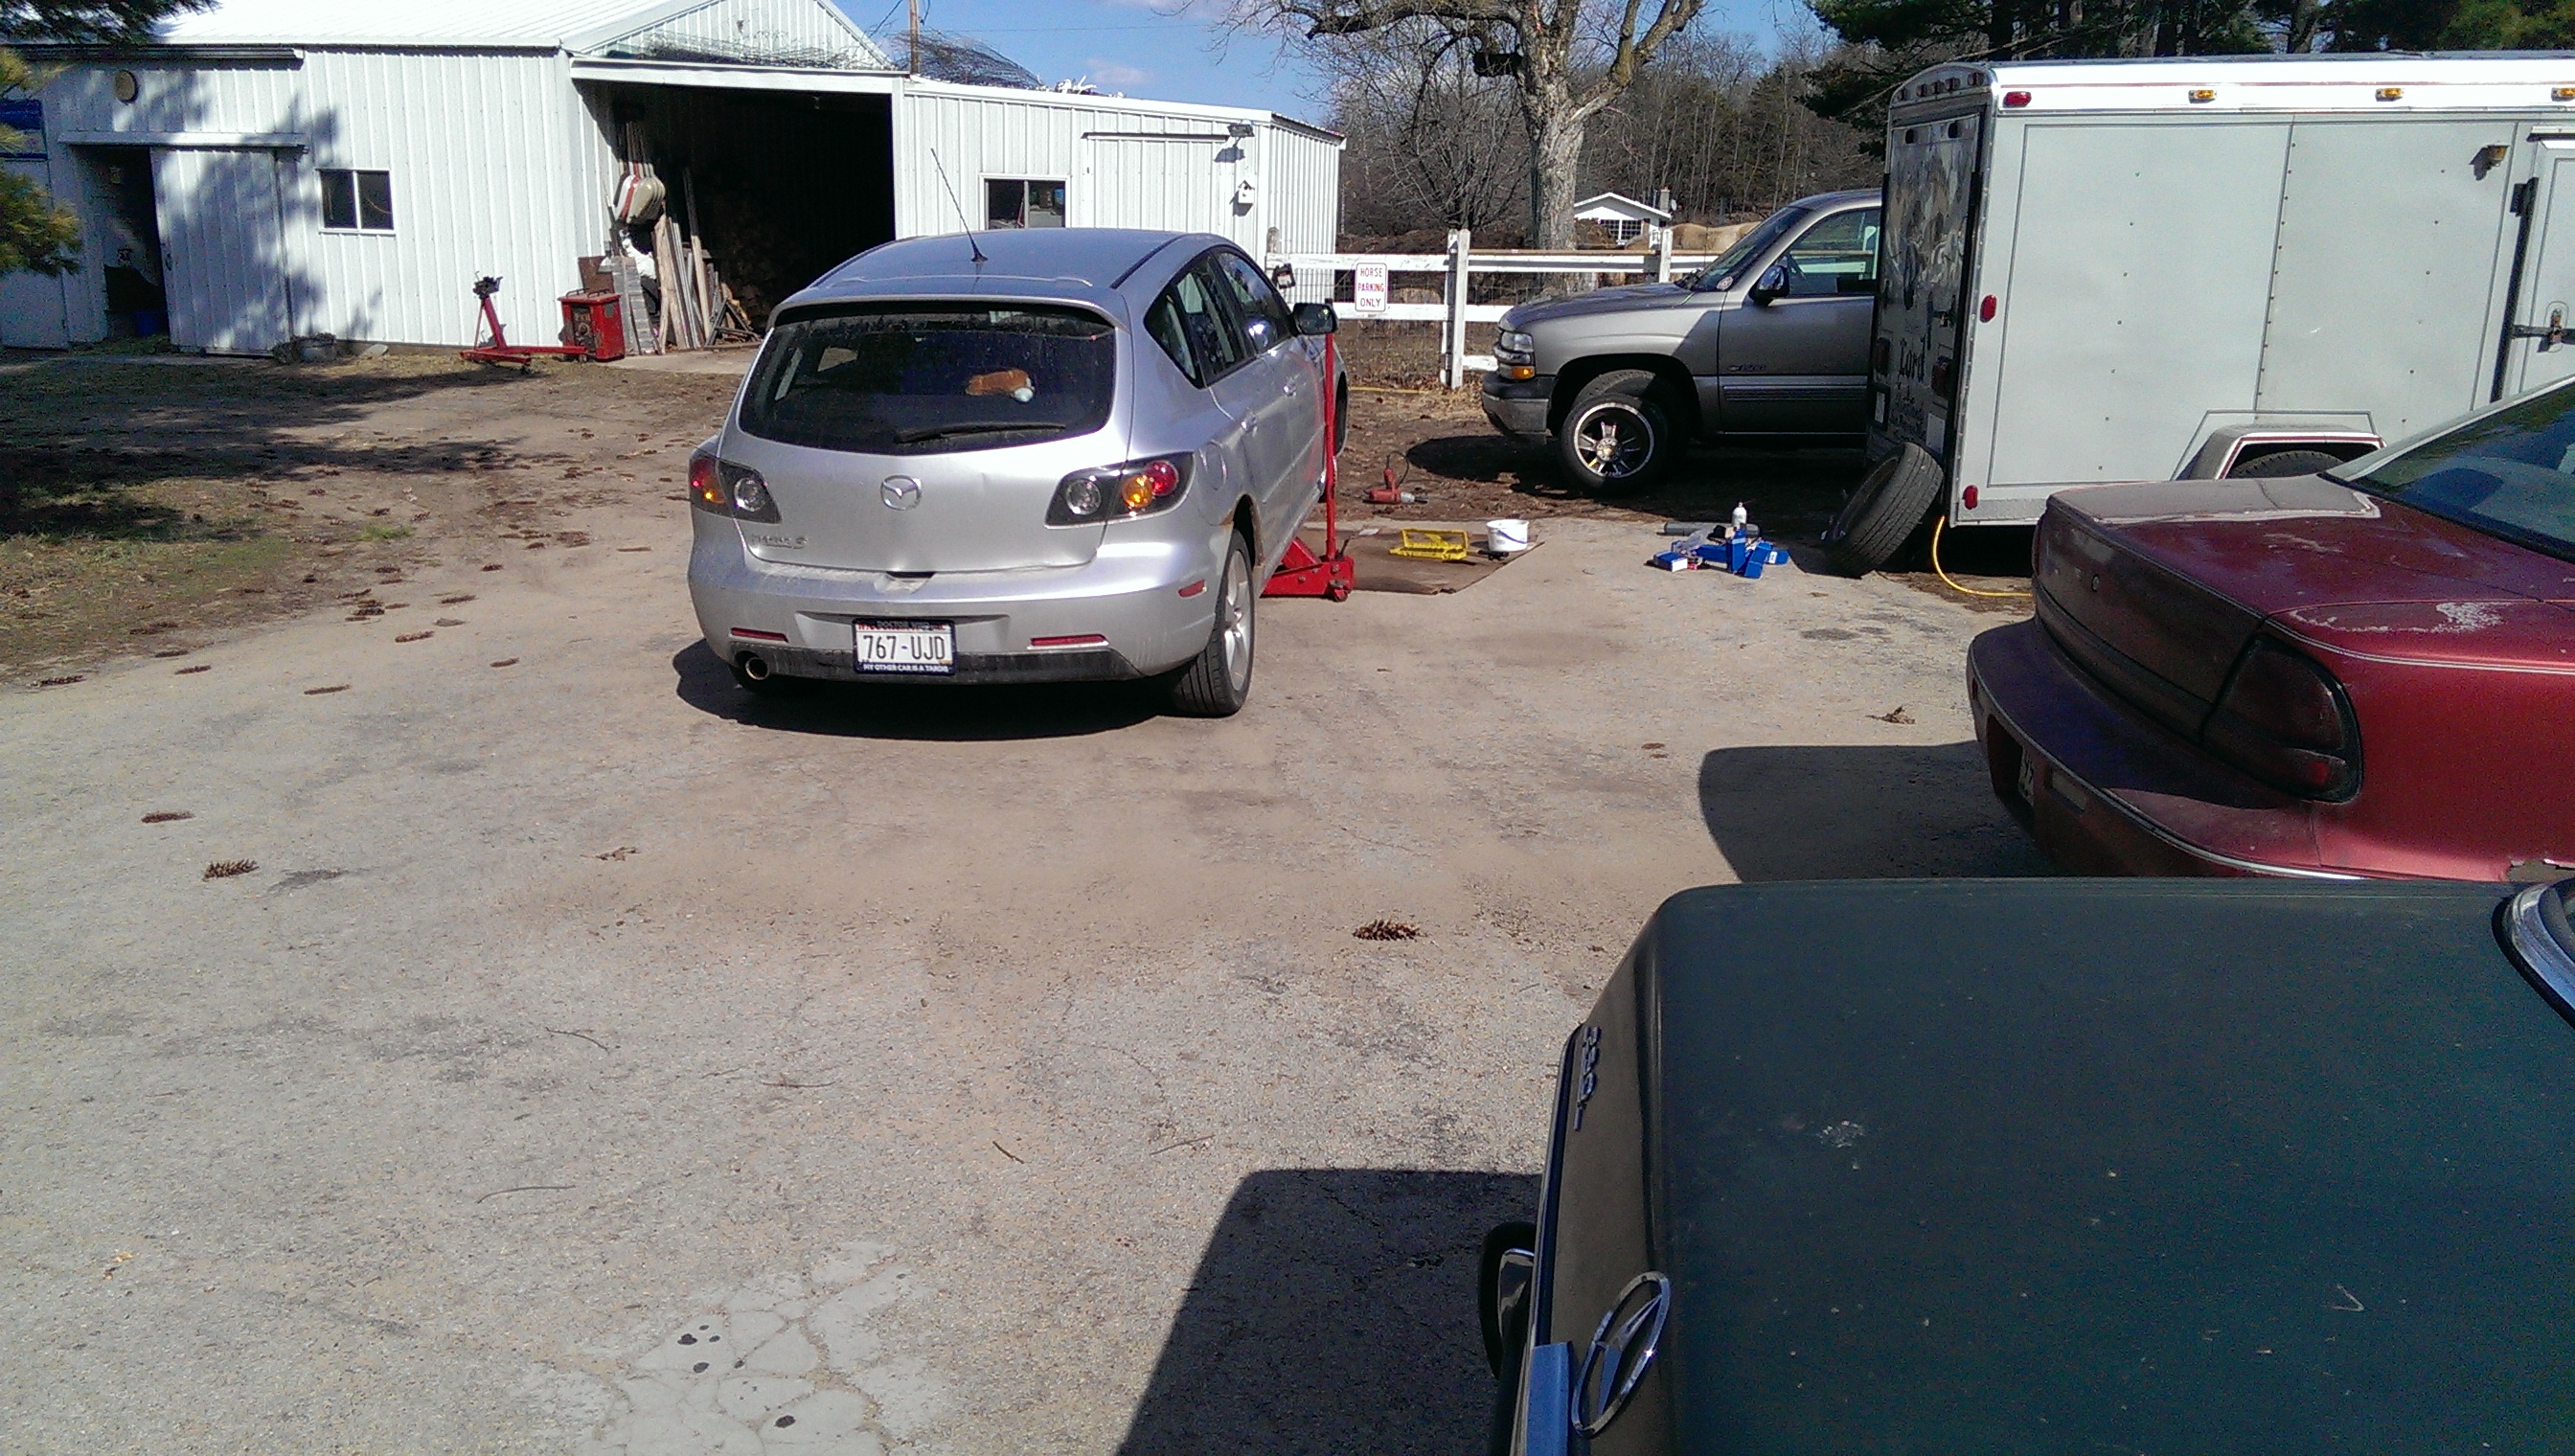
The Mazda had developed a bit of a shake. You could feel it in the steering wheel, and it wasn’t getting better by itself. I jacked the car up and tried to wiggle the wheel around by hand. The theory goes like this: if the wheel moves side to side you’ve got bad tie rods, if it moves up and down, you’ve got a bad wheel hub. Mine moved side to side, so off to Rockauto I went and within a week I had new inner and out tie rod ends for both sides on the front. I even bought a special tool to remove the inner tie rod ends, didn’t need it, but it’s nice to have just in case you do. I also orders some additional parts for some preventative maintenance, such as the serpentine and a/c belt, a new tensioner pulley, and a new thermostat. I’ll cover those in a later post, including why it’s sometimes best to buy oem parts.

As with any suspension or steering related repair, the wheel has to come off first. The suspension is actually a pretty simple setup once you’ve got a good look at what’s going on. For this repair I had to wrestle the old castle nut off the outer tie rod end, I started on the drivers side first. Once that’s off, you can grab a hold of the outer rod and spin the inner tie rod off the steering rack. It’s a lot easier than trying to remove the outer and then the inner rod, plus it gives you a point of reference for how to adjust the new parts.


Mine was rusted pretty good, I ended up using the torque wrench to get the nut off. Once we had the rods off the car we moved to the work bench. We placed the old assembly on an even surface and made an outline so we had an idea of what the new parts needed to be adjusted to. You need the boot off the old assembly, which necessitates pulling the outer rod off the inner rod, removing the adjustment nut, and then pulling the boot off that way. Unfortunately, my old assembly was not going to give the boot up easily. We ended up cutting the rod after the nut since we couldn’t get it to spin off, that made it much easier to slide the boot off.


There is a very specific way this all goes back together. You need to slide the boot onto the inner rod first, followed by the clamp that holds the boot on, then the adjustment nut needs to go on, and then you twist the outer rod on and adjust it to match the outline of the old assembly. Once that looks good, you snug the adjustment nut back up to keep the outer rod from moving. I definitely forgot to put the adjustment nut back on at least once, fun times. I also forgot to put the clamp back on the end of the boot, which means taking the outer rod and adjustment nut back off, after completing the adjustment of course. This is demonstrated in both pictures below, super fun.


The re-installation is just reverse of the uninstall. Spin the inner rod back into place, get the outer rod positioned correctly and tighten up the castle nut. There is also a small cotter pin that goes through the outer rod itself and wraps around the castle nut, to further make sure it stays in place. Finally, there is a clamp that goes around the boot on the inner end. This clamp needs to be squeezed together to tighten it up, I found it easiest to wedge a side cutter in there and use that to set the clamp. Unfortunately I don’t have a shot of that, so hopefully my explanation will suffice. We did this on both sides, it’s usually best to do both sides at the same time when it comes to suspension or steering components.

I applied a liberal amount of anti seize to the castle nut, in case you ever need to take it off again. Good thing to because after a short test drive I found that the shaking had not abated.
So we jacked the car up again and noticed a weird pattern of grease splattered around the wheel well.

Yep, closer inspection revealed a torn cv axle boot. I honestly don’t know how we missed that before, we must have looked right at it several times. For this fix I turned to Amazon as the shaking was bad enough that I didn’t think it was safe to drive the car. Two days later (Amazon Prime rocks!) I had my constant velocity axle in hand and ready to go in. You can see that just a few days of sitting created a nice coat of rust on the caliper, they don’t call this area the rust belt for nothing!

Pulling the wheel again, I was greeted with a small bolt that holds the cv axle in place. It turns out this is a torque to yield bolt (25ft/lbs and a quarter turn drives it home but it stretches and cannot be used again) and it’s a $20 part on it’s own. What the hell Ford? Luckily, any new half shaft assembly should come with a new one. You’ll need to take the outer tie rod castle nut off and move that out of the way, this allows you to turn the wheel hub enough to pull the half shaft out of the hub. For that same reason, you need to pull the steering knuckle off the lower ball joint, which is one bolt and a lot of prying. The brake caliper and rotor will also need to be removed, mostly for the extra room to work. You may be able to do it with them attached, but it’s only two bolts to remove anyway.
I had also noticed that out brake booster cap had somehow gotten it’s seal messed up, allowing it to spray brake fluid up onto the hood at will. Another $13 to Ford Motor Co, worth the peace of mind.


With the half shaft out of the hub, you basically just yank it out of the transmission side. There is a small snap ring inside the transmission that fits into a groove on the half shaft, clipping it into place. When you yank the shaft out, the transmission will start to leak fluid (most people recommend draining the transmission before doing this, but that’s a pain) so you’ll want to have the new part in hand and ready to go back in quickly. Sam had that covered.


Once that’s back in, you align the teeth on the outer shaft with the hub and slide that back in. The lower ball joint goes back in place, gets tightened up, and then the outer tie rod goes back as well. Once that’s all buttoned up, the final part is that torque to yield axle lock bolt (Mazda part # 9YA0-21-083D if you need one). That gets torqued to 25 ft/lbs and a quarter turn, throw some Loctite blue on there first if you have some, just as extra insurance. Don’t forget to top off the transmission fluid!
Give everything an extra once over to make sure you didn’t miss anything. Then throw the wheel back on and torque that to 60 ft/lbs in a star pattern. After it’s tight, up the torque to 85 ft/lbs and go over it again. Turn the key and hope for the best! Since we knew it was a bad half shaft, we didn’t need luck. Everything was much smoother, no more death wobble!
Neither of these are very hard or time consuming repairs to do yourself, but it certainly helps to have the correct tools and an extra set of hands. What are you waiting for, get out there and fix something on your car!
Pingback: When your half shaft falls out
Amazing! This blog looks exactly like my old one! It’s on a completely different subject but it has pretty much the same layout and design. Excellent choice of colors!
Thanks! Orange has always been one of my favorites, purple just didn’t look right.