
Welcome to Unreal Adventures! Unreal Adventures is yet another side project of mine, mostly detailed here in hopes that it will keep me accountable and help keep my momentum going. So what is it? Well, I’ve been messing around in Unreal Engine 4 lately and I’ll be sharing my digital escapades here. I’m only getting started with about 10 hours in total, and I’m currently following an excellent (and enormous) playlist of tutorials set up by the folks at Unreal Engine themselves. If you’re interested in checking it out, I started right here.

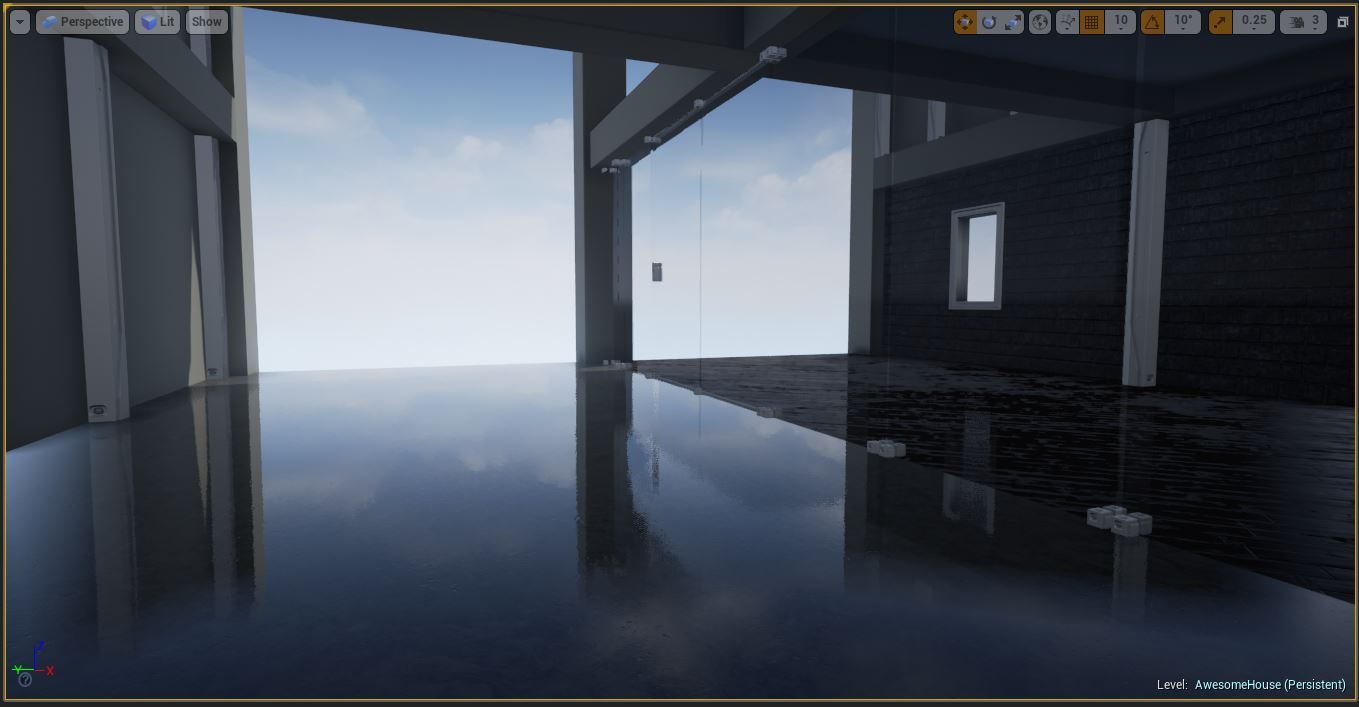
The purpose of this section of the tutorial is to introduce some level building and then get in to blueprinting in order to create a sliding glass door. Neat stuff! First, however, we needed to create a track for the glass door to slide on. Well, not really, but we want it to look nice right? Using a pillar that was squished and tweaked down to micro size, we create a single track. Then we duplicate that, flip it 180 degrees (so the same side is facing the player) and move that up to be the top of the track. Boom, track complete.

Now we need a handle, easily made out of transforming one of those sm_corner_frame pieces I previously used to make it look like the glass wasn’t magically floating. After a lot of tweaking and testing I had my handles. Finally, we grouped the handles to the door so that they all move together. Floating handles are weird.

On to the blueprints, which are a method of visually scripting rather than having to write lines of code. In this instance, we want to create an area around the door that will trigger it to slide open when the player enters that area. Likewise, we need this blueprint to close the door when the player leaves that trigger area. Easy right?
So we set up a trigger box (one of the built in items) and stretch that over the area we want. Then we create the actual blueprint that will use our trigger area. This sounds easy enough and is likely easier that writing out the code, but it certainly gets interesting. We first opened the level blueprint and added two triggers for our trigger box, one for when the player enters the trigger box (OnActorBeginOverlap) and one for when the player leaves (OnActorEndOverlap). Next, we create a timeline that we can use to animate the door. We tell it we want the animation to player when the player enters the trigger area, and reverse when the player leave it. Simple enough. But how do we actually get the animation to work?


The easy way? Set your snap distance to 10, and note the amount of snaps it takes for the door to hit the end of the track when you move it. In my case, I counted 12 snaps before my glass door would hit the end of the track, or 120 completely arbitrary units of distance. With that in mind, we return to the blueprint and open the timeline up. Once inside the timeline, we create a vector as a way to measure time, giving it a start time of 0 with a value of 0 and end time. This end time will be the end of our animation, so if we want the door to open in 2 seconds, we set the end time to 2. We also give this end vector a value of 120, see where this is going? We’ve just set up how long we want the animation to take, and how far we want it to go, awesome!

One thing to note, in that image above I actually mistakenly set the vector on the Z axis, instead of the red X axis we wanted. Maybe lock the axis you don’t need, otherwise your door tries to float up. not what I was going for, but cool nonetheless.
Anyway, with all of that magic stuff set up, we need a way to tell the blueprint that we want it to move the door we’ve made. We do this by selecting the sliding door in our view port, and then switching over to the bluprint and adding a reference by right clicking. Once we’ve got that reference we can drag it’s output to a SetActorLocation node. So now we output our blueprint update to the execution input on that set method, and make sure it knows that our DoorLocation vector is what we want to be the new location.


Disappearing door? Not our goal. The problem is that the door defaults back to the 0,0,0 location that is the genesis of the level. Our workaround? Store the location before we move the door, and then add our animation movement as an offset. We do this by using an EventBeginPlay node that fires when we, uh, begin playing. Next, we need a GetActorLocation node to grab the default location of our door, and we also need the variable that said get method returns. Once we’ve got that set up, we can make sure we’re grabbing that default location when we start playing.

But that doesn’t completely solve the problem, we still need to use that default location to determine our final location at the end of the animation. Now that we’ve got the GetActorLocation groundwork down (get methods, set methods, variables… sounds a lot like programming!) we can use it to grab the default location, add our animations offset, and output that result to our SetActorLocation via a vector+vector node. Easy! One last thing we need to do, is to set out trigger box collision to custom. We need to set that collision to ignore everything but the player. This is because the door will initially open and then close immediately upon first being trigger, as the door actually hits itself. Once it knows to ignore itself and only care what the player is doing in regards to moving the door.


Boom, sliding glass door!
So that’s what I worked on today, and I’ll be working my way through the rest of the tutorials in time, updating you all as I go along. See you on the next adventure!