
I’m not dead! I’m just busy. And lazy, really lazy. The past few weeks have not presented a good time to do any car work and when we did get the occasional sunny day I was either at work or off doing something else. All day gaming binges are an important aspect of my life alright?

More seriously though, this weekend presented a good opportunity to finally get some work done and as I’ve got two trips planned in the near future I’m anxious to make sure the Mazda is completely up to the task. I’ve also noticed that I get antsy if I’m not working on a project or planning to get some work done, so I ordered a whole lot of parts that I probably don’t need but want to change out anyway. Can’t hurt right?


For this weekend I decided to go with new shocks up front, struts out back, and new mounts all the way around. I also picked up a set of Racing Beat springs as I was changing all the suspension components anyway, so I had a good excuse. I opted to go with KYB as I’ve had good luck with them and I’ve not been impressed with the Monroe shocks I’ve had in the past. I’m also moving to springs that are a bit lower, so I wanted some stiffer shock and struts that might hold up better.
Friday night we had a party with some friends (Hi Skeeter!) to celebrate Ali’s birthday so I didn’t get home and start working until around 3 on Saturday. I’m also on call currently so I have to run back and forth to check emails every half an hour or so as our WiFi does not extend out to our garage and my phone has bad reception out here most of the time.

After being awoken multiple times around 2, then 3, then 5 and so on, I was a bit on the tired side. I really wanted to get this stuff done though, so I dove in. Naturally, in my super tired state I made some mistakes, didn’t think over some choices, and generally took much longer than this should have. Side note: this is what I came home to, a Nissan Sentra having it’s transmission pulled for a swap. Yay $500 cars!


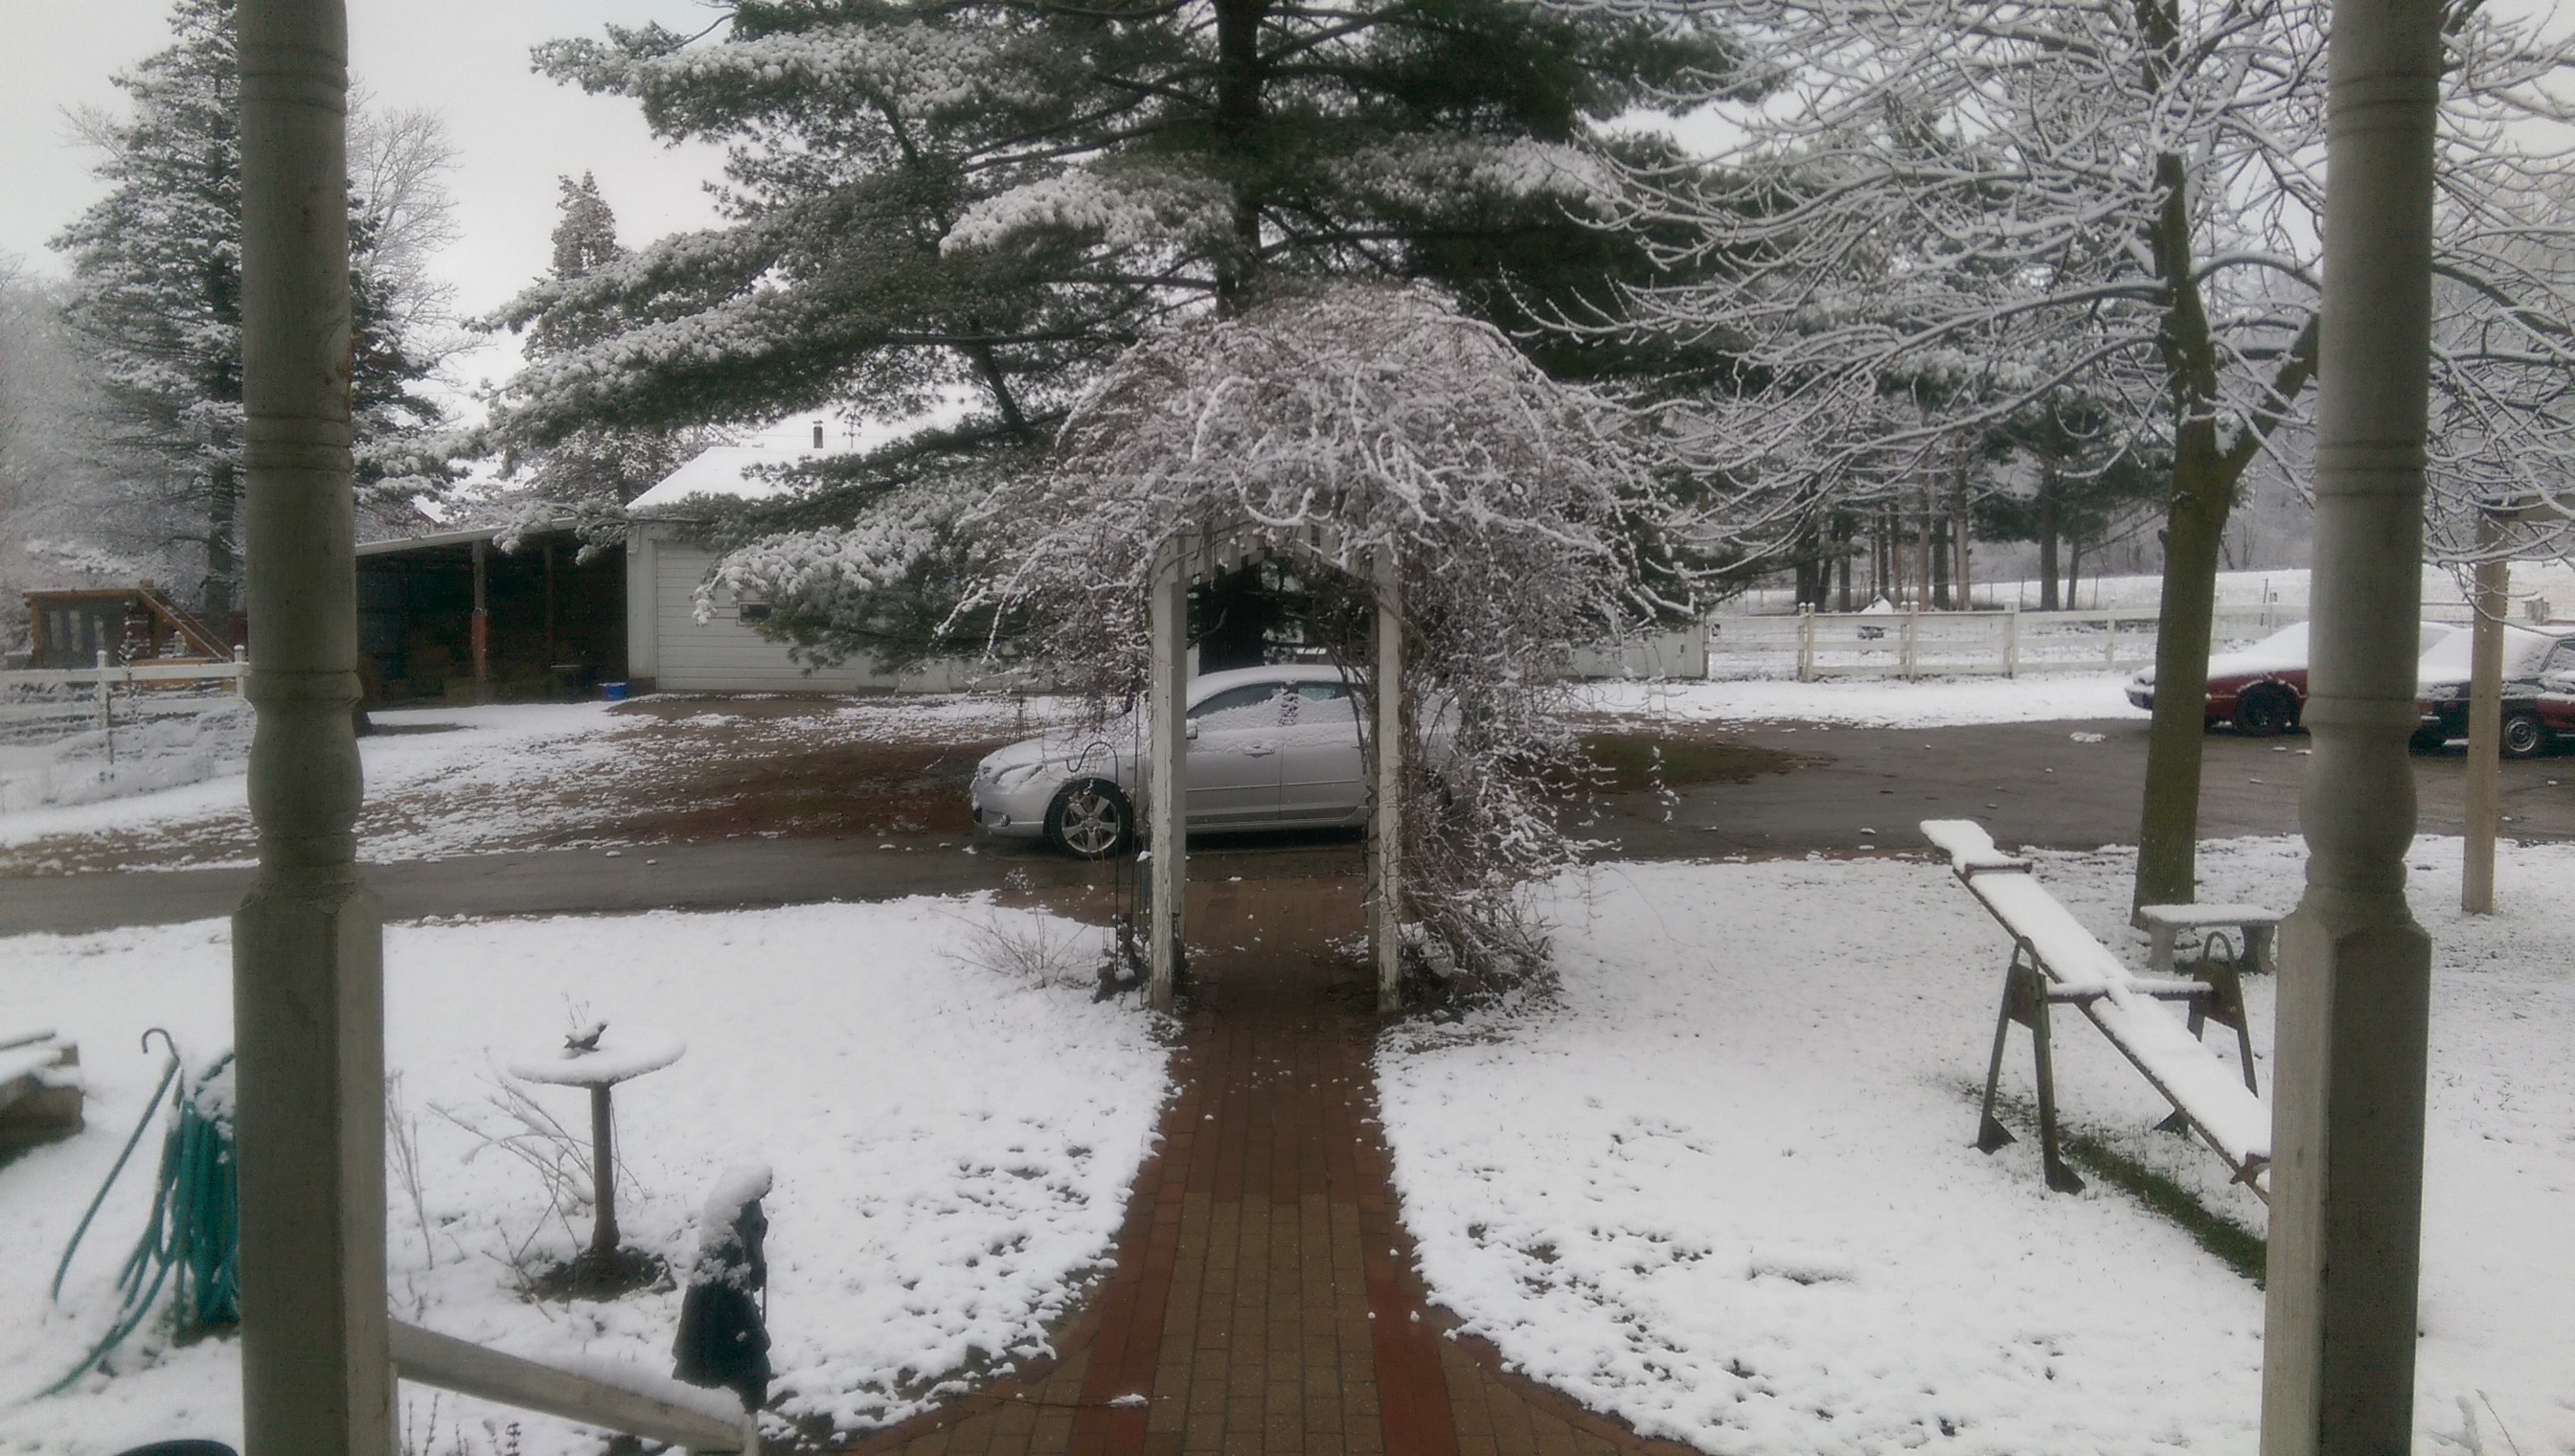
In case you didn’t believe me on the weather, this is Wisconsin so one weekend I’ve got sunshine and the next week we’ve got a blizzard. Yes, these are in chronological order, and the feature image is from a day that saw snow; then sunshine, then a blizzard, then sunshine within a few hours.


To the point! I pulled the Mazda into the garage so I had access to all our tools without running back and forth a million times. I started with the rear shocks as those are the easiest. Pull the tire and you’ll see the shock mount up top with two 14mm nuts holding it to the car. These come out easily enough, and the bottom is held on by a single 17mm bolt. Pull all of these out and you’ll be able to get the shock out with the mount attached.


I’m not sure who’s idea it was to put an aluminum shock mount up against a steel body where they had to know it would trap water, but someone did that. So what you get is a weaker mount that has been known to break, trapped water causing rust, and as soon as rust bubbles paint off you’ll also get some lovely galvanic corrosion to further accelerate the process. Since I had a single little can of POR-15 left, I grabbed a brush and went at it. I got a little carried away and did the entire wheel well while I had this kind of access. I had to remove some wheel well panels as well.


I’m glad I did, but boy did that take some time. I had to remove a lot of rust, some paint and undercoat that was creating rust, and then paint both sides. I went ahead and disassembled the old shock and mounts to get the baffling off them and then I put the new shocks together with their shiny new mounts. Hopefully the POR keeps galvanic corrosion at bay.


I took advantage of the space created by the missing shocks to remove the springs. This is easiest to do by just removing the 17mm bolt holding the suspension setup together on the bottom. Throw an impact on and boom, easy access to remove the old spring, swap the spring hat over, and insert the new one.


The rear springs don’t have to go in at any particular orientation, which is why the stickers are upside down on one of them.


By this time my brother had finished tearing down a firetruck engine and was kind enough to lend a hand to a very tired and battered me. We moved to the front struts, which proved much more infuriating to swap out. You’ll need to remove the 17mm bolt holding the bottom of the strut to the steering knuckle, the 14mm bolt for the sway bar end link, the brake line clip, and the three 14mm bolts on top of the strut tower that hold the mount in.


Getting the old strut assembly out isn’t too difficult but it’s much easier with another person to step on the steering knuckle and give you more room to work the assembly out. Once it’s out you’ll need to get the 14mm nut of the top of the strut and pull the mount off to scavenge the baffle once again. Alternatively, you can just buy new ones and save some time by assembling the new strut before pulling the old. Too easy. We swapped everything over, using a spring compressor to allow us to get the new strut mount in place. You’ll notice the smaller end of the front springs go towards the top, and the bottom locks into the strut seat.
Be careful with spring compressors, you want to work each side a little at a time so you don’t put too much tension on one side of the spring. I’ve heard accounts of springs failing and releasing the massive amount of energy they hold in the form of flying metal bits. Do not want.


Getting the new struts in was damn near impossible. The knuckle had rust in it that we had to take a rat-tail file to and even then the new KYB struts would drop in until there was maybe 1/2″ left and then they would refuse to go any further. No matter how we smashed the thing or spread the knuckle these things just fought back. I think I worked on just the driver side strut until nearly 10, at which point I called my dad in to get a second, more well-rested brain on the situation.
We eventually got it seated, but then came the fun of lining up the mount with the strut tower. These are triangular in shape, but for reasons known only to Ford or Mazda, they will only line up in one orientation. Doesn’t make sense, but if you know this beforehand then you simply look for the 3 rubber bumps on the mount that indicate that that side is the side that should face towards the engine bay. If you don’t know that, it’s a half hour fight with one person prying the new, uncooperative strut into place while the other tries to line the bolts up, mostly by luck. We eventually got the drivers side strut in place and bolted up, and called it a night. I definitely spent nearly 8 hours working on suspension and only got 3 corners done. Yea, I wasn’t running at 100%.


On-call had me up a few times again to further deprive me of sleep. Once I was able to semi-function, I once again recruited my brothers help and we attacked the passenger side strut. It was already together and only needed to be dropped in, but we didn’t have more than 45 minutes as Ali had to take the car for work. This side once again put up the same fight on the knuckle side, but I already knew how to line up the top end so that went much smoother. My dad had also noticed the night before that the strut mount has two slots cut into it that would sure fit a nice tool that could guide the strut into place and then rotate it if needed. Sure would be slick. As you can see, the driver side spring got some paint chipped off it by errant hammer blows.
I should mention that I also solved my odd steering problem that I noticed after swapping out all the tie rod ends: it was actually the ball joint bolt. The bolt had stripped and loosened so when turning right the tire knuckle would slide up the ball joint a bit and change the tire camber mid turn. I never threw it into a corner hard enough to make it scary, but boy that could have been bad. I’ve got a new bolt on there now and it felt fine on my short test drive before turning the car over to Ali. How did I find this? I just jacked the car up and checked for wheel play like normal. When I noticed the major amount of movement I thought I had a bad wheel bearing but I recently replaced it, so I looked at the inside of the wheel and found the issue almost immediately.
Speaking of test drives, I haven’t been able to run the car hard but my short test drive revealed that the car is much more flat when cornering. I’m super excited to see what these springs can do on my usually back roads, and hopefully at an autocross. One thing I forgot to do was measure the distance from the ground to the apex of the wheel well before swapping out the new springs. So I don’t actually know how much the ride height changed, though Racing Beat claims around half an inch front and back which is part of why I chose their springs. I can definitely see that it sits lower, and it looks nice. I’ll report back after the springs have some time to settle and I get some more seat time testing how they react on the twisty backroads in my area.


All together, this work was shockingly hard. Yep, I went there. It probably wouldn’t have been so bad if I’d had more sleep and done some research before hand. I’m glad I’ve got the ball joint issue figured out though, I don’t think that would have gone well on a track run. I’m also glad I got all of this done, this was the majority of the work I wanted to do before our upcoming road trips. I’m going to need an alignment now, and I also need to get my summer tires on. I’m hopefully going to be checking out some FD RX-7 wheels with nicer tires on them, these would be wider (good for track time!) and have better tires. No, I don’t think my Khumo tires are going to be track ready, though that isn’t why I bought them. These are direct fit, but they look a bit odd on the 3.
You may have noticed some other parts in my pictures. I’ve got plenty of other work I want to do before leaving, and I’ve got less than two weeks. This work includes a new transmission mount and rear torque strut (both parts) as these don’t seem to have been replaced previously. I’ve got a new air filter as the transmission mount work is in the same area. I’ve also got a new transmission filter, gasket and 12 quarts of Redline D4 that will hopefully help with the stiff shifting I’m experiencing. Plus it’s past due for a flush anyway. So stay tuned, I don’t think we’re supposed to get snow anymore but this is Wisconsin so I may be surprised!