
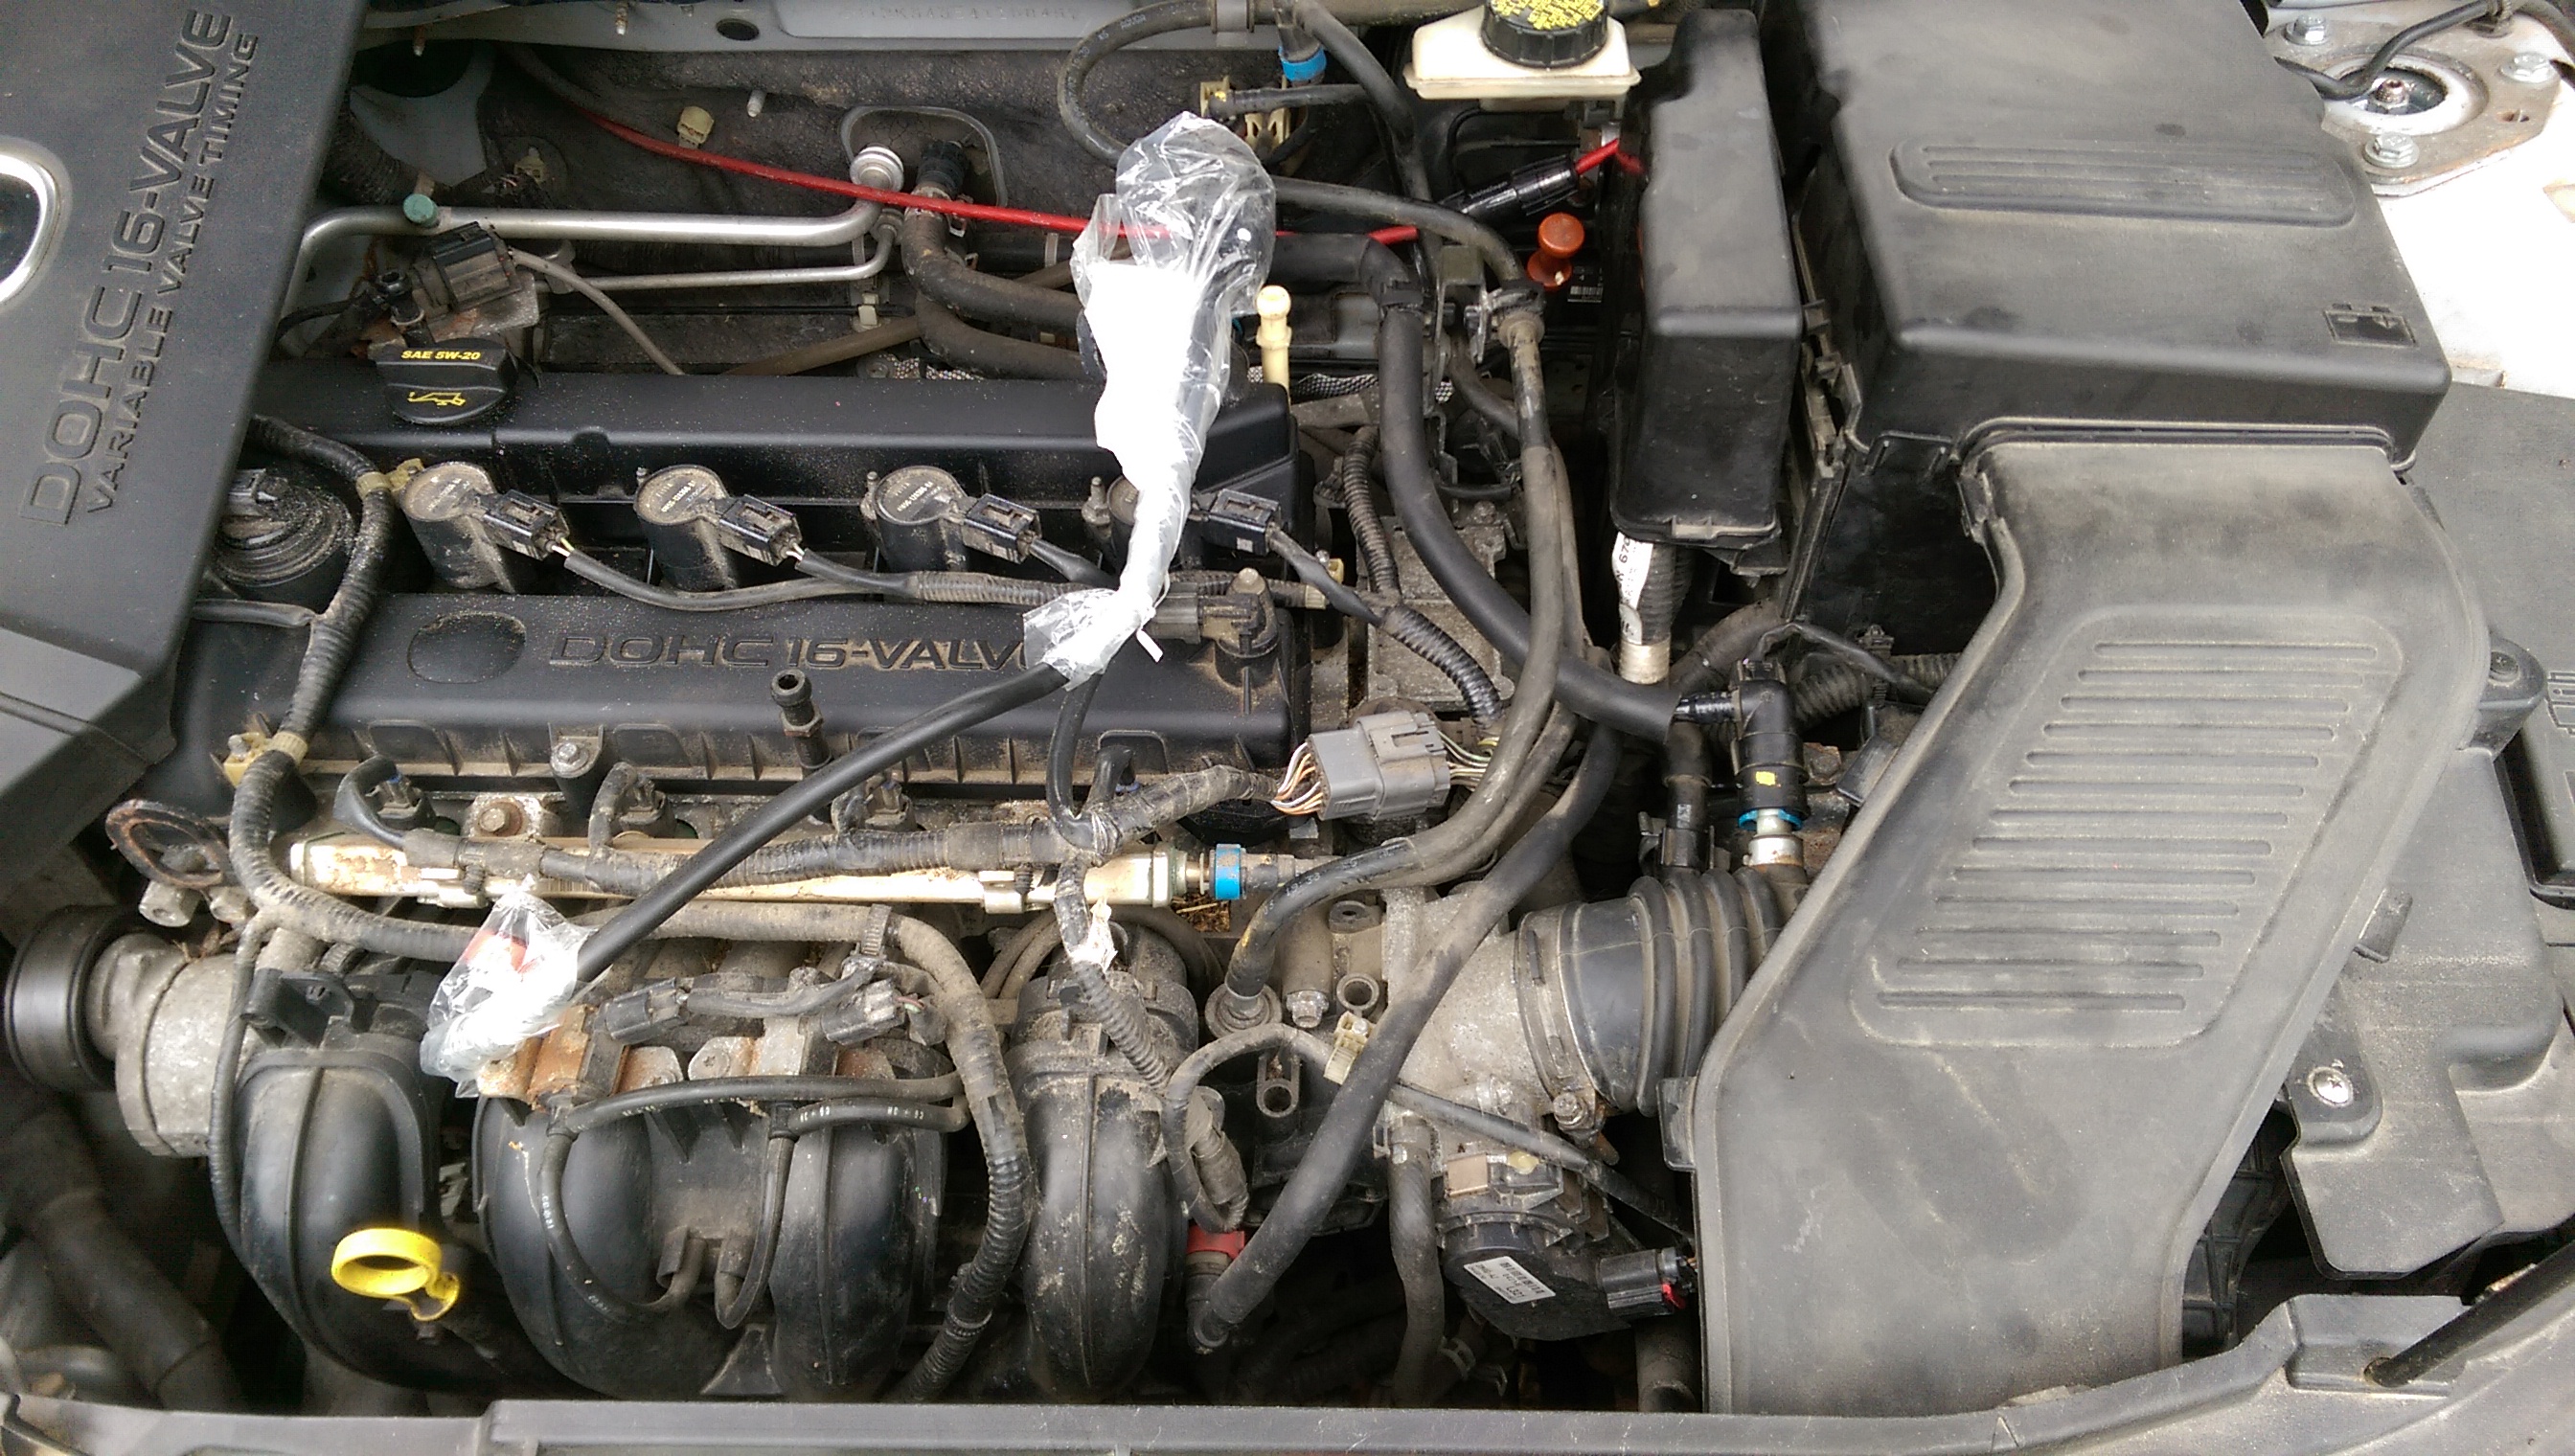
The purge valve solenoid controls the amount of fuel vapors that are allowed to enter the engine from the charcoal canister. On the Mazda 3, the evap system has been known to be something of an issue. Usually you’ll get the good old P0446, which is a code for the evap system that points to vent control valve. From what I can find, the Mazda doesn’t have a vent control valve or if it does, it’s integrated into another part and is replaced as a package. I found an OEM purge solenoid on EBay for $100 and snapped it up, there are some cheaper parts but they’ve been known to be, well, cheap. Lately, I’ve been having some hard starting issues when the engine is cold, but not once the engine has been warmed up. Turns out the purge control solenoid can cause that. So I decided to finally replace it!


This is a pretty easy process, you really only need to undo the clip (pretty nifty actually) on the front end and then follow the line back. Getting the solenoid off the rubber boot can be a bit harder as you don’t have much room to work and the solenoid activation wires need to be un-clipped, but once that’s done you can undo the clip on the rear of the line and pull it all off. I wonder if that line runs to the tank. Seems plausible enough. The whole shebang can be a bit interesting to twist out of the other hoses and wires running everywhere, but it can be done!


The end part of the hose needs to be removed from the rear end of the solenoid. Use the white line on the end piece and the arrow on the solenoid to put the new pieces together and finagle it all back into place. The new solenoid line will have a plug in the front end, do make sure to remove that before you try to re-attach it to the front!


That’s all there is to it! Since this is a really short update, I’ll go ahead and tack on the super small amount of work I’ve done on the Benz since last year. Namely, I dropped the fuel strainer to take a look and try to get all the larger chunks of rust out.
This is an interesting process, and I was wholey unprepared. I didn’t pick up a new one, though I probably will at some point, and I definitely under-estimated the amount of gas I still had in my tank. Guess my gauge is off a bit or Mercedes-Benz leaves you more reserve than I expected. The fuel strainer itself is located at the bottom of the tank, a giant 22mm (I don’t know the actual size as you’ll see) or so hex bit is needed to drop it out of the tank. The largest hex bit I’ve got is 19mm, so I had to find a bolt head that fit well enough and make do.


Yep, I used a bolt head as a hex bit and it worked just fine, though I’m sure it’s easier with the right tools. Like I said, the purpose of this round was just to get a feel for how much rust was lurking in the tank as I’ve been assuming that’s my fuel starvation issue. The strainer itself doesn’t look too bad though it is pretty rusty, and with openings as small as the strainer has, that rust may well be the issue. I’m sure I’d actually be fine running without it as I’ve got another fuel filter in the engine bay that works just as well. Either way, I definitely didn’t have enough storage for the fuel that came pouring out. I swear the gauge said the tank was close to empty, I may have been mistaken. Once I’d grabbed a breath of fresh air I went back in and put the strainer back, I really should have either removed it or put a new one in. I’m gonna blame it on the fumes.


You can see that the rust that did come out was pretty small bits. I’m not sure if those are large enough to cause an issue or if the rusted strainer is the issue itself but I’d think that a rusted strainer would cause consistent fuel starvation rather than it only showing up once in a while. I went ahead and poured the fuel I was able to save into our little gas can (with a super scientific strainer) to fill the tank back up. I also learned that gas does something very weird and not good to blacktop, and I now know what the other dark spots around the driveway are! They are definitely different from oil spots and I wouldn’t be surprised if the Benz is also leaving those.
The container on the left was completely clean, the right container was an “oh crap so much gas!” sort of thing so I grabbed what I could. It was pretty dirty to begin with.


I did make sure to let all the rust settle before pouring the salvaged gas into the can, so I probably didn’t actually need the strainer but I don’t mind being extra safe. I took the Benz out for our local cruise night as we were cruising to a nearby camp ground for dinner. It was immediately apparent that the carbs were getting much more gas than previously as the car would not idle itself, I had to keep my foot on the gas whenever it was out of gear.
I wasn’t able to spend time tuning the carbs until Saturday or so and I do have it running much better now. I’ve got the idle turned up a bit and I re-adjusted the chokes so it will idle itself. It feels a whole lot better on the move and doesn’t have the explodey exhaust affect it previously did. It’s still running a bit rich though, I think I got about 14mpg on the last half tank, and if I lean out the front carb it fires even better. Problem is I can’t figure out how to make that change work at idle and at WOT (I did mess with the mixture screws but it’s likely a need a new needle somewhere). Oh well, runs better than it did!

Then this happened. We went for a swim and the parking lot is the typical 3″ or so rise. That’s usually fine if you take it at an angle, but with 3 people in the car it proved a bit too much for my breakover angle and I got a good crunch as we were leaving. Everything sounded fine and I honestly don’t care too much so we headed for the speed bump. I didn’t hit that hard either, but it must have caught something because the whole system from the header back made a break for it. Things got loud fast. I’ll have to figure something out, I did think of just doing side exit by adding a 90 degree piece to the current ends, but I think I’ll try getting a muffler in there somehow.

I’ll try and get some video up, it really sounds great but as a cruiser and a car I don’t want to get pulled over in all the time, it will have to be fixed. That’s actually all I’ve got for this update! I have been working on the Laser when I can, but I haven’t accomplished a whole lot so I can’t do a full update just yet. Happy fourth of July!