
The transmission filter on the Mazda probably hadn’t been changed by the previous owners, which is something I’ve been meaning to correct. I bought the filter and gasket along with 12 quarts of RedLine D4 probably two months back and now felt like as good a time as any to change the filter out and learn a bit about the process. I’ve never done any transmission work other than helping a tiny bit with some rebuilds, as in “hold this a second” sort of helping, so I was a little intimidated by the thought. Turns out it’s really easy, but first you must wash the car as is customary!
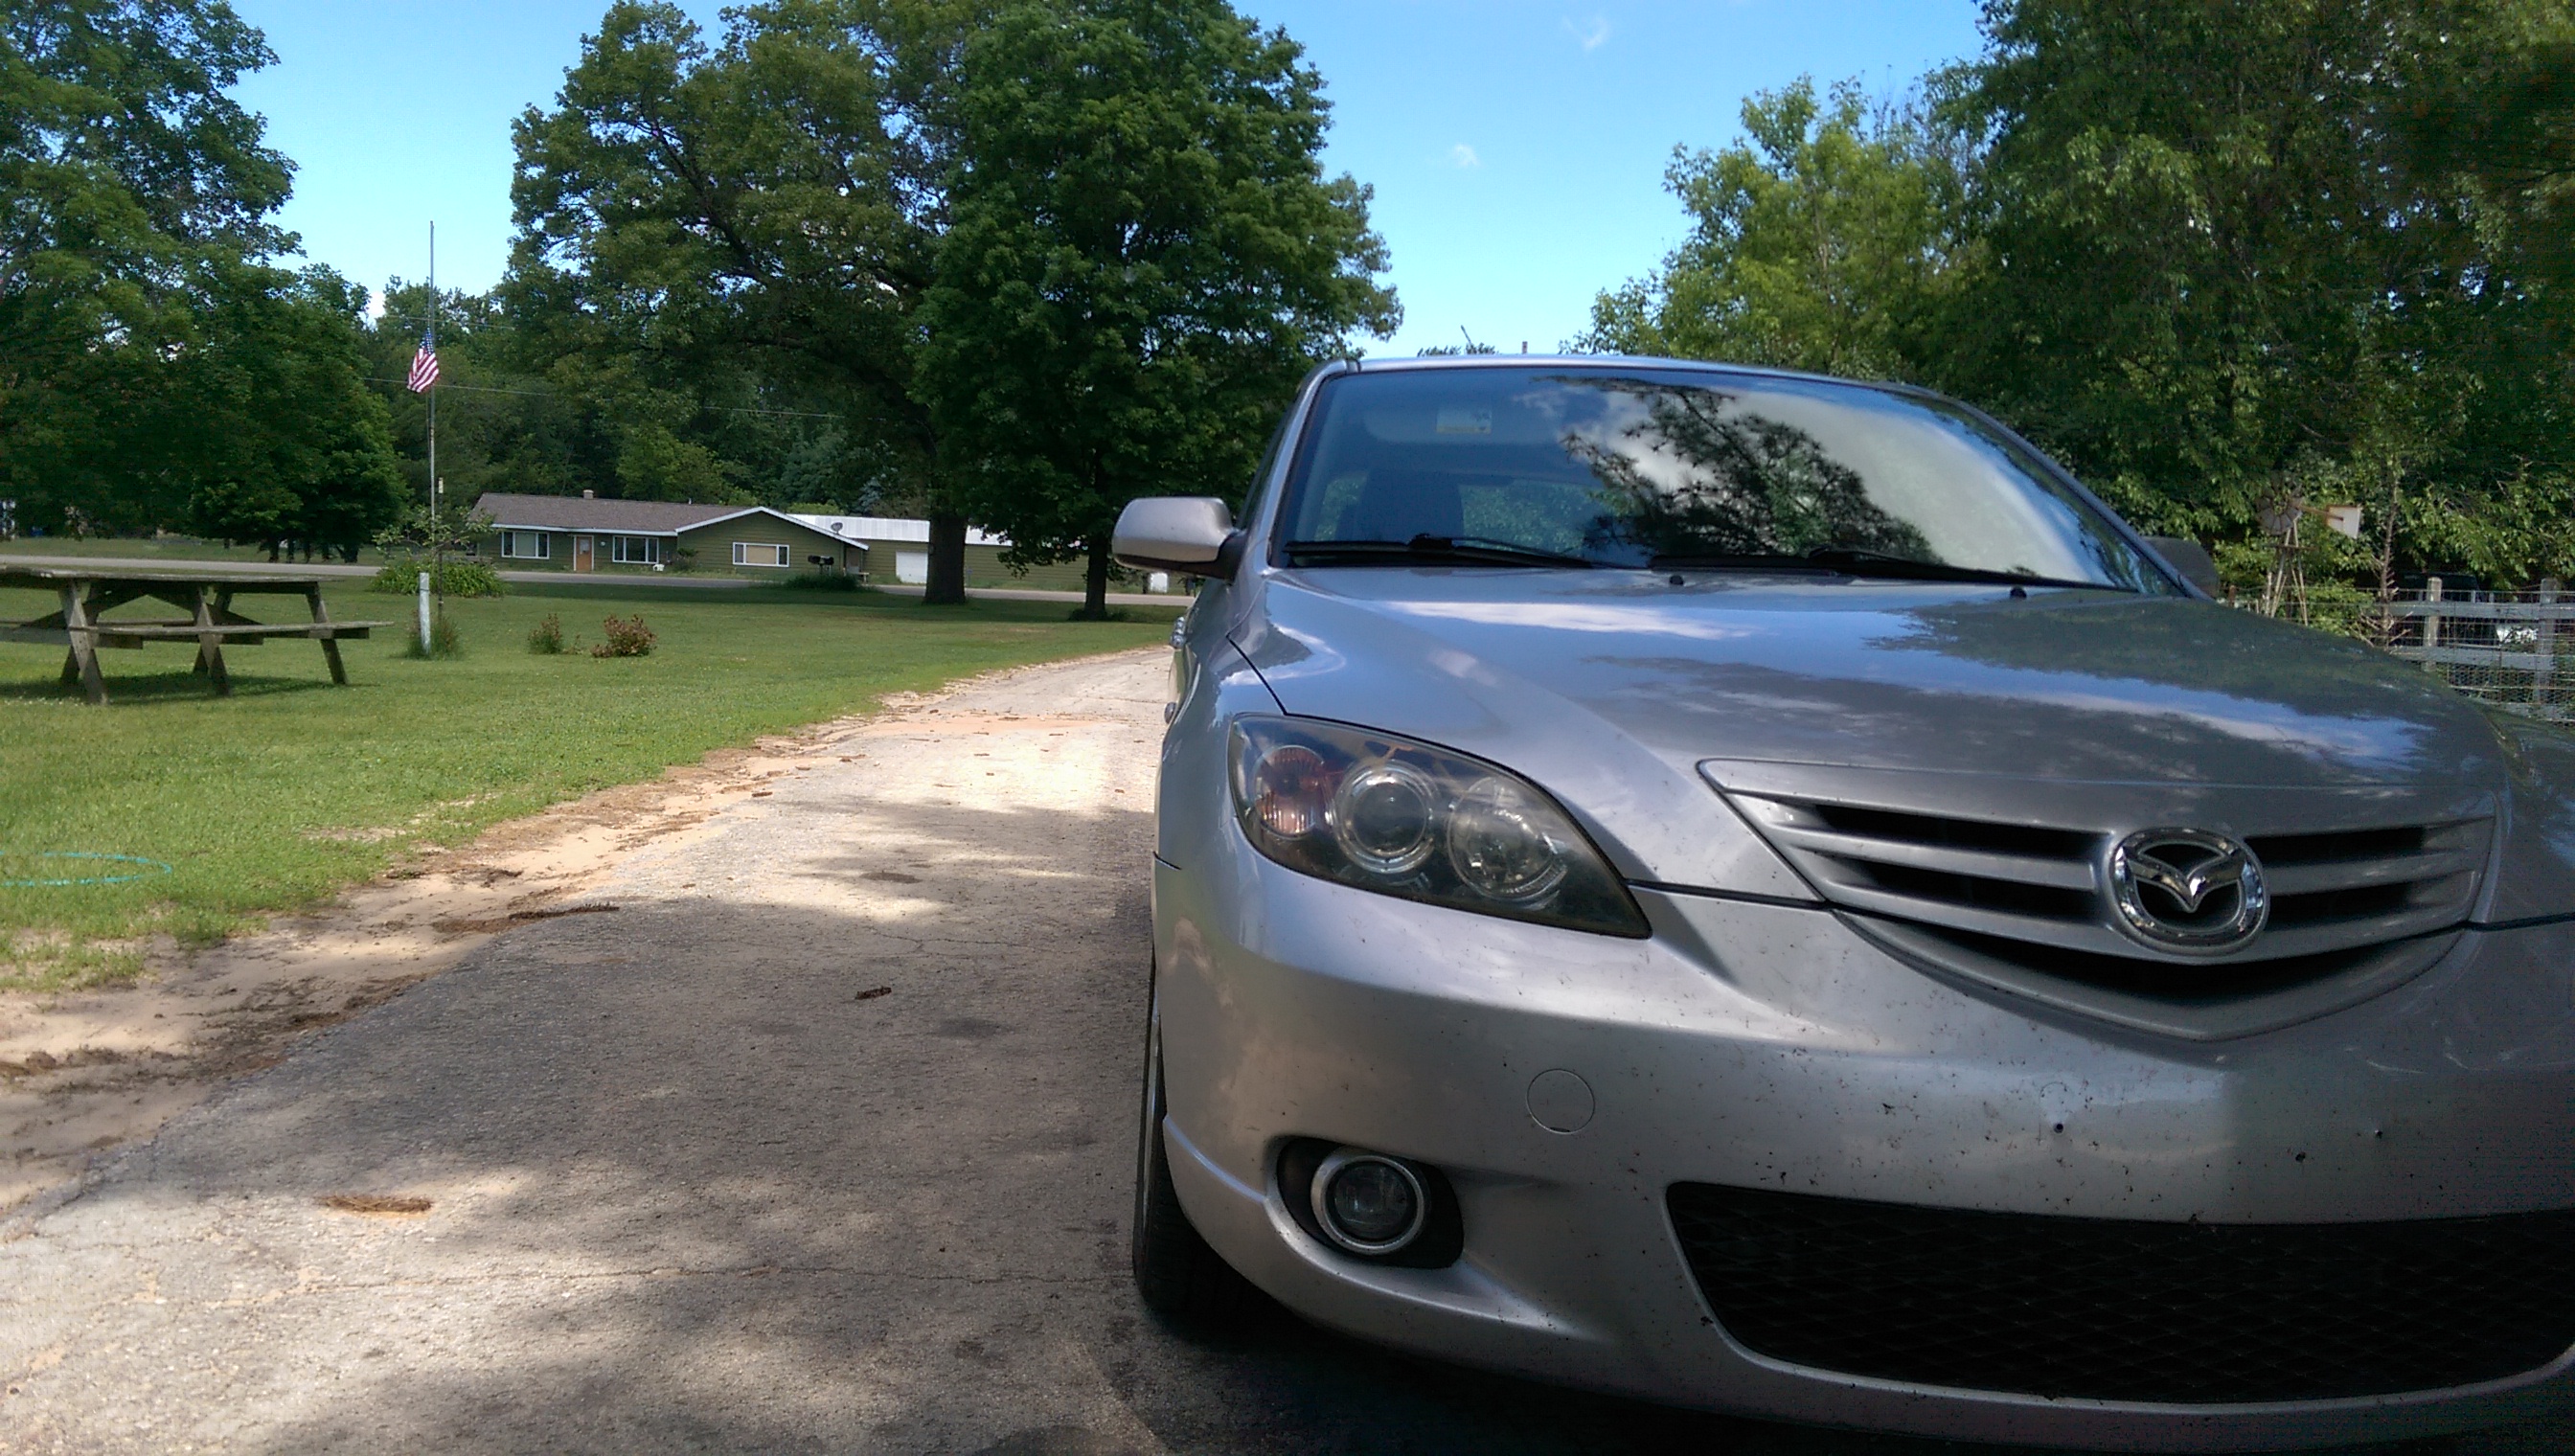
I decided it was high time to wash and wax the car, I also cleaned out the interior and gave the leather seats a nice cleaning and some conditioning. Daily driving gets the Mazda quite dirty, but it sure shines up nice. Mazda absolutely killed it with the design of these cars, and the latest generation Kodo design is absolutely phenomenal.


Of course mother nature took the opportunity to laugh at my work and dump some rain on me right away, but the Mazda looks even better when it’s wet.


For the actual transmission work you’ll need a few tools; a 10mm deep well socket, 19mm wrench or socket, needle nose pliers, a pan to catch the old transmission fluid, a small length of hose, and of course a new filter, gasket and some new fluid. I went with RedLine D4 as it’s fully synthetic, can be had for a decent price (I paid about $130 for 12 quarts) and others have had good luck with it in their Mazdas.

To start with, you’ll need to locate your transmission cooler lines near the bottom front right of the engine. There will be two different hoses running off the front of the cooler, and you’ll need to pull the drivers side hose off. A small amount of transmission fluid might come out so have the pan ready. Next, attach the small bit of hose you’ve got to the cooler, this will be used to direct the flow of the fluid as it comes out.


Dad started the car and we let it run for maybe 20 seconds or so. Even in park, the torque converter will be spinning and pumping out the fluid. It comes out at a pretty good pace but doesn’t have a lot of pressure so it’s easy to keep a handle of. You’ll notice the amount of fluid pumping out will start to taper off so go ahead and have the person in the car shut it off.
My fluid was pretty dark, I do have paperwork stating a flush was done around 100k, and this was done at around 163k so that’s definitely something I expected. Since I only got about 4 or so quarts out, I poured 3 quarts of the D4 in and then ran it again. By the time the fluid started running out the second time I could see that it was becoming more pink like the new fluid, so I called it good enough. Grab your 19mm wrench and pull the plug out of the transmission pan. You might want to wrap a plastic bag around the suspension behind it, the transmission fluid tends to hit that.

Next up is to pull the pan. Grab the 10mm socket and get to pulling the 14 or so bolts. Once you’ve got those out of the way you can try pulling the pan. I wouldn’t try wedging anything between them but you should be able to pry the pan off with a bit of persistence and the right grip spot. It turns out my transmission filter hasn’t been replaced, you can tell by the gasket which is basically just RTV from the factory. New kits come with a rubber gasket which is much easier to work with and a bit more reliable.


With the pan down, you’ll be able to take a look at the magnet in the pan that holds all the lovely metal shavings that are bound to wear off the trans. At 163k the amount I’ve got isn’t too worrying and the fluid itself wasn’t burned so I don’t suspect any issues there. I removed the magnet and cleaned the pan up with some carb cleaner. I also took a razor to the old gasket material to prep the surface for the new gasket.


The transmission side also needs to be cleaned of the old gasket material and you’ll want to be a bit careful not to scrape any into the transmission. This is the perfect time to pull the old filter and replace it. It’s easy enough to do, you just need to move the sensor or whatever is plugged into the bottom and then pull the filter straight down. Install is the reverse and shouldn’t take more than a minute or so.
Now you’re ready to get the new gasket in place and slap it all back together. I chose to put a bit of high-tack on the pan, then align the gasket, and then do another thin layer of high-tack to ensure there wouldn’t be any bolt-hole aligning or leak issues.


That’s that! Line the bolts up and start tightening. I simply got them all snug and then grabbed the small torque wrench and set it for 60 in/lb (in/lb not ft/lb!) then worked my way around and made sure they all went up to spec. I did 3 rounds just to make sure they were all exactly where they needed to be.
Bonus pictures! This is what my transmission fluid came out as and beneath that is the color it should be!


This was all done about a month ago now, the Mazda definitely shifts better now. Some people said they no longer have the shift shock from 1-2 but I still have it though it is less noticeable than it was previously. More recently, we’ve been really busy running around, literally. We did a 5k obstacle course with minimal preparation.
I’m not a runner, I’m a gamer, we did have a work out plan that we sort of stuck to before our trips to Minnesota and New Hampshire (I’ve got another planned for Oregon by the way!) but that fell apart when we were off on our trips. It was pretty horrible, we had Ali’s brothers graduation party the day before which was about 2 hours South of where we planned to sleep for the night. By the time we got home and were ready to leave for our stay-over it was around 9:30, it decided to storm around 11. We didn’t get a whole lot of sleep, and we got up much earlier than we normally do for the run as our class started at 8am and the run took place another 25 minutes from where we stayed. The run itself only took around 30 minutes which made the rest of the day super disorienting because I kept thinking “wait, did I do a 5k this morning?”. Afterwards we went straight to McDonalds for coffee and a cinnamon melt, I earned it.

We’d stayed at Nate’s grandparents house (thanks guys!) to be close to the run, and when we got back I helped Nate take a look at his spark. His car turns over fine, has good fuel pressure and compression but won’t start. My guess was spark so we did the good old “pull the plug and crank it over” method. I didn’t see any spark on the plug gap itself so I tried putting it near the exhaust manifold to see if I could jump spark there but we got nothing. So it looks like Nate needs some new coil packs or something else is wrong with the spark. Hopefully he get’s it up and running again soon!

That’s all I’ve got for today! Last week was crazy and this week has been busy as well but I’m looking forward to the weekend as I’ve currently got nothing planned. I do have a box full of car parts, a car in need of work, and a 3 day weekend though… Until next time!